Cabinets
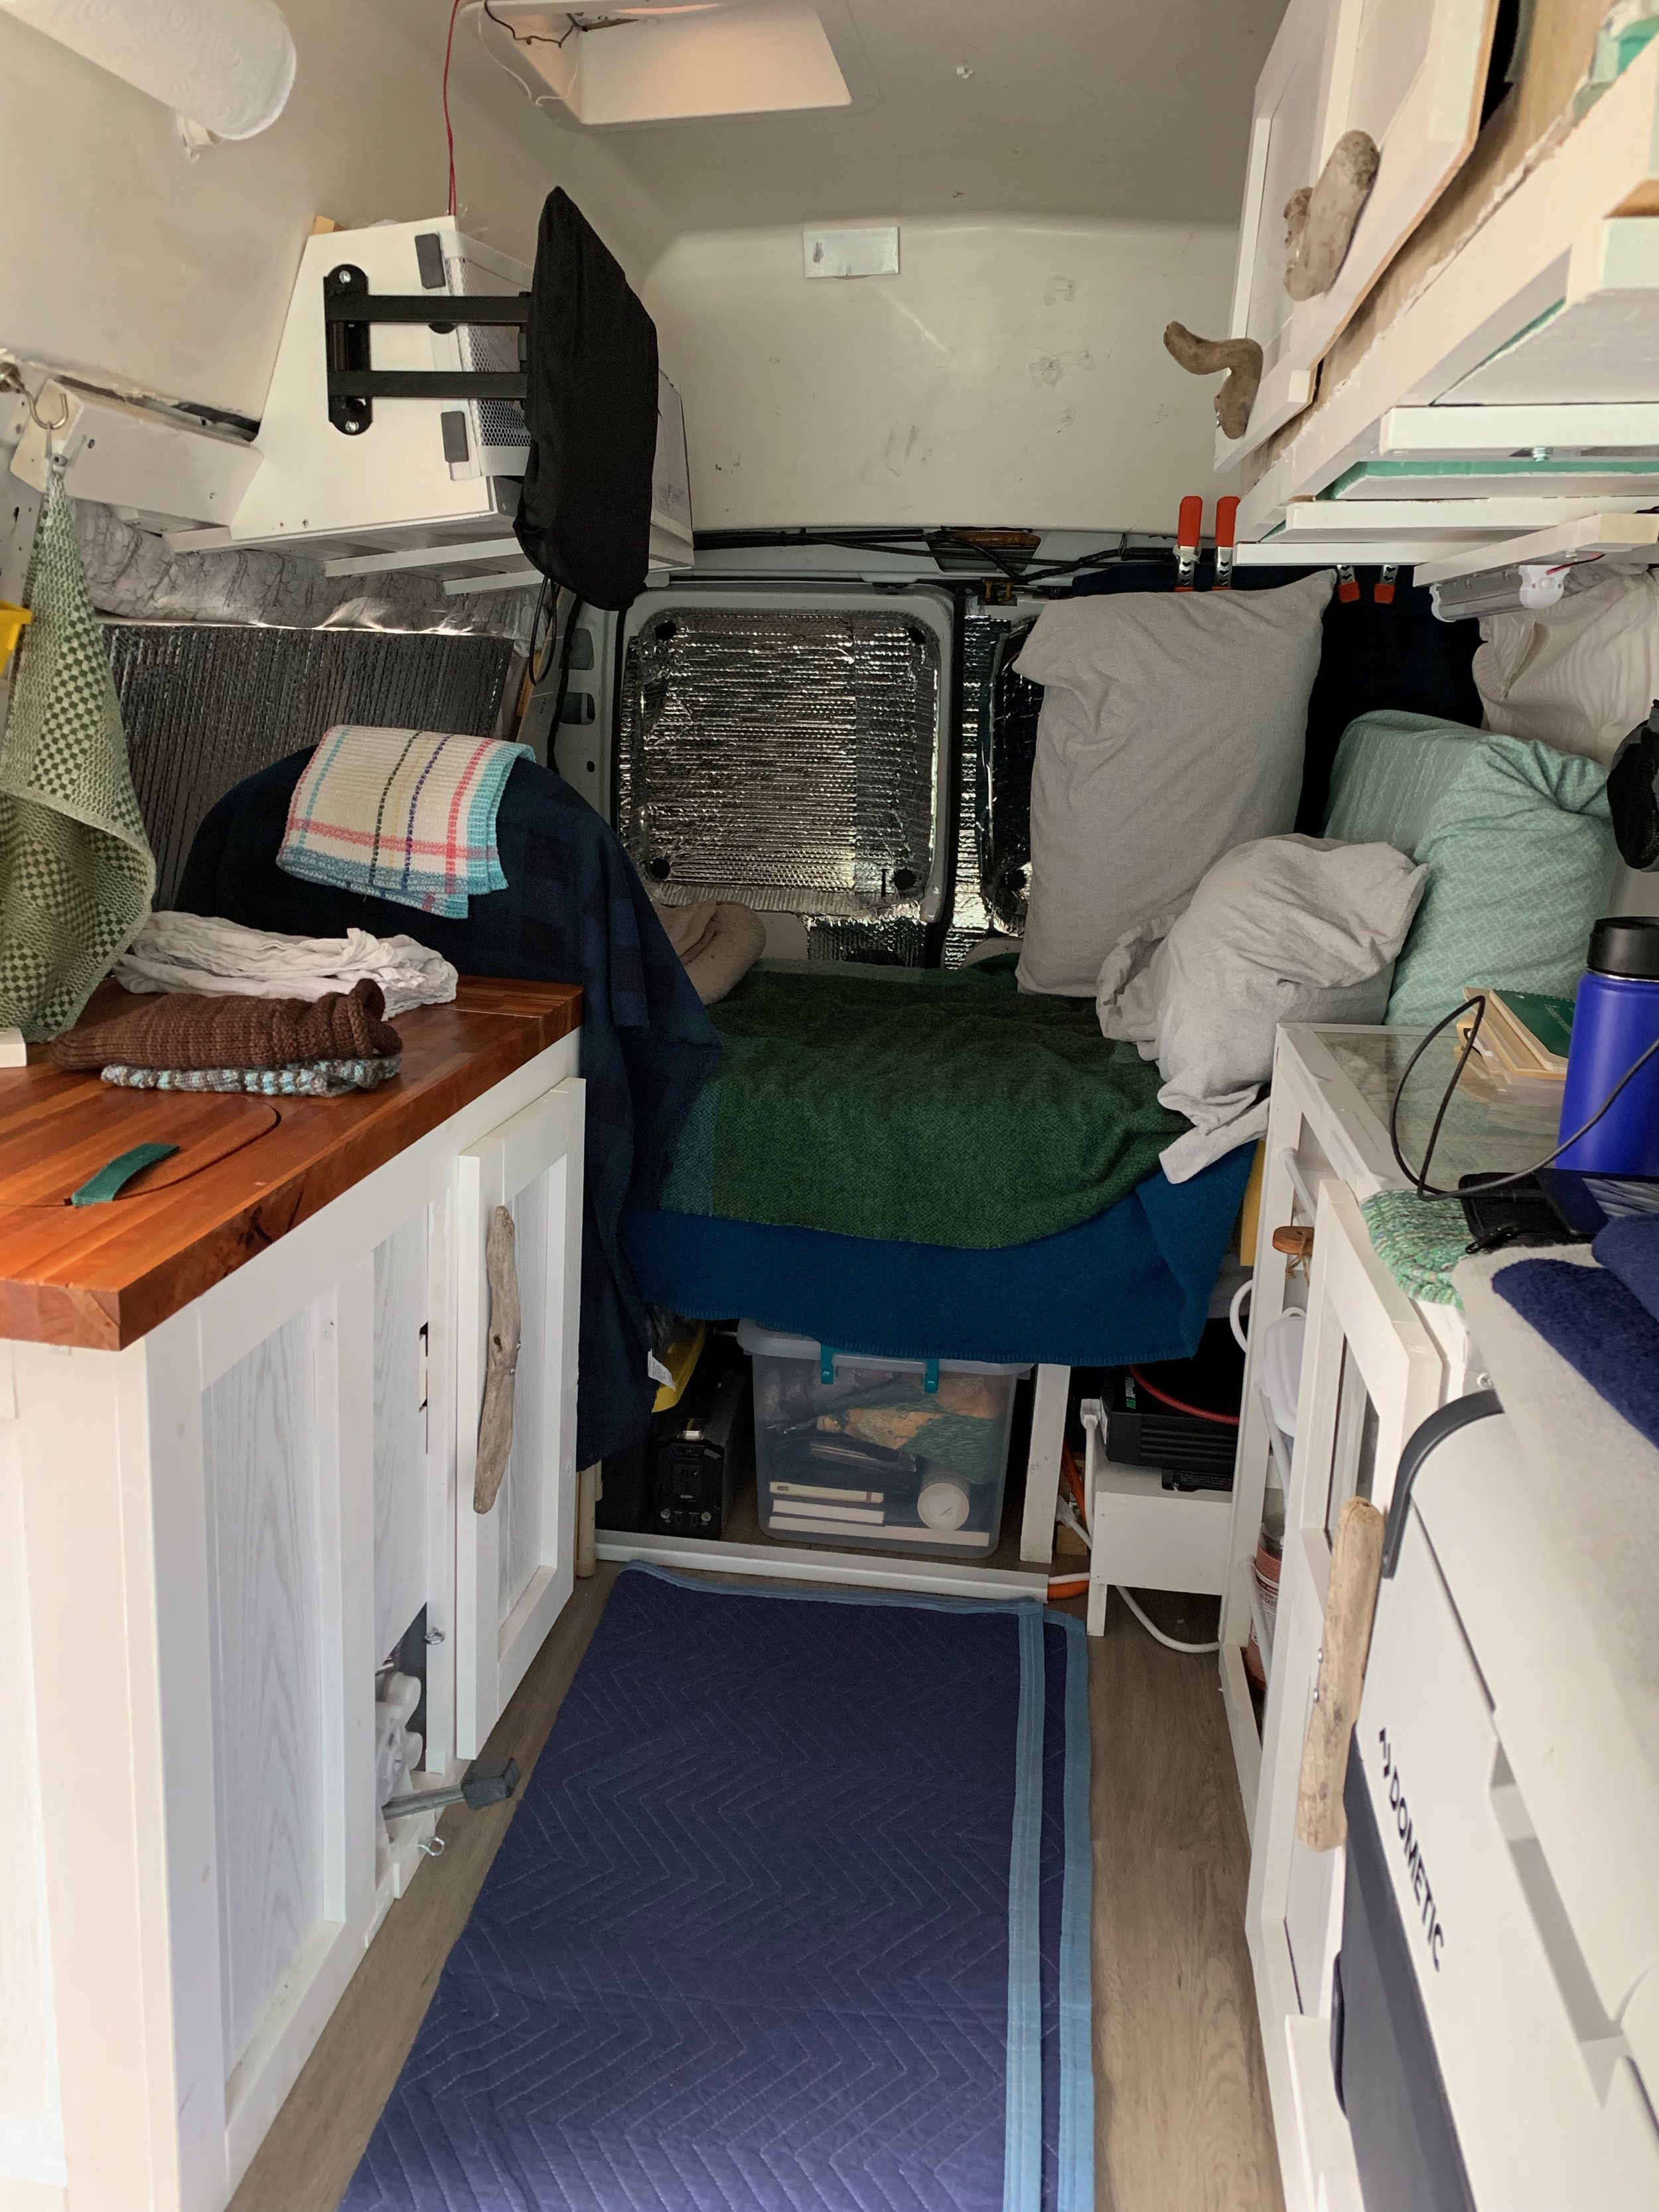
Having enough storage, or more accurately having the right storage is one of the things that makes van living comfortable for me personally.
Many people are comfortable using rubbermaid tubs for just about everything. But I hate digging thru them for whatever it is that I want, so while I have a few, they are only for specific things. Otherwise I built in cabinets of various kinds depending on what they are for and where in the van they are going.
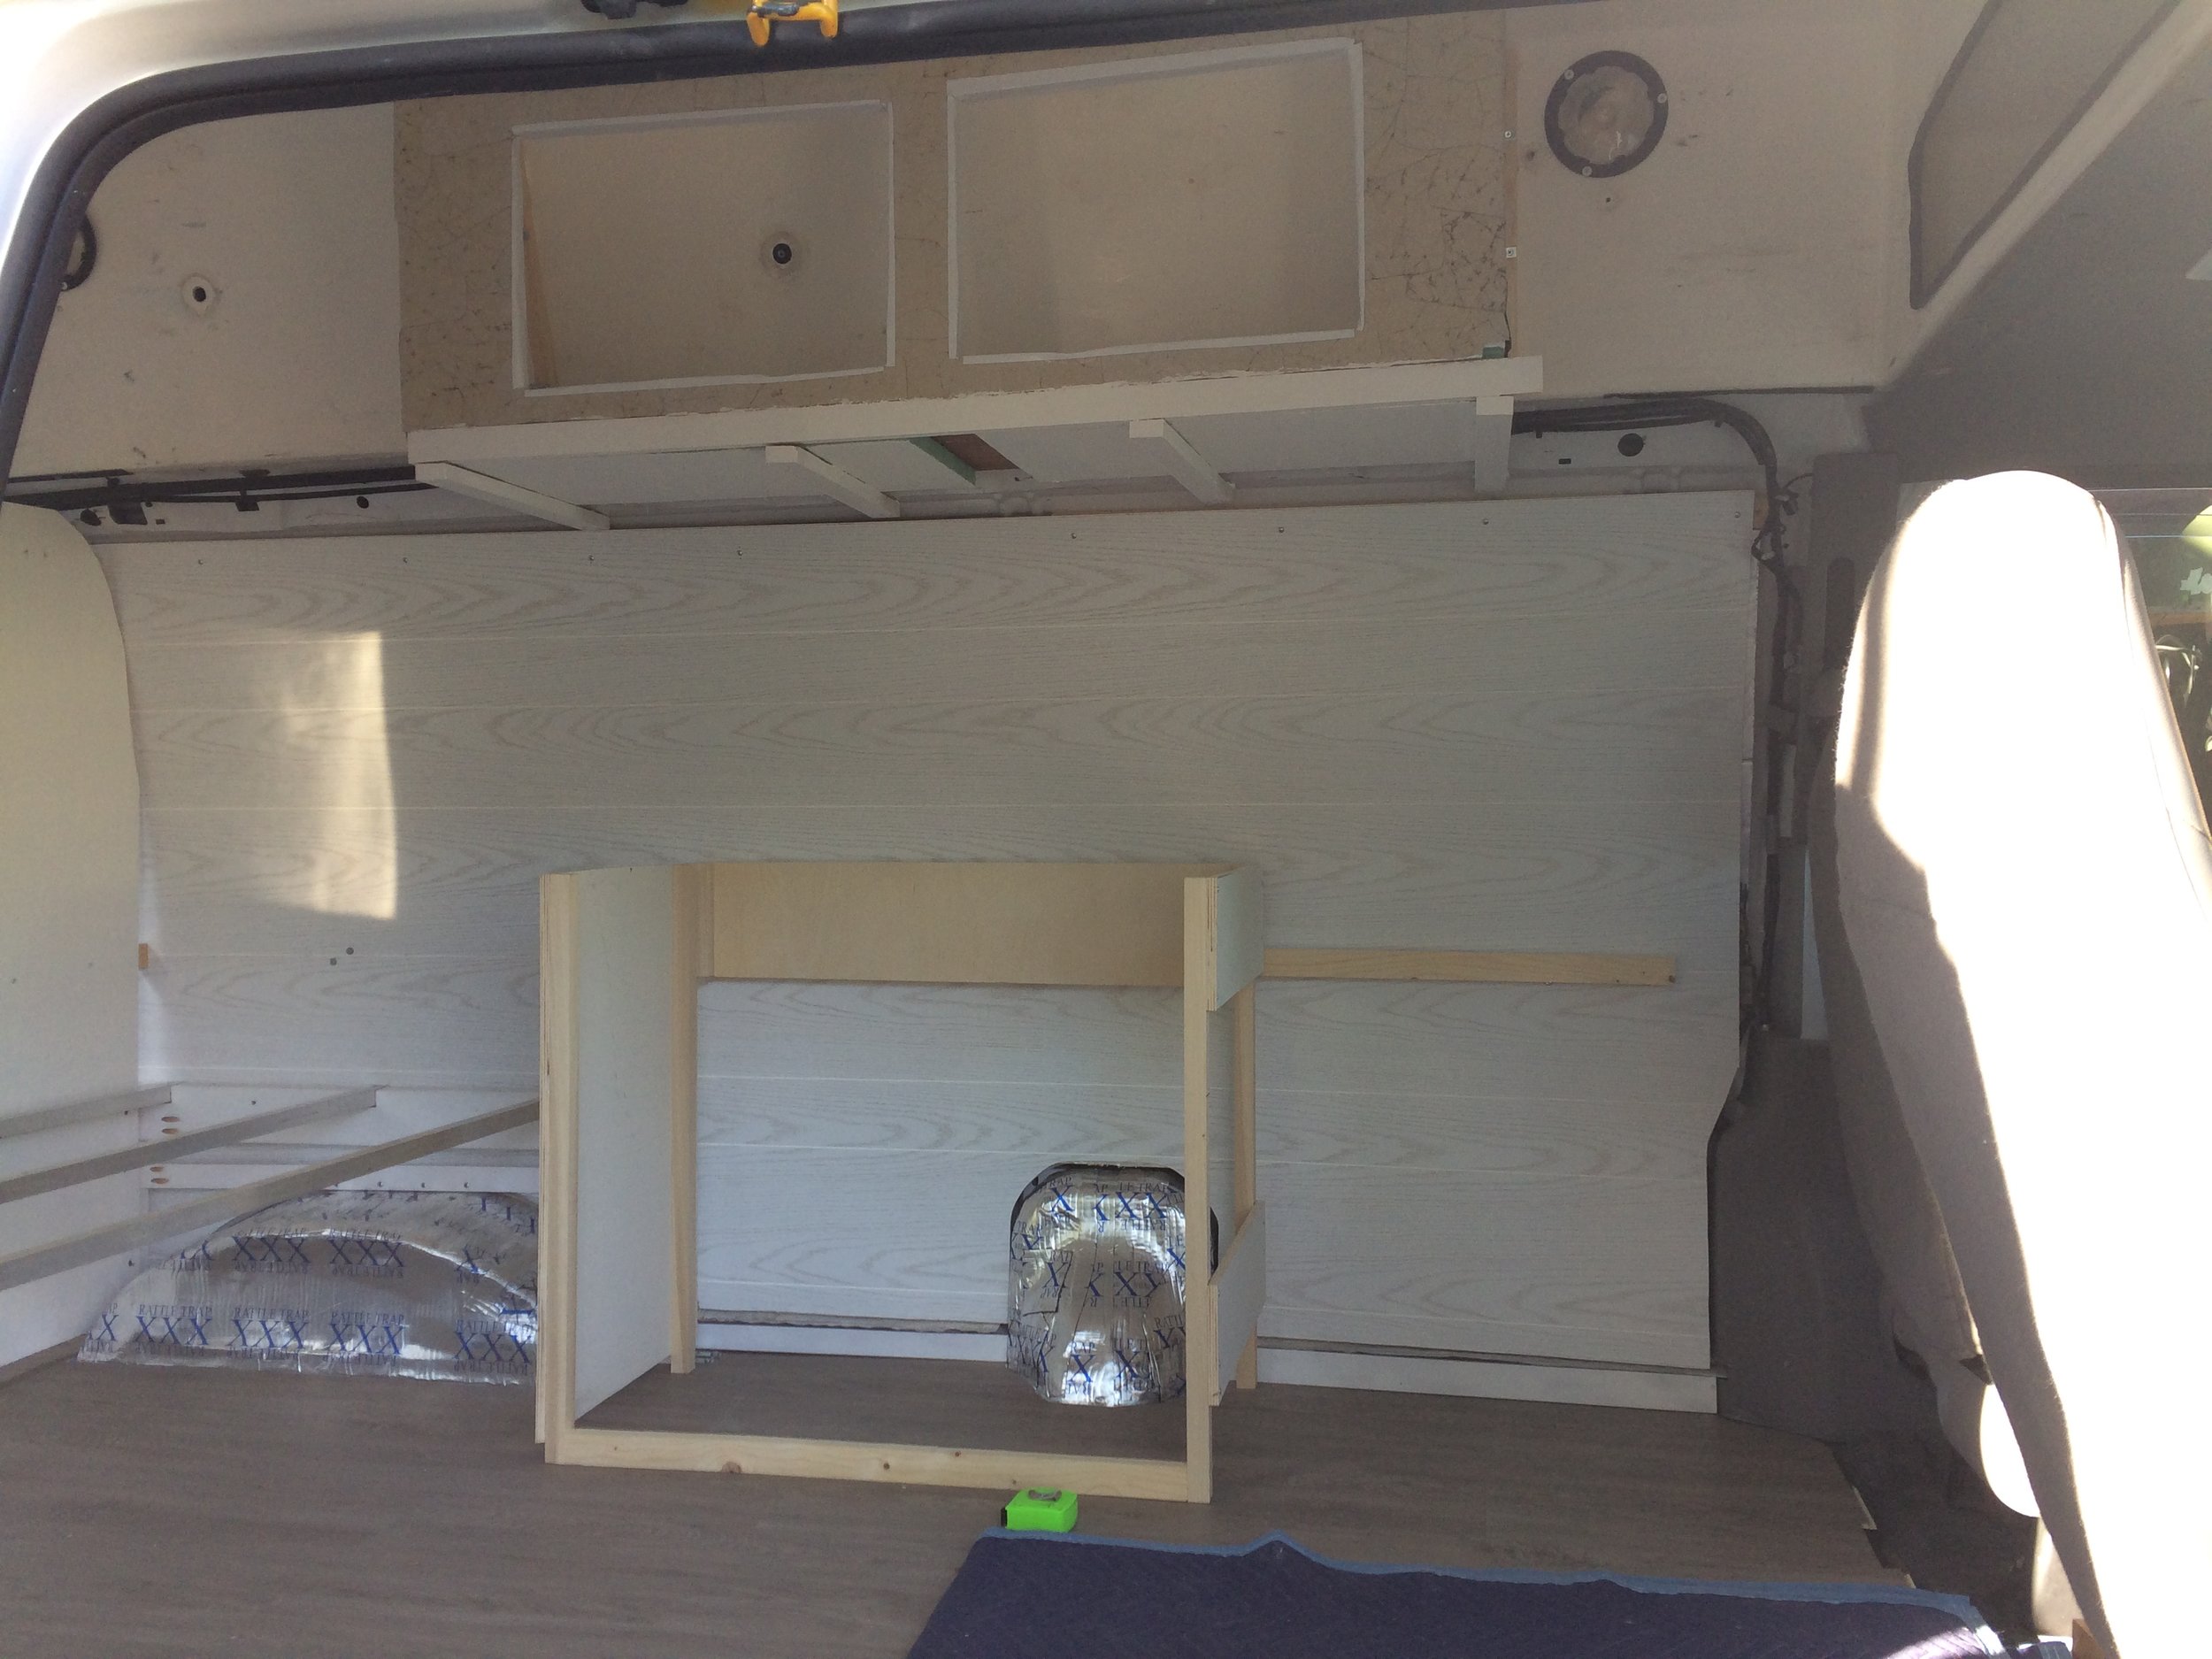
Because the van has a fiberglass hightop I wanted some “upper cabinets” to take advantage of that space, but I do not want to make it top heavy at all. So I thought about what sorts of light things I could put up high. I wanted to evenly distribute the weight of the heavy things on both sides of the van as well. The gas tank is on the drivers side (although the weight of that fluctuates with the gas level) The two house batteries are the heaviest single objects in the van they sit on the floor on the drivers side. Water storage is the second heaviest, it sits on the floor on the passenger side.
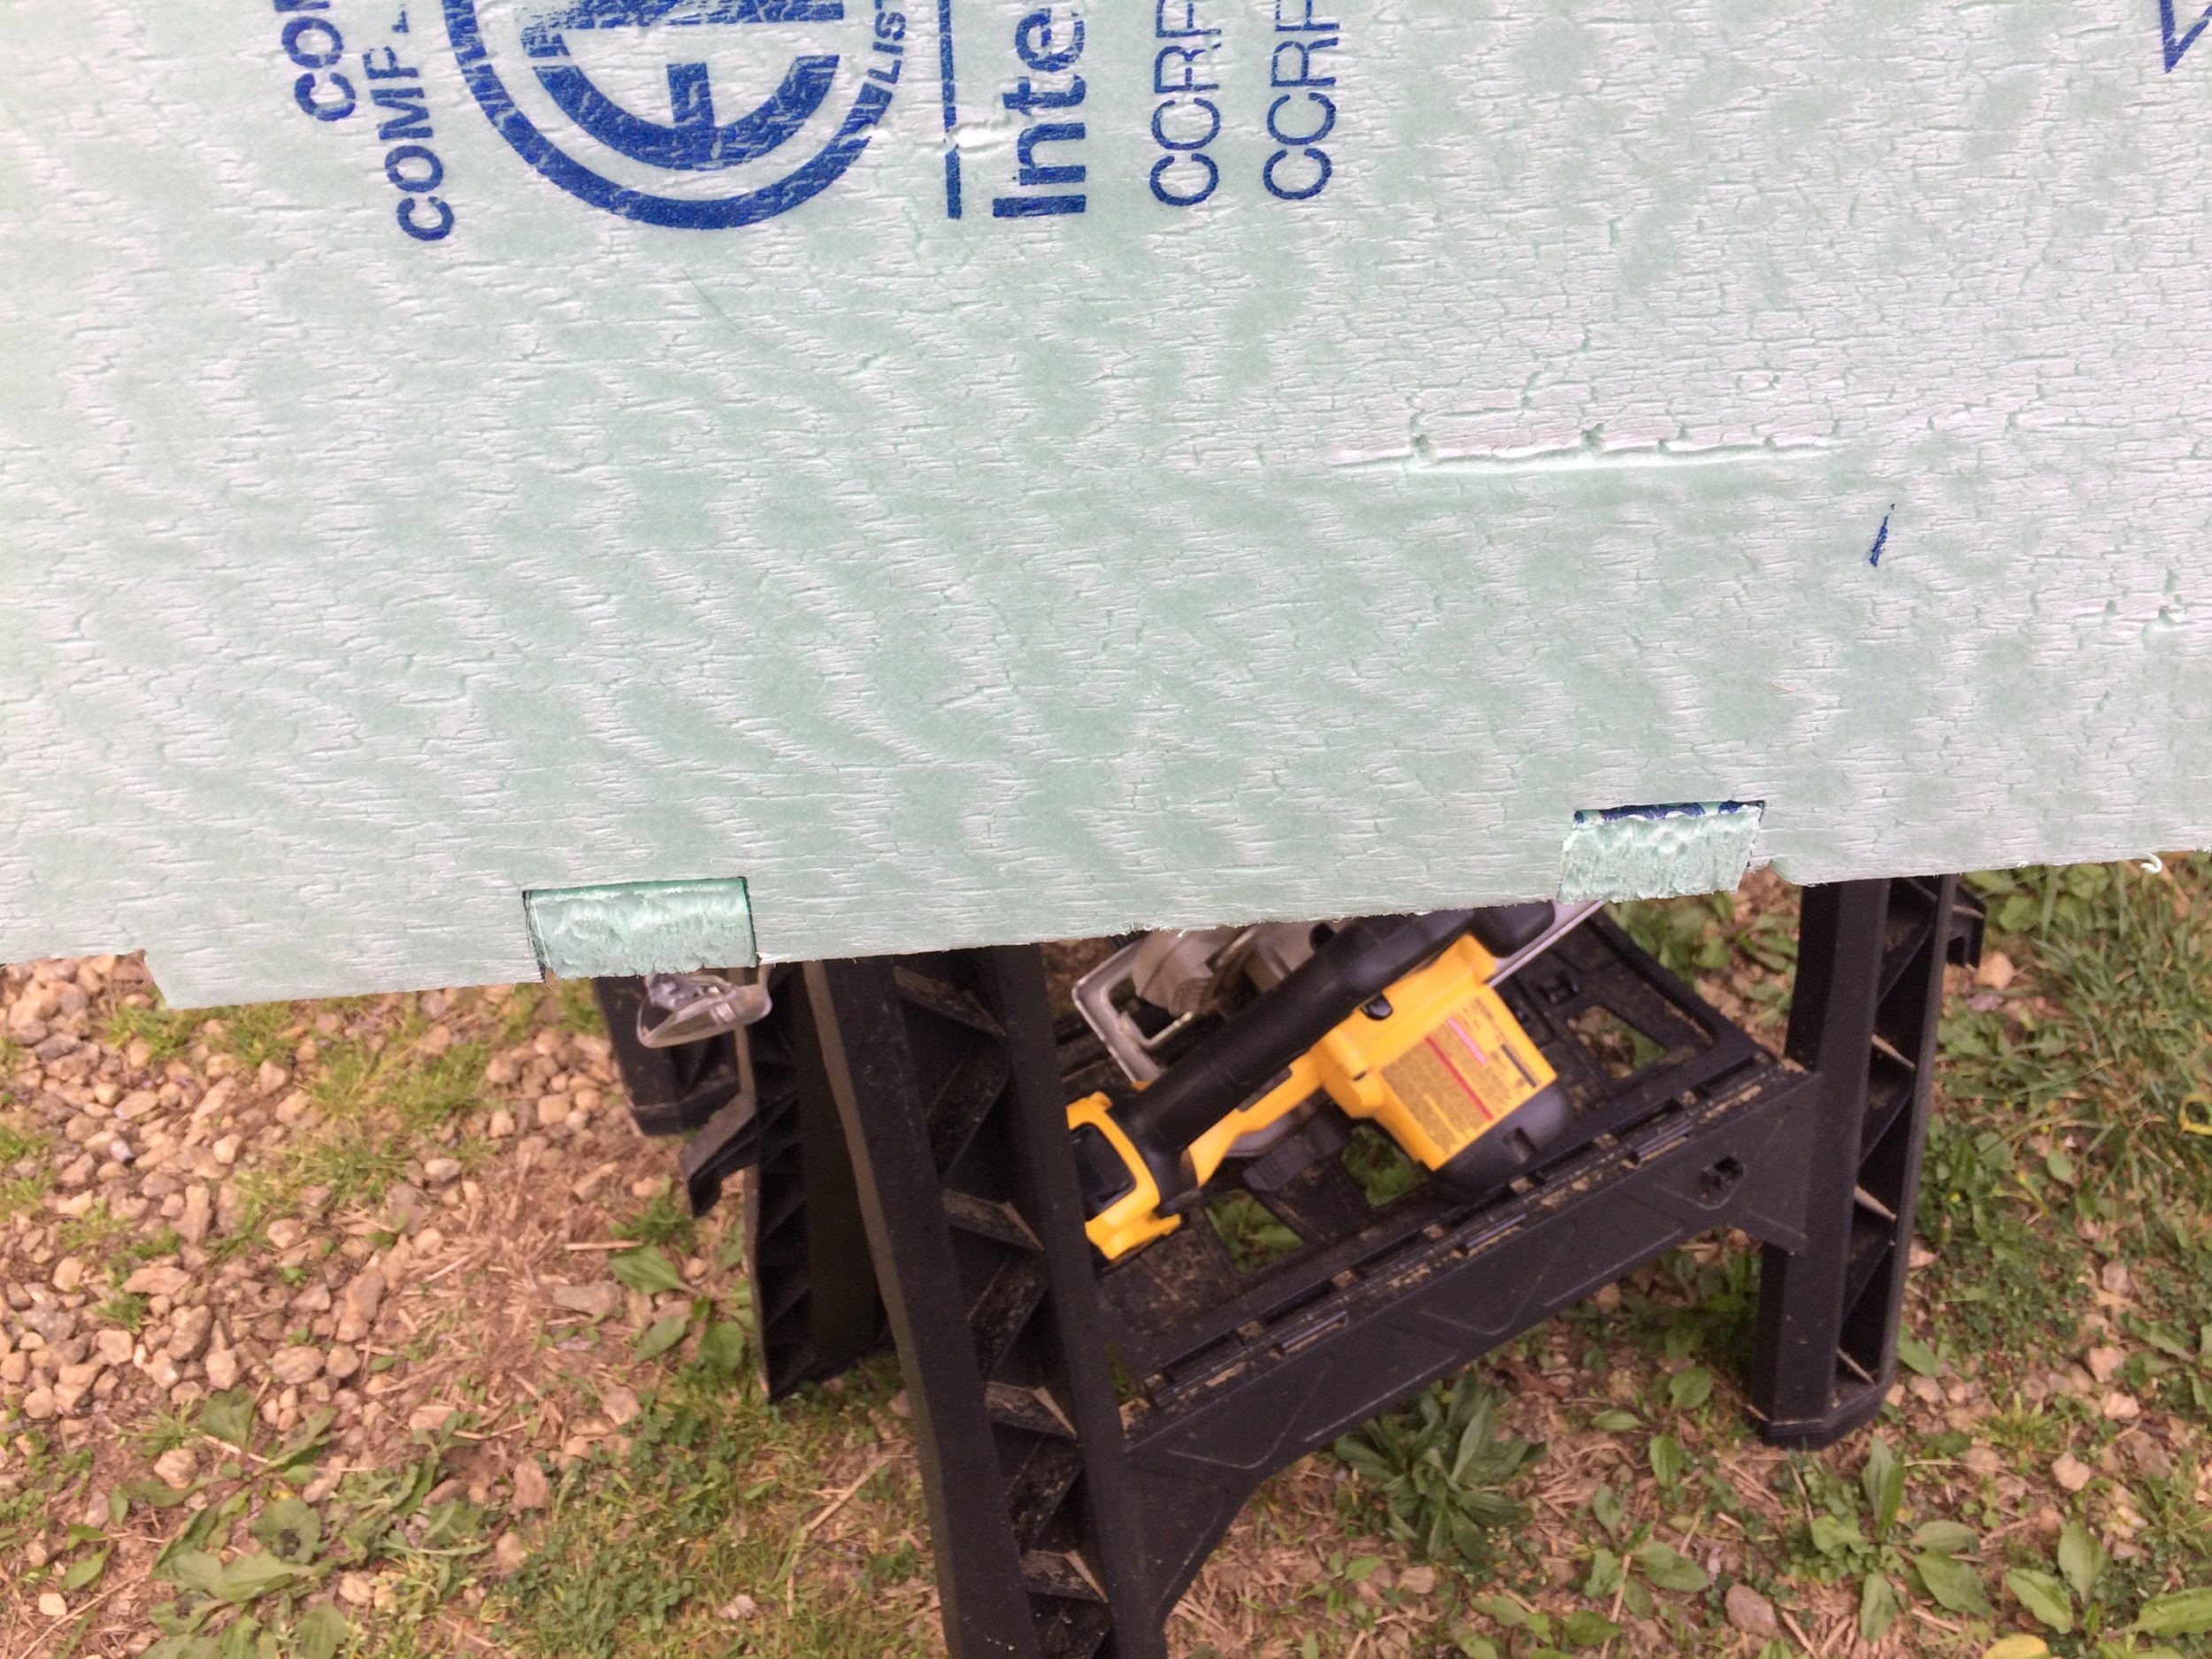
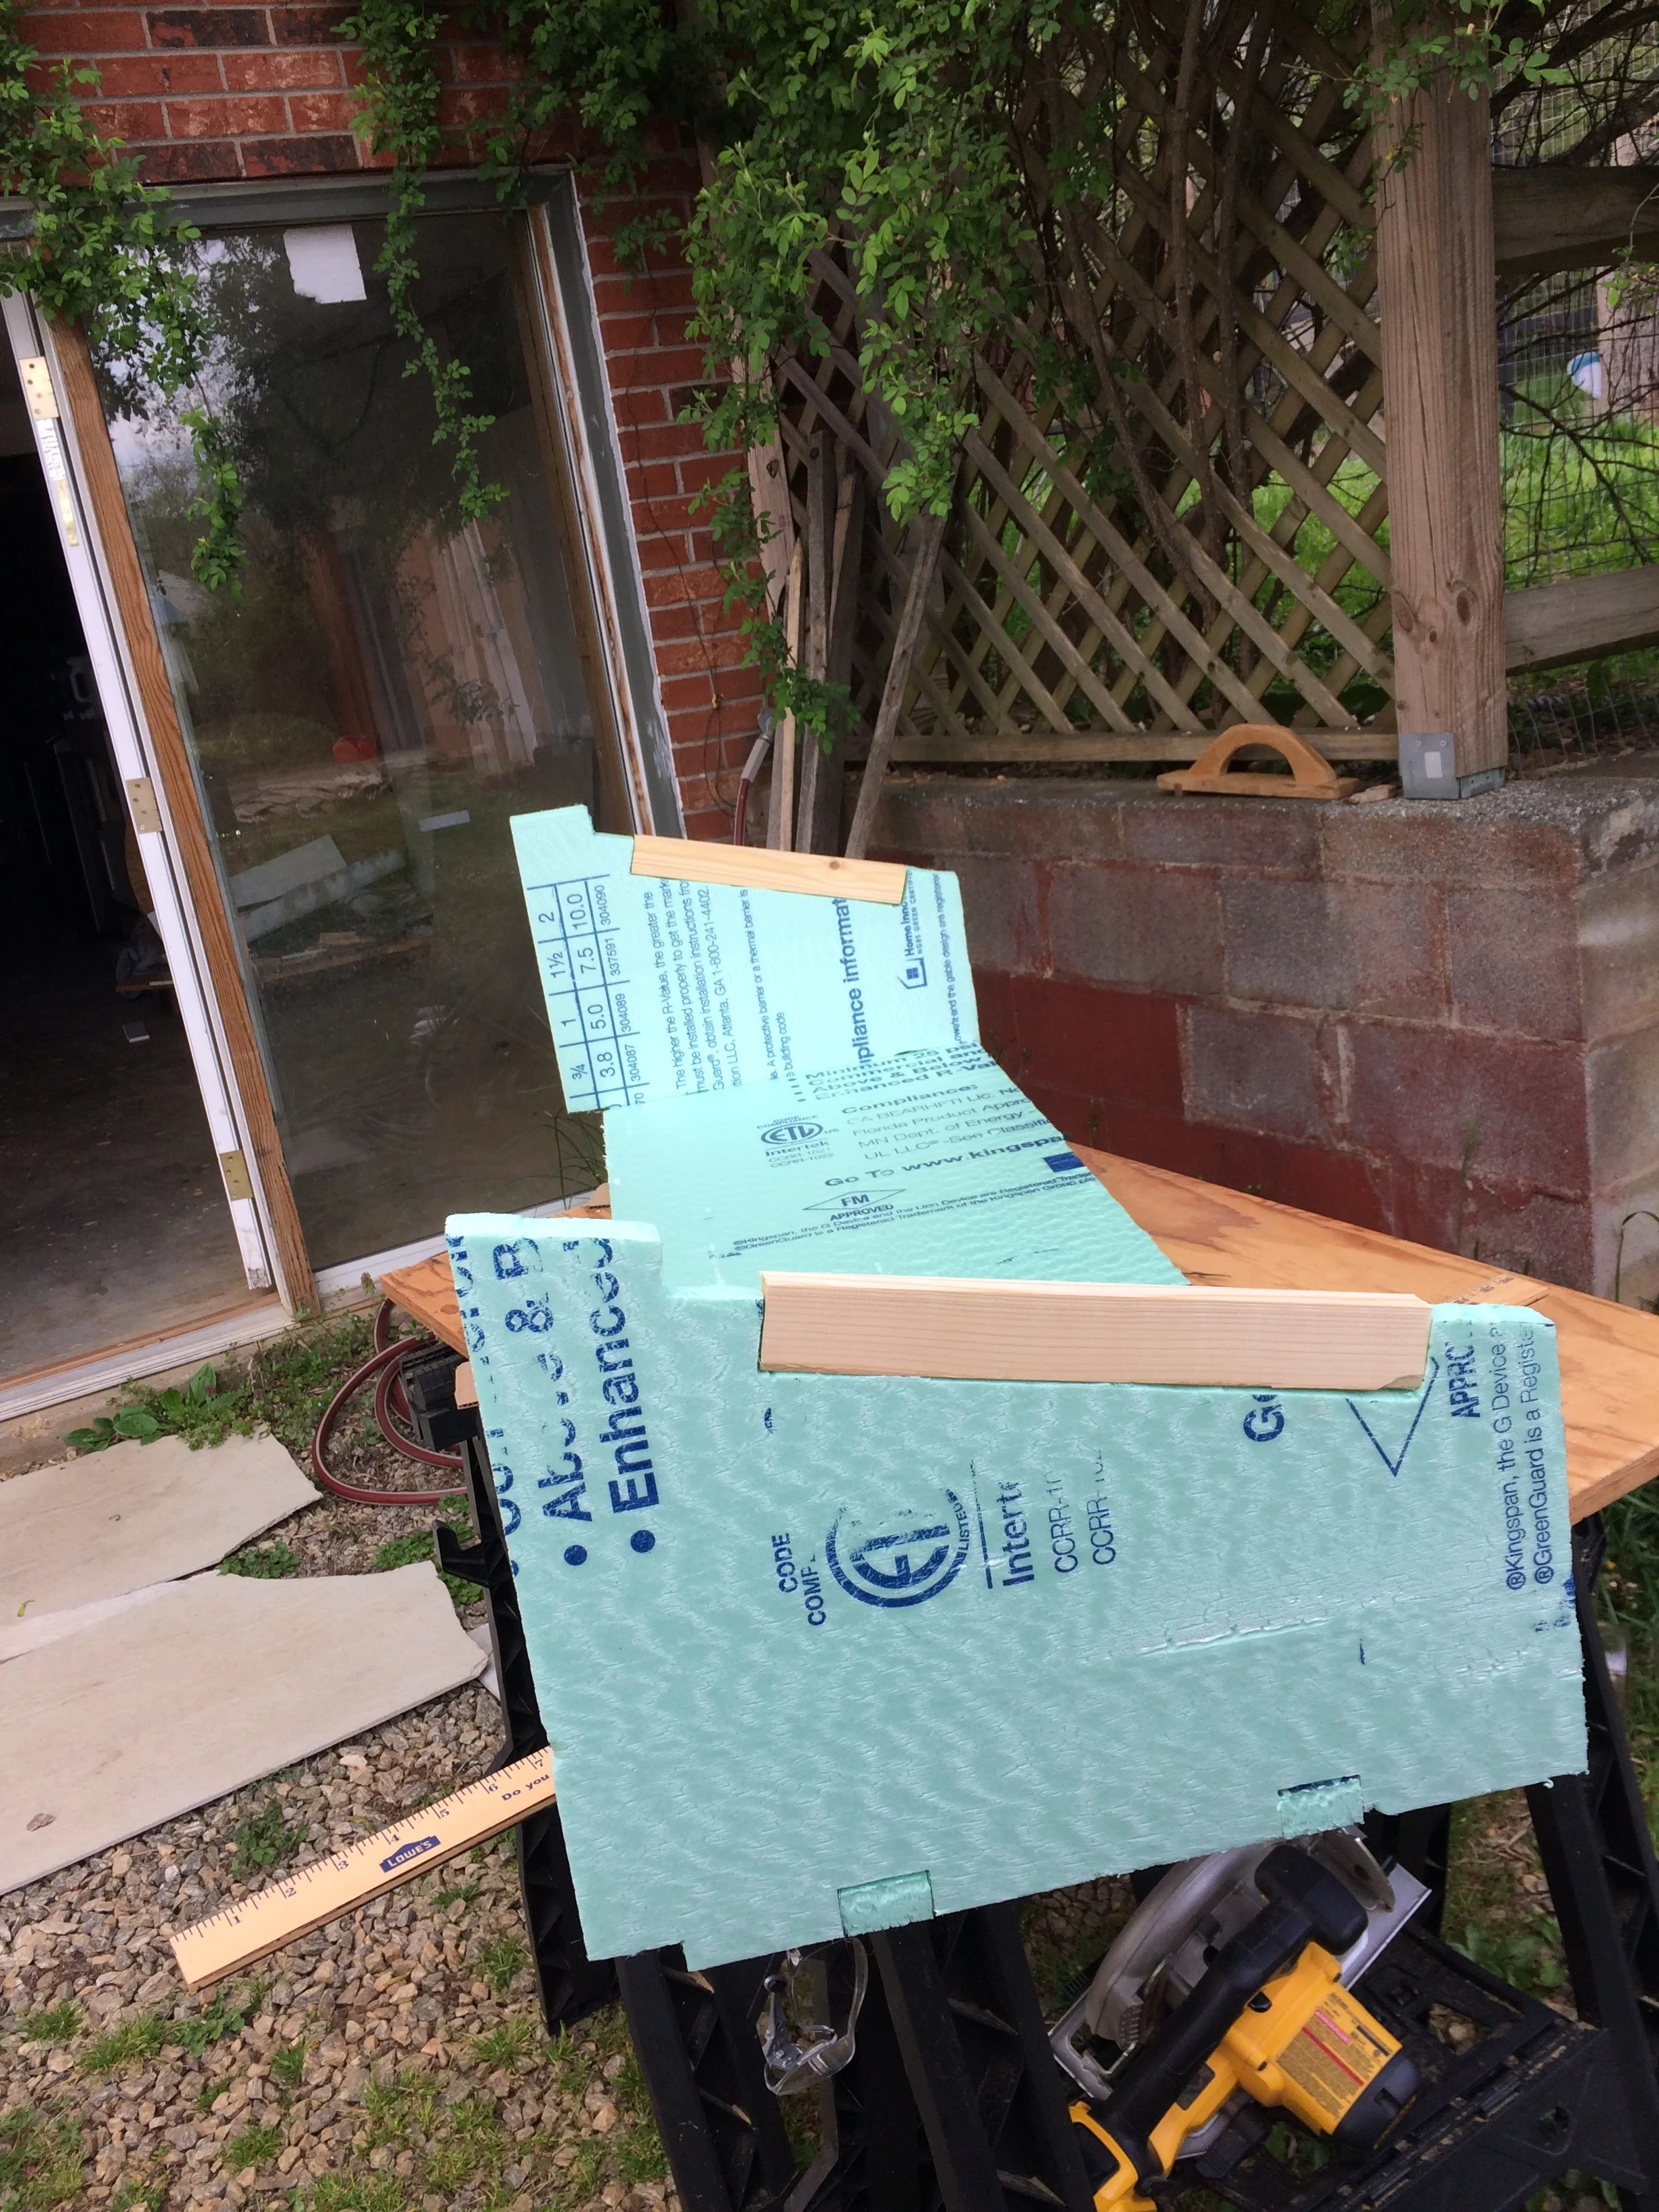
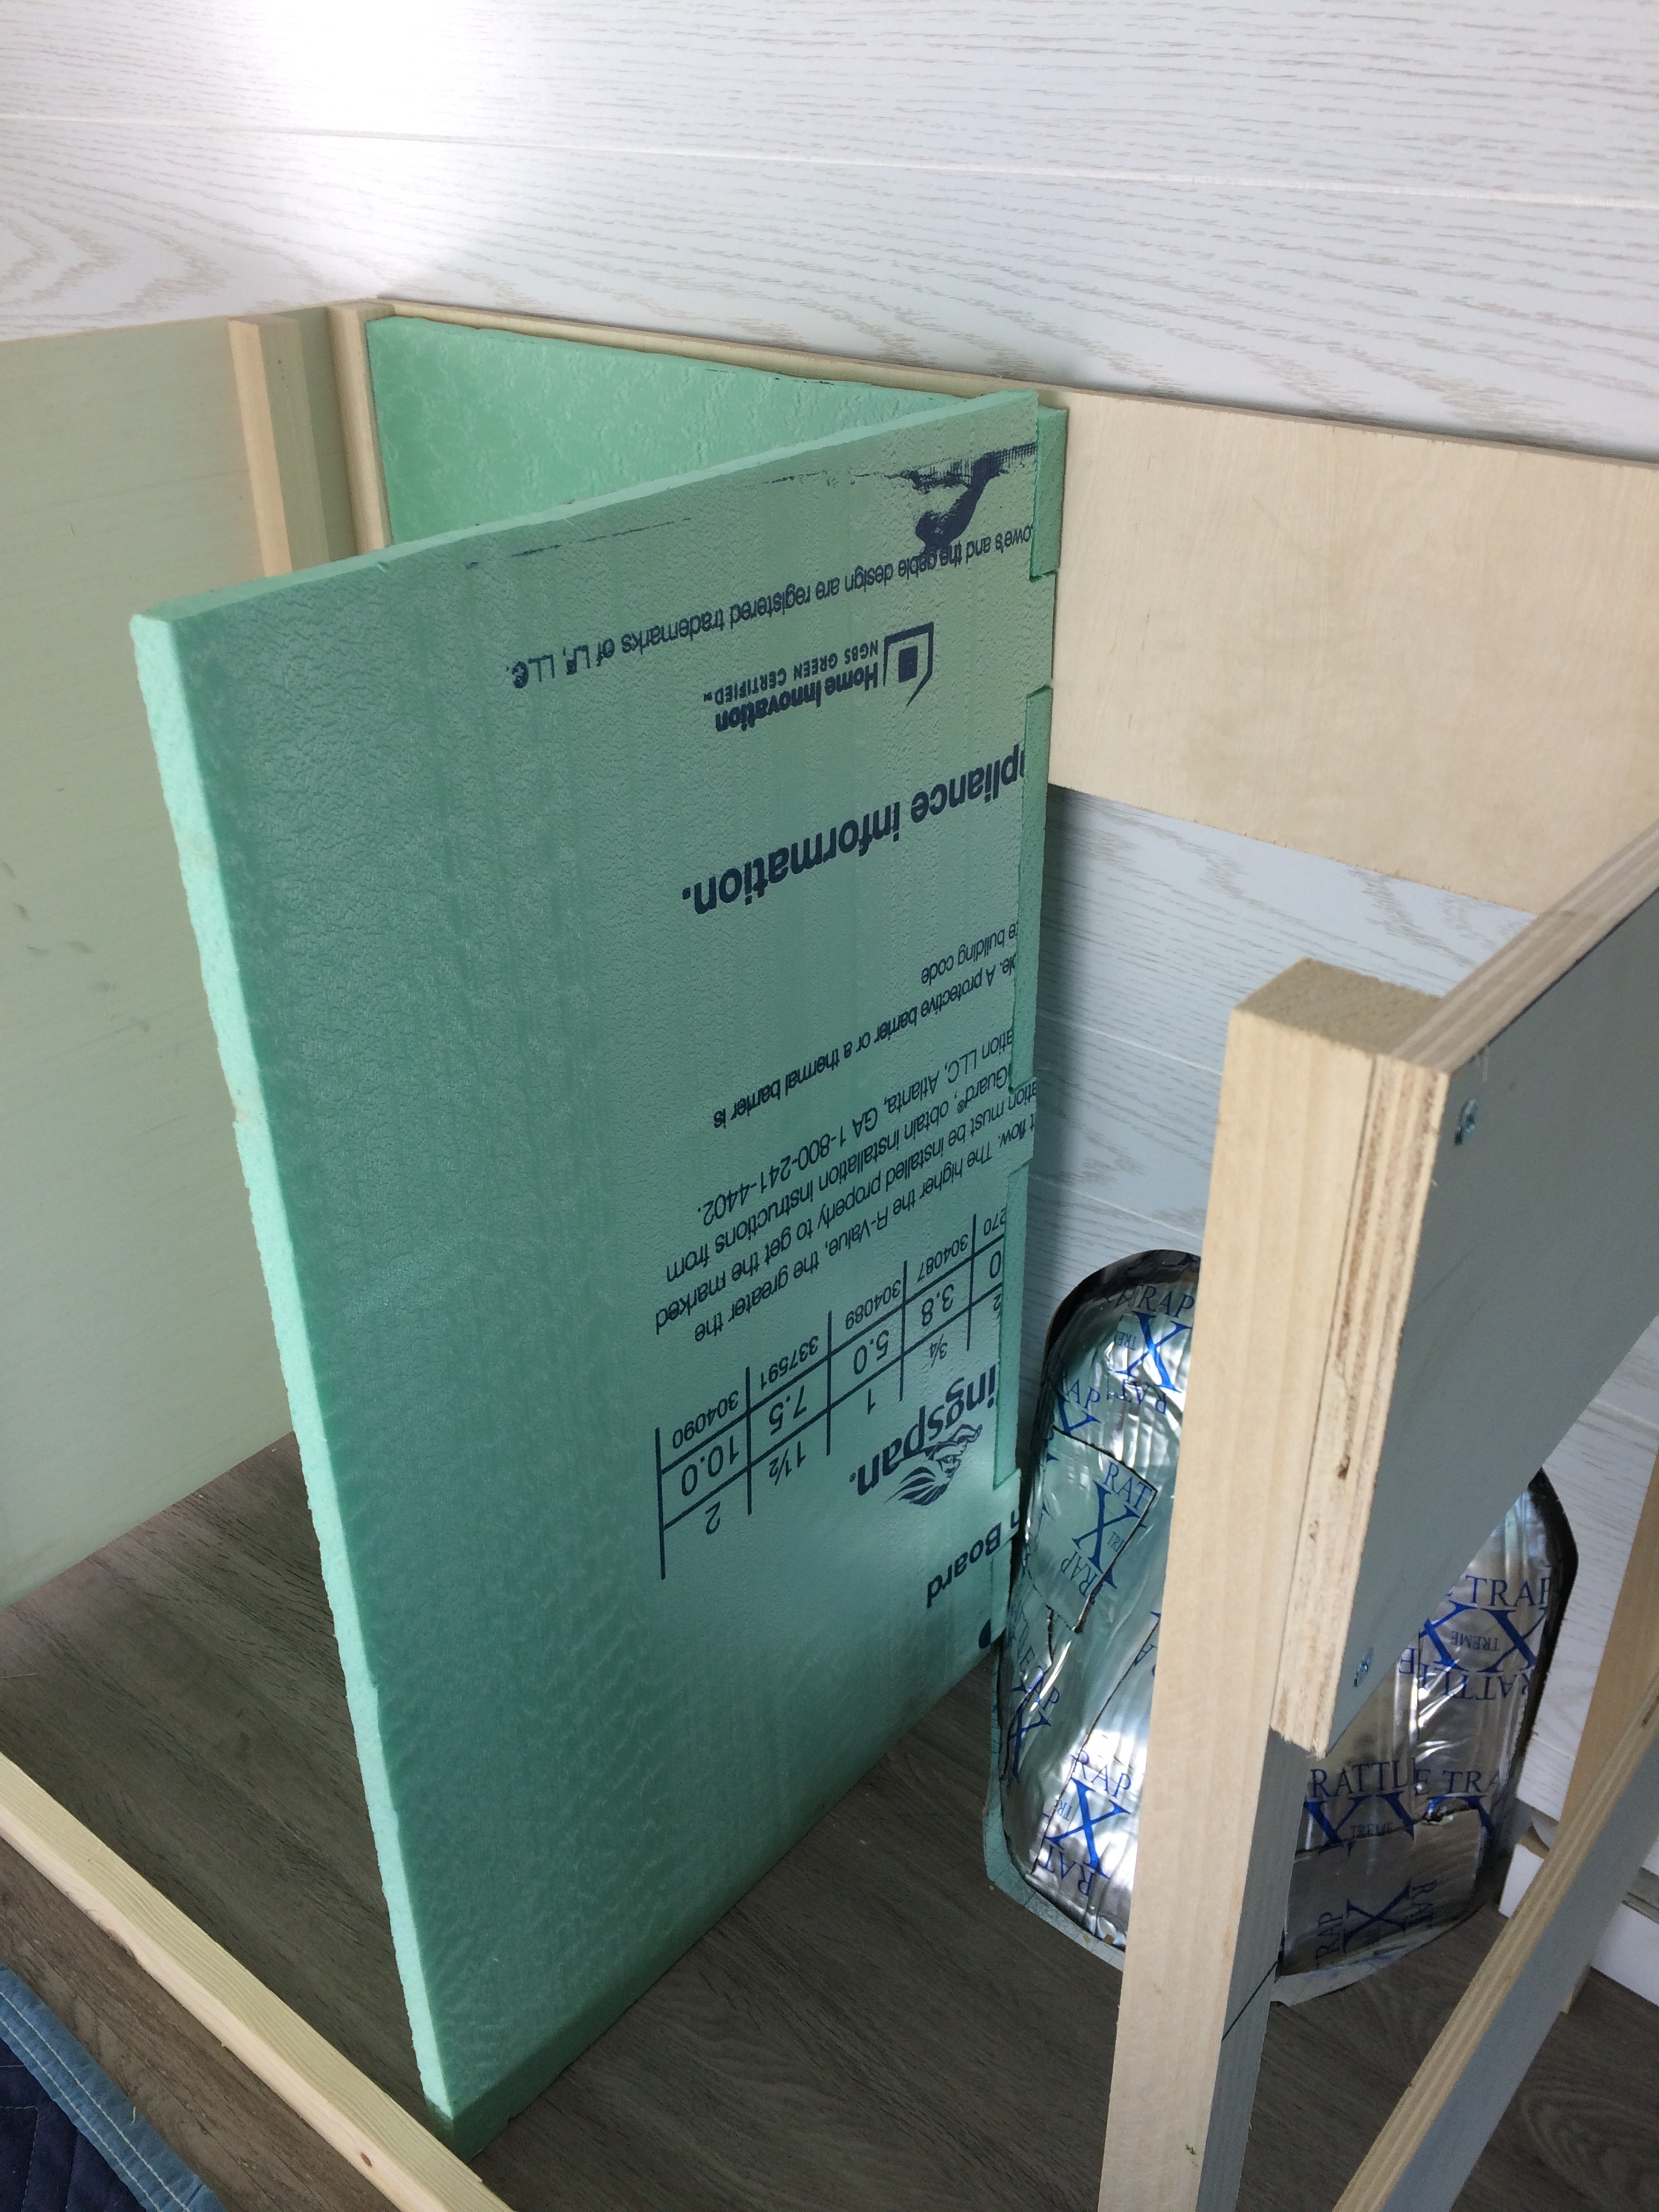
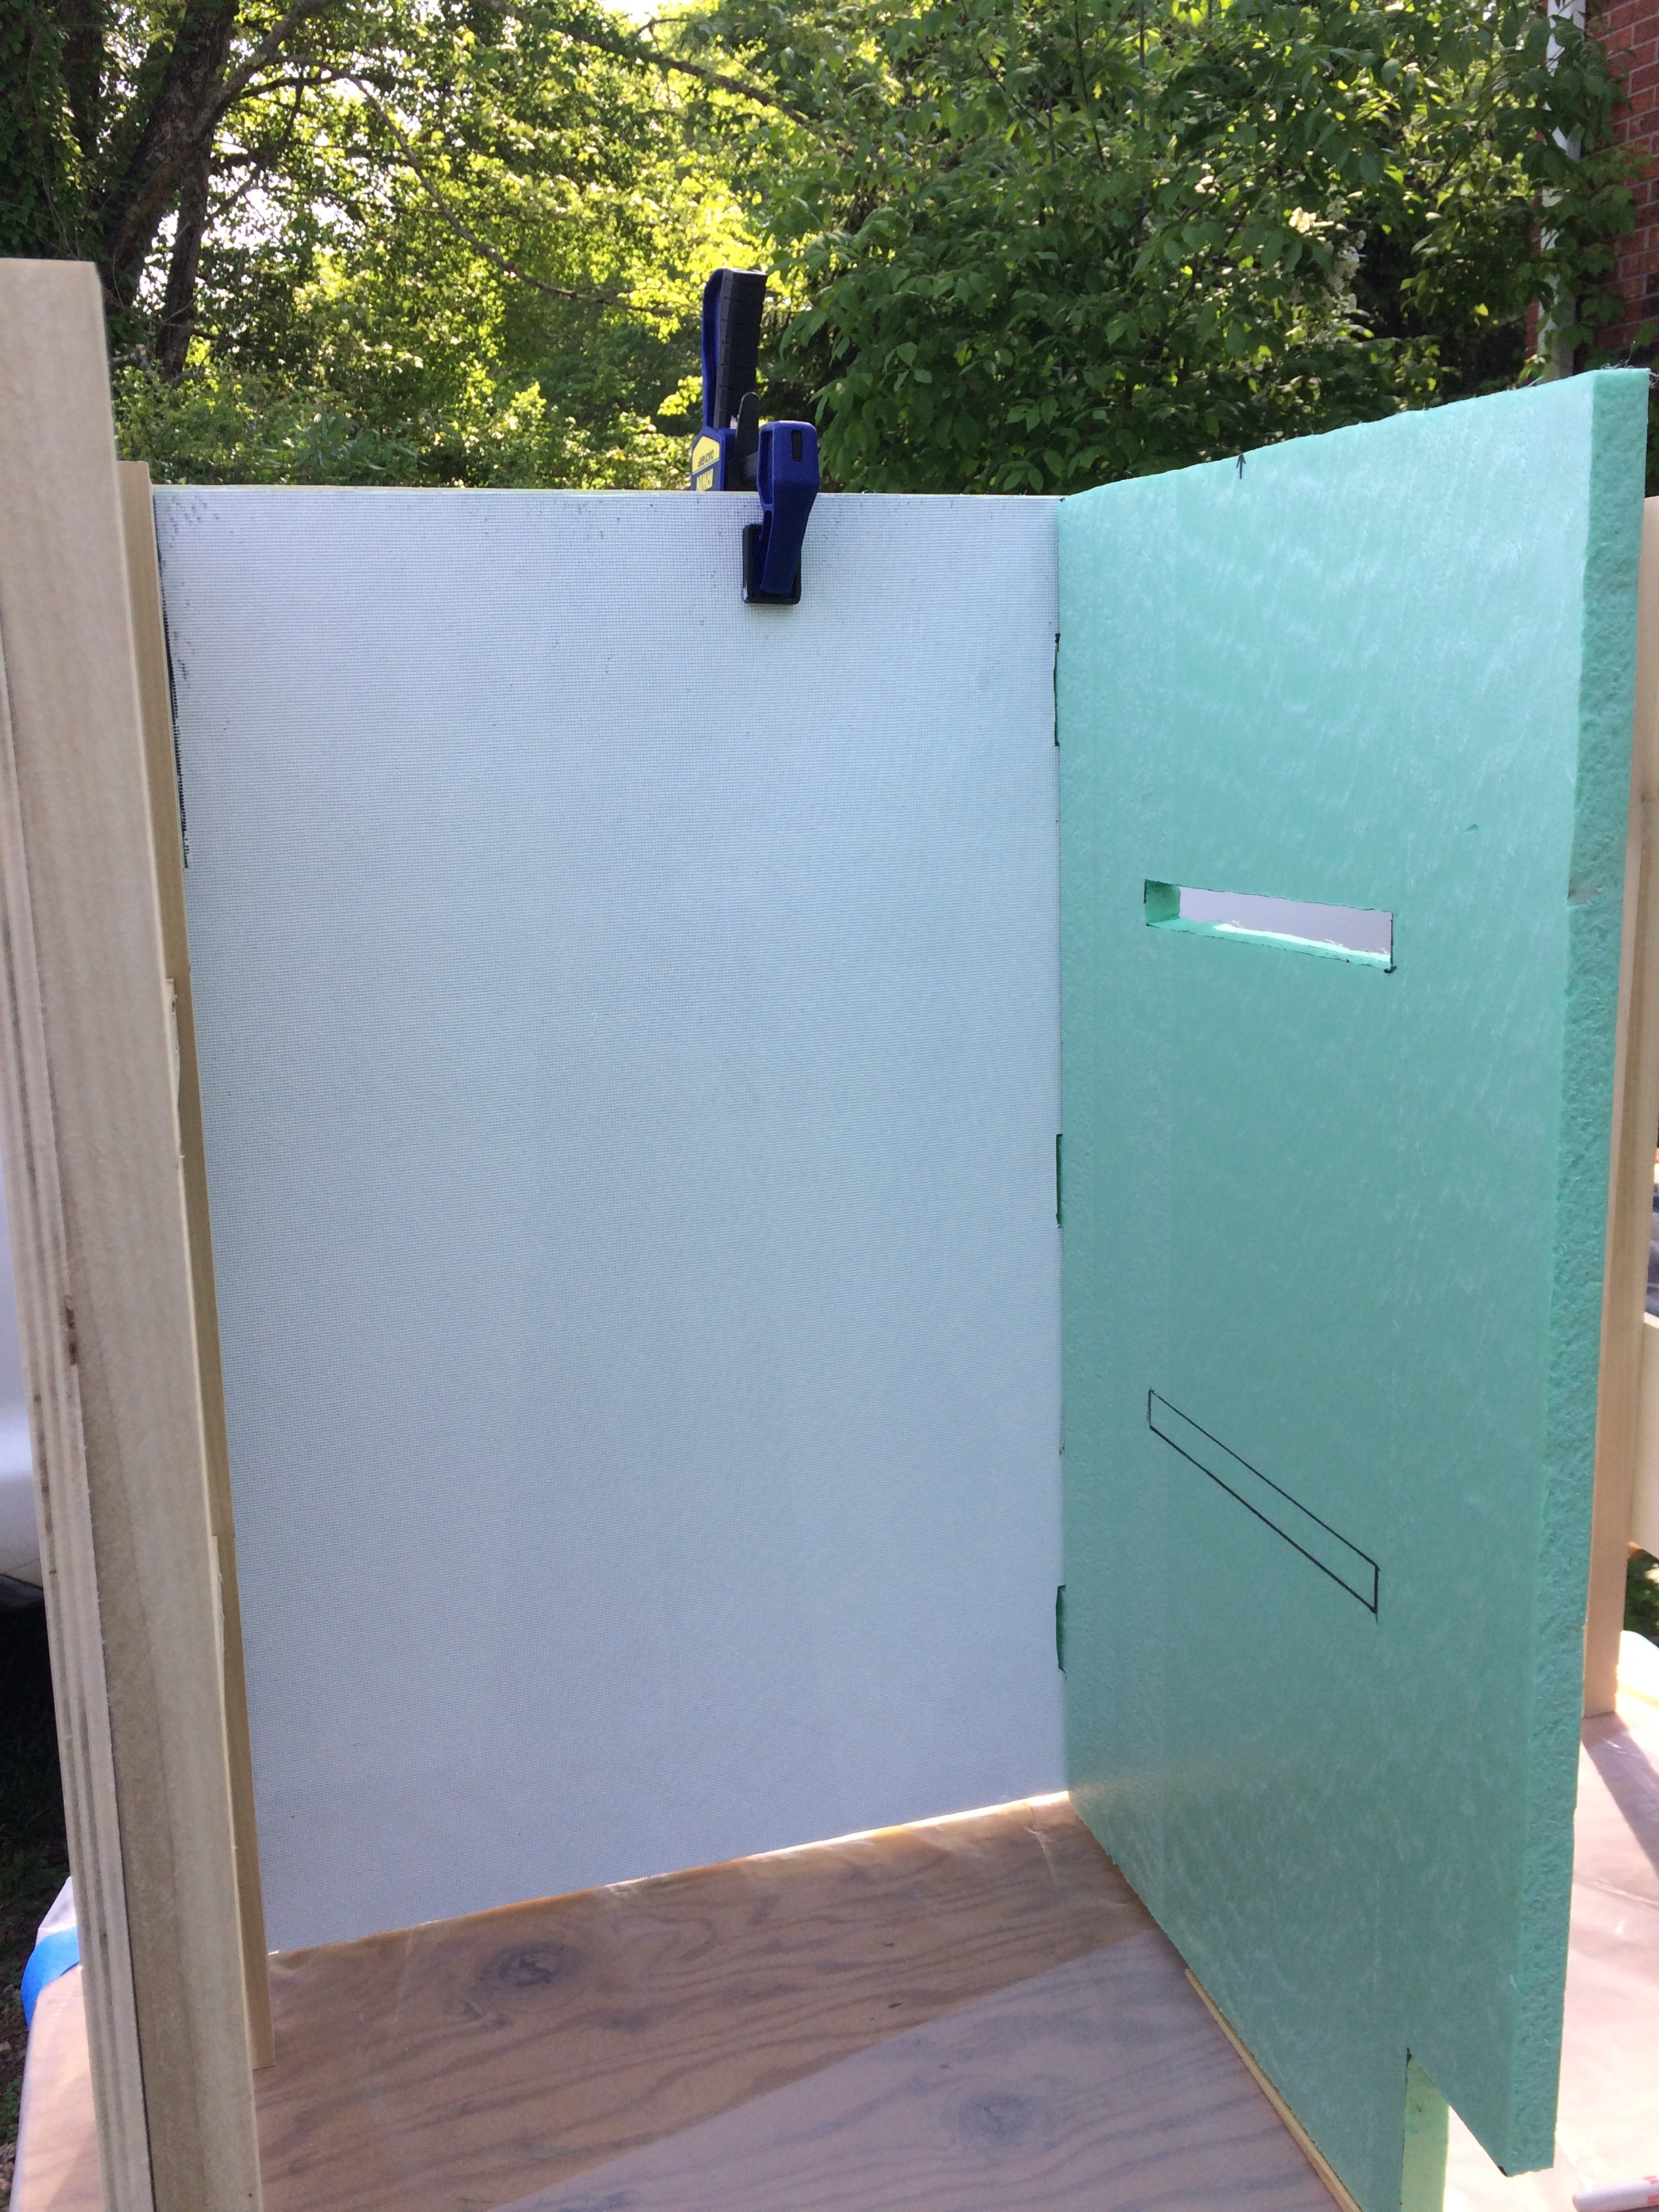
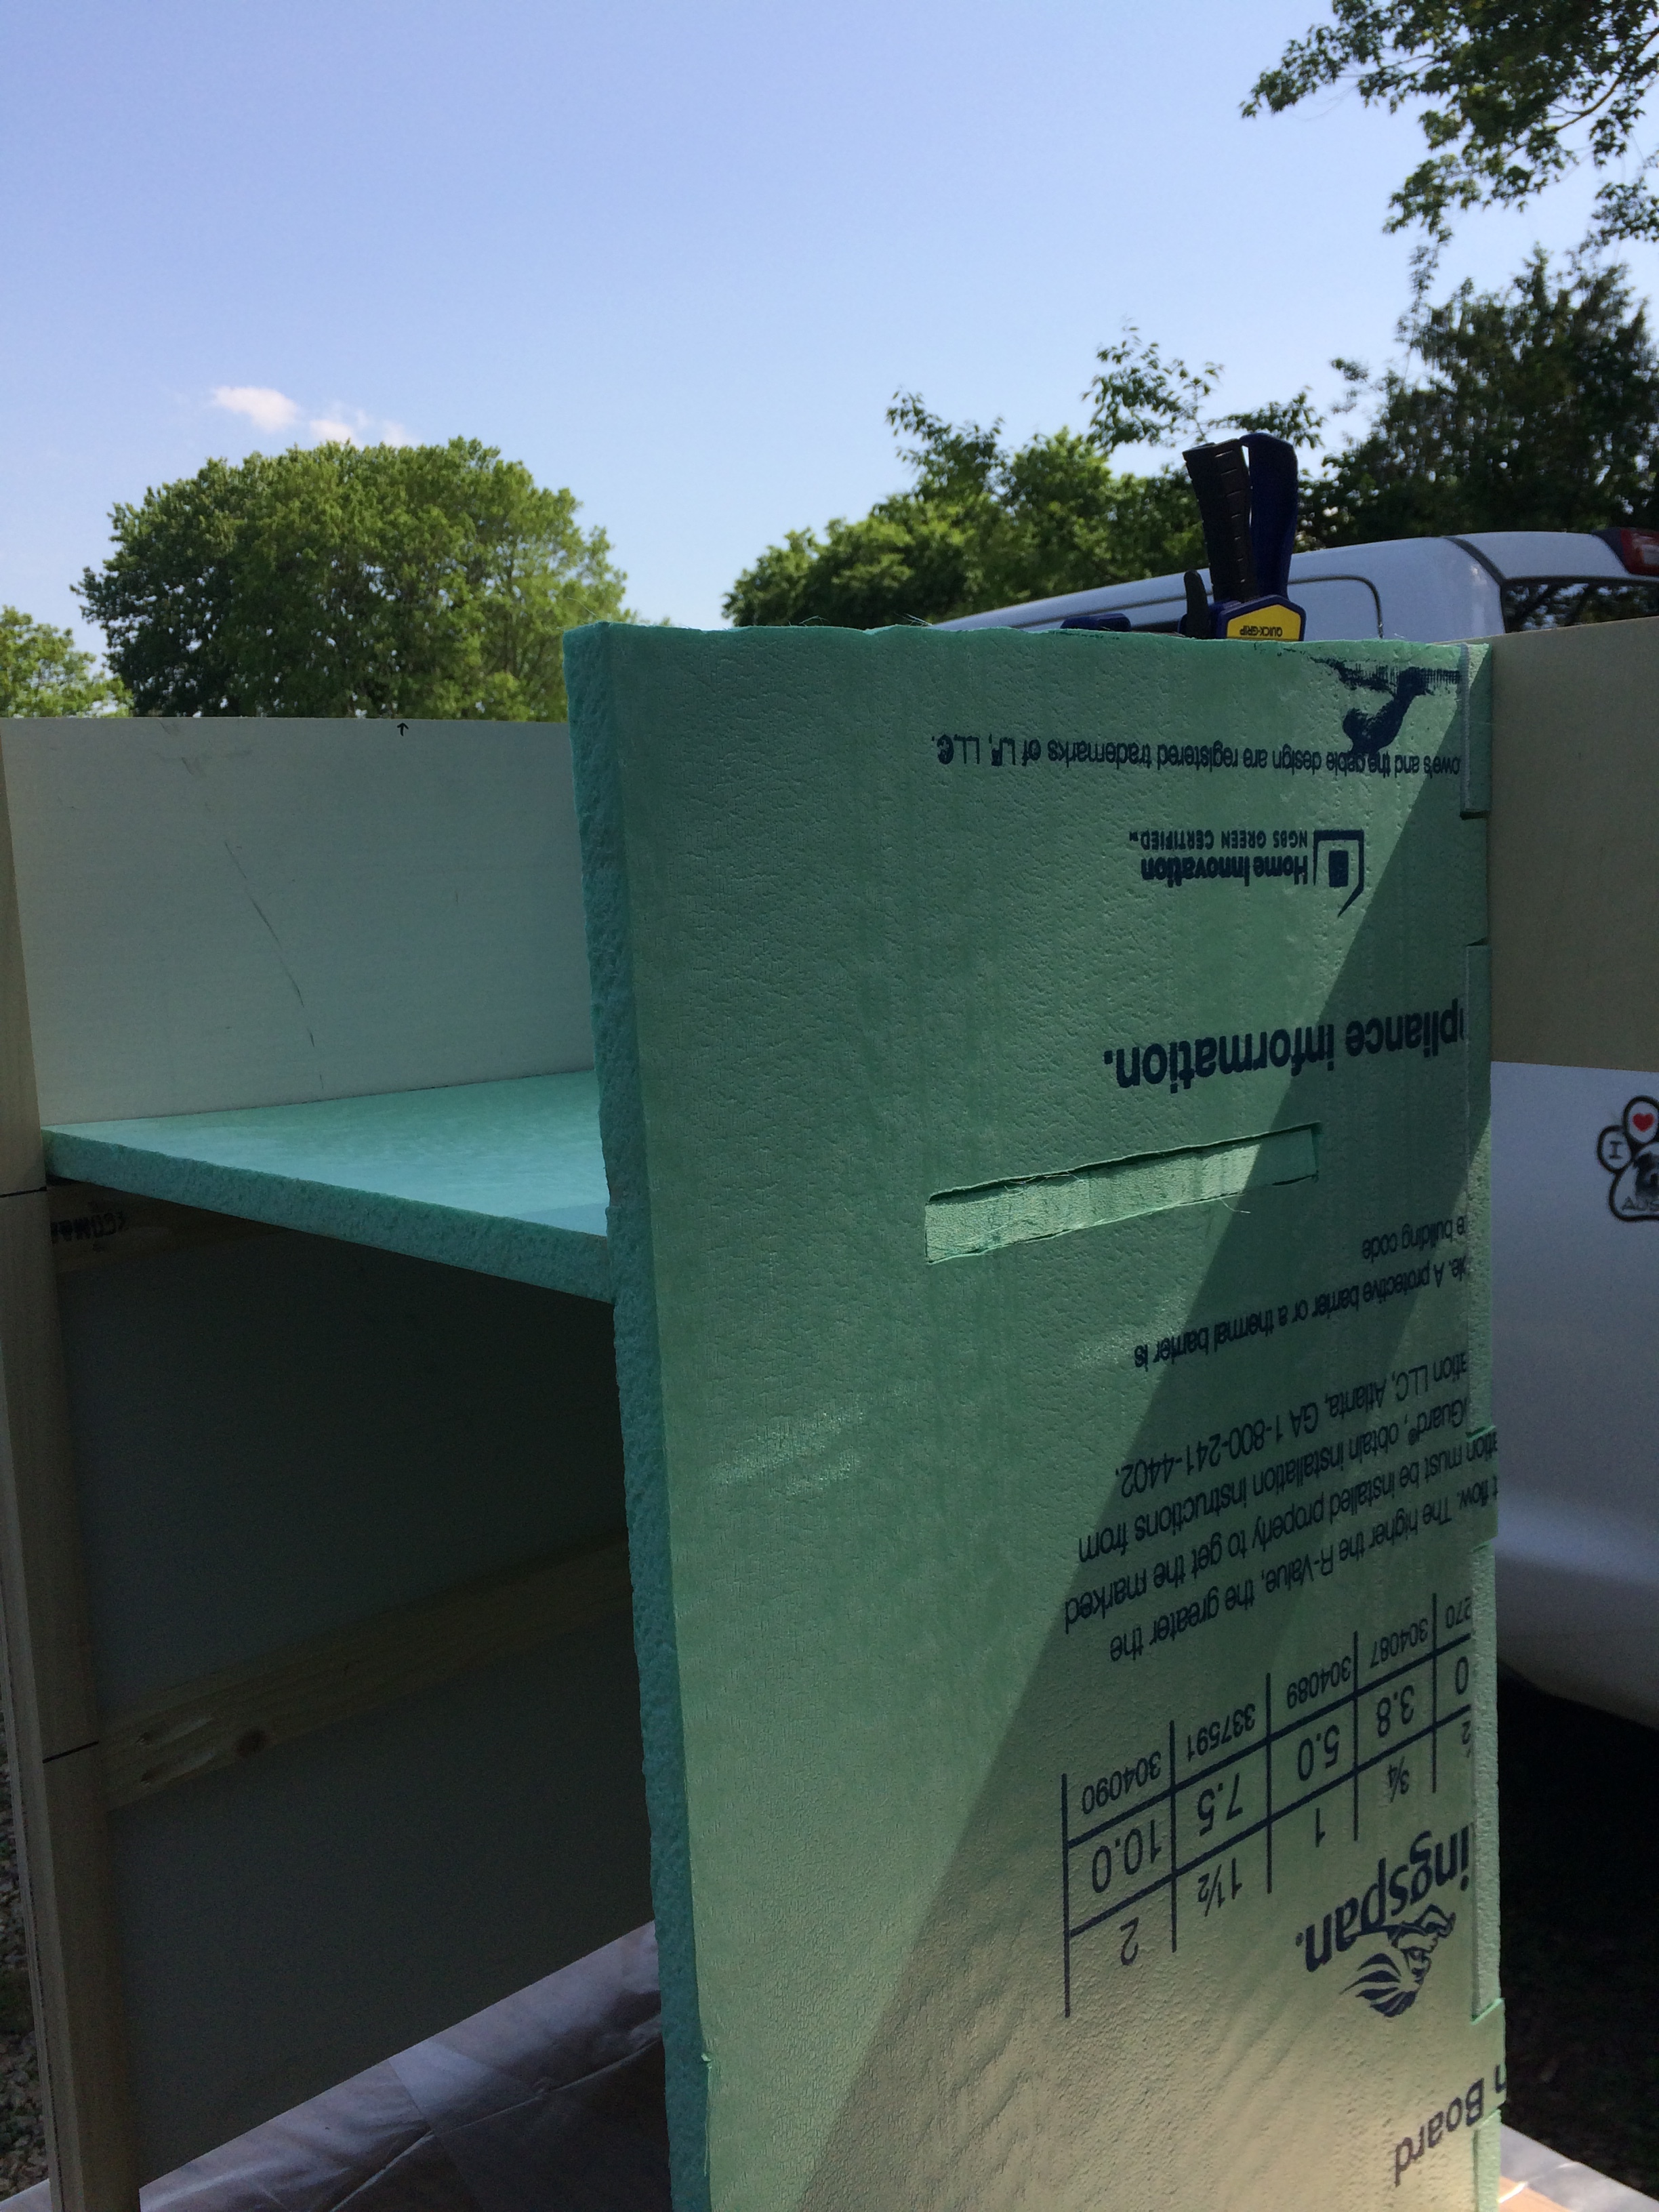
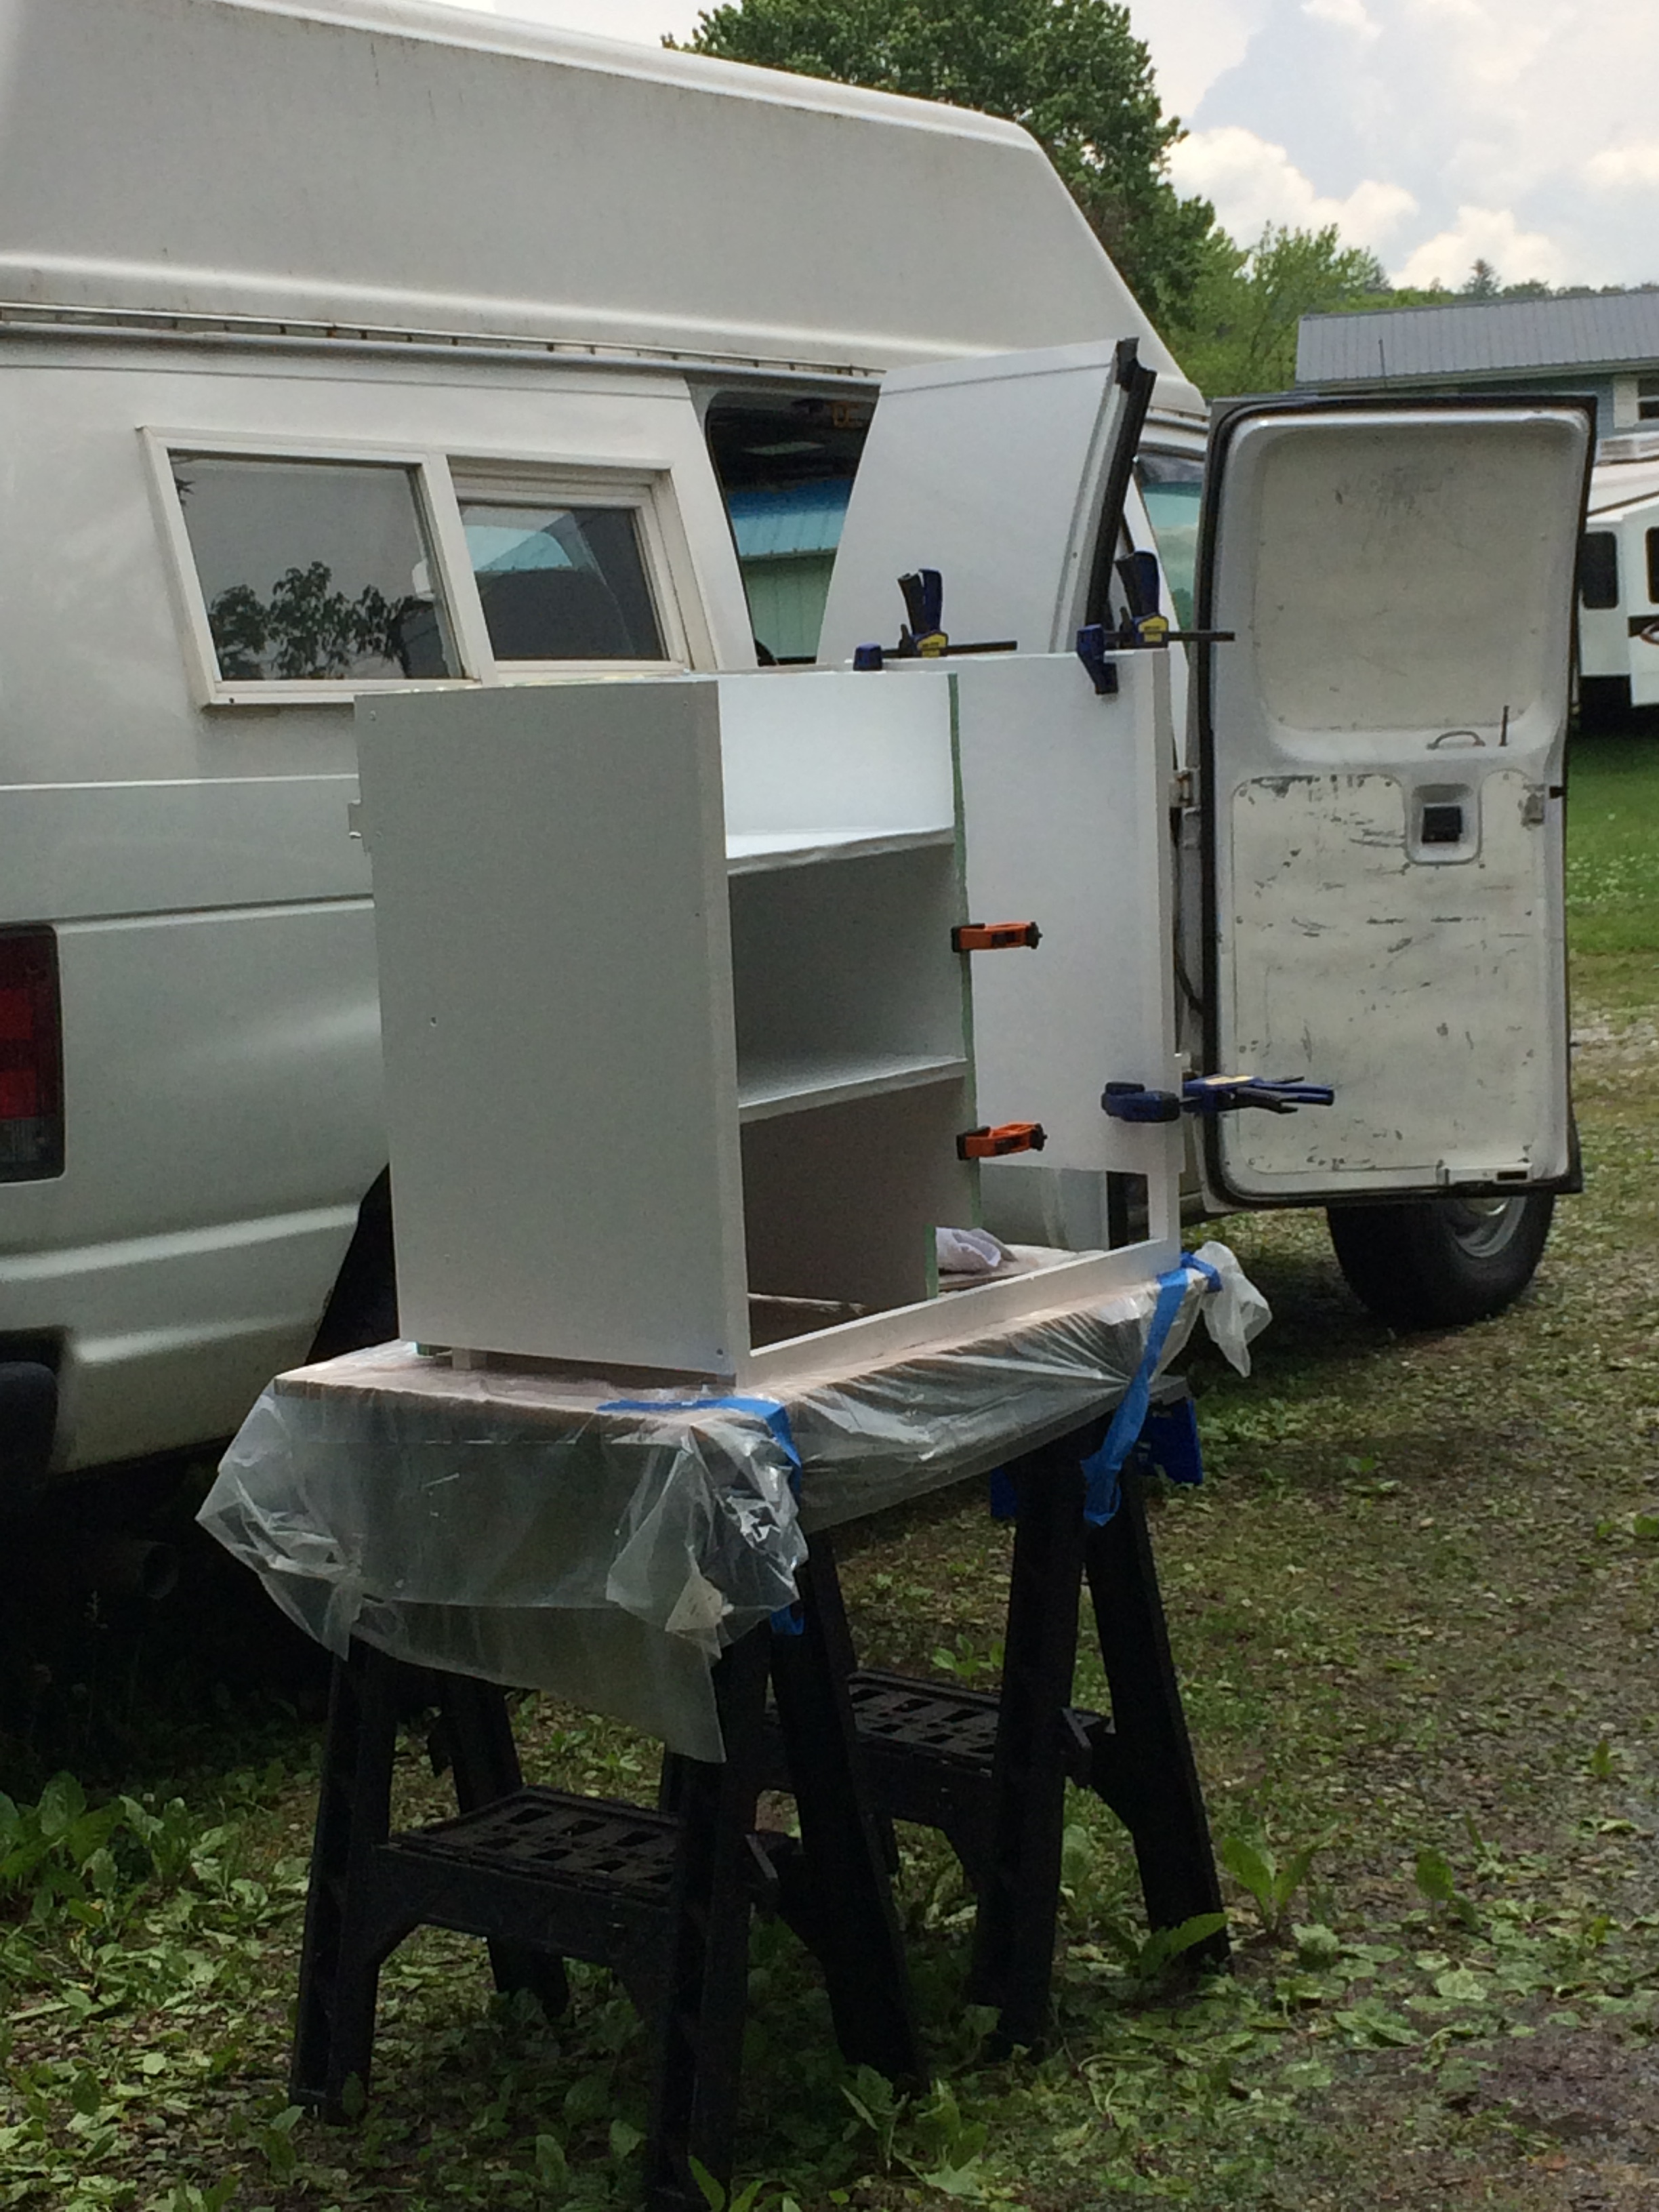
I ended up using two different construction methods for cabinetry. One was standard wood (with 1x2’s for the most part) which is heavier and quite sturdy, and then one with foam, paint and fiberglass screening, which is very light and remarkably sturdy, if not quite up to the loads of full on wood.
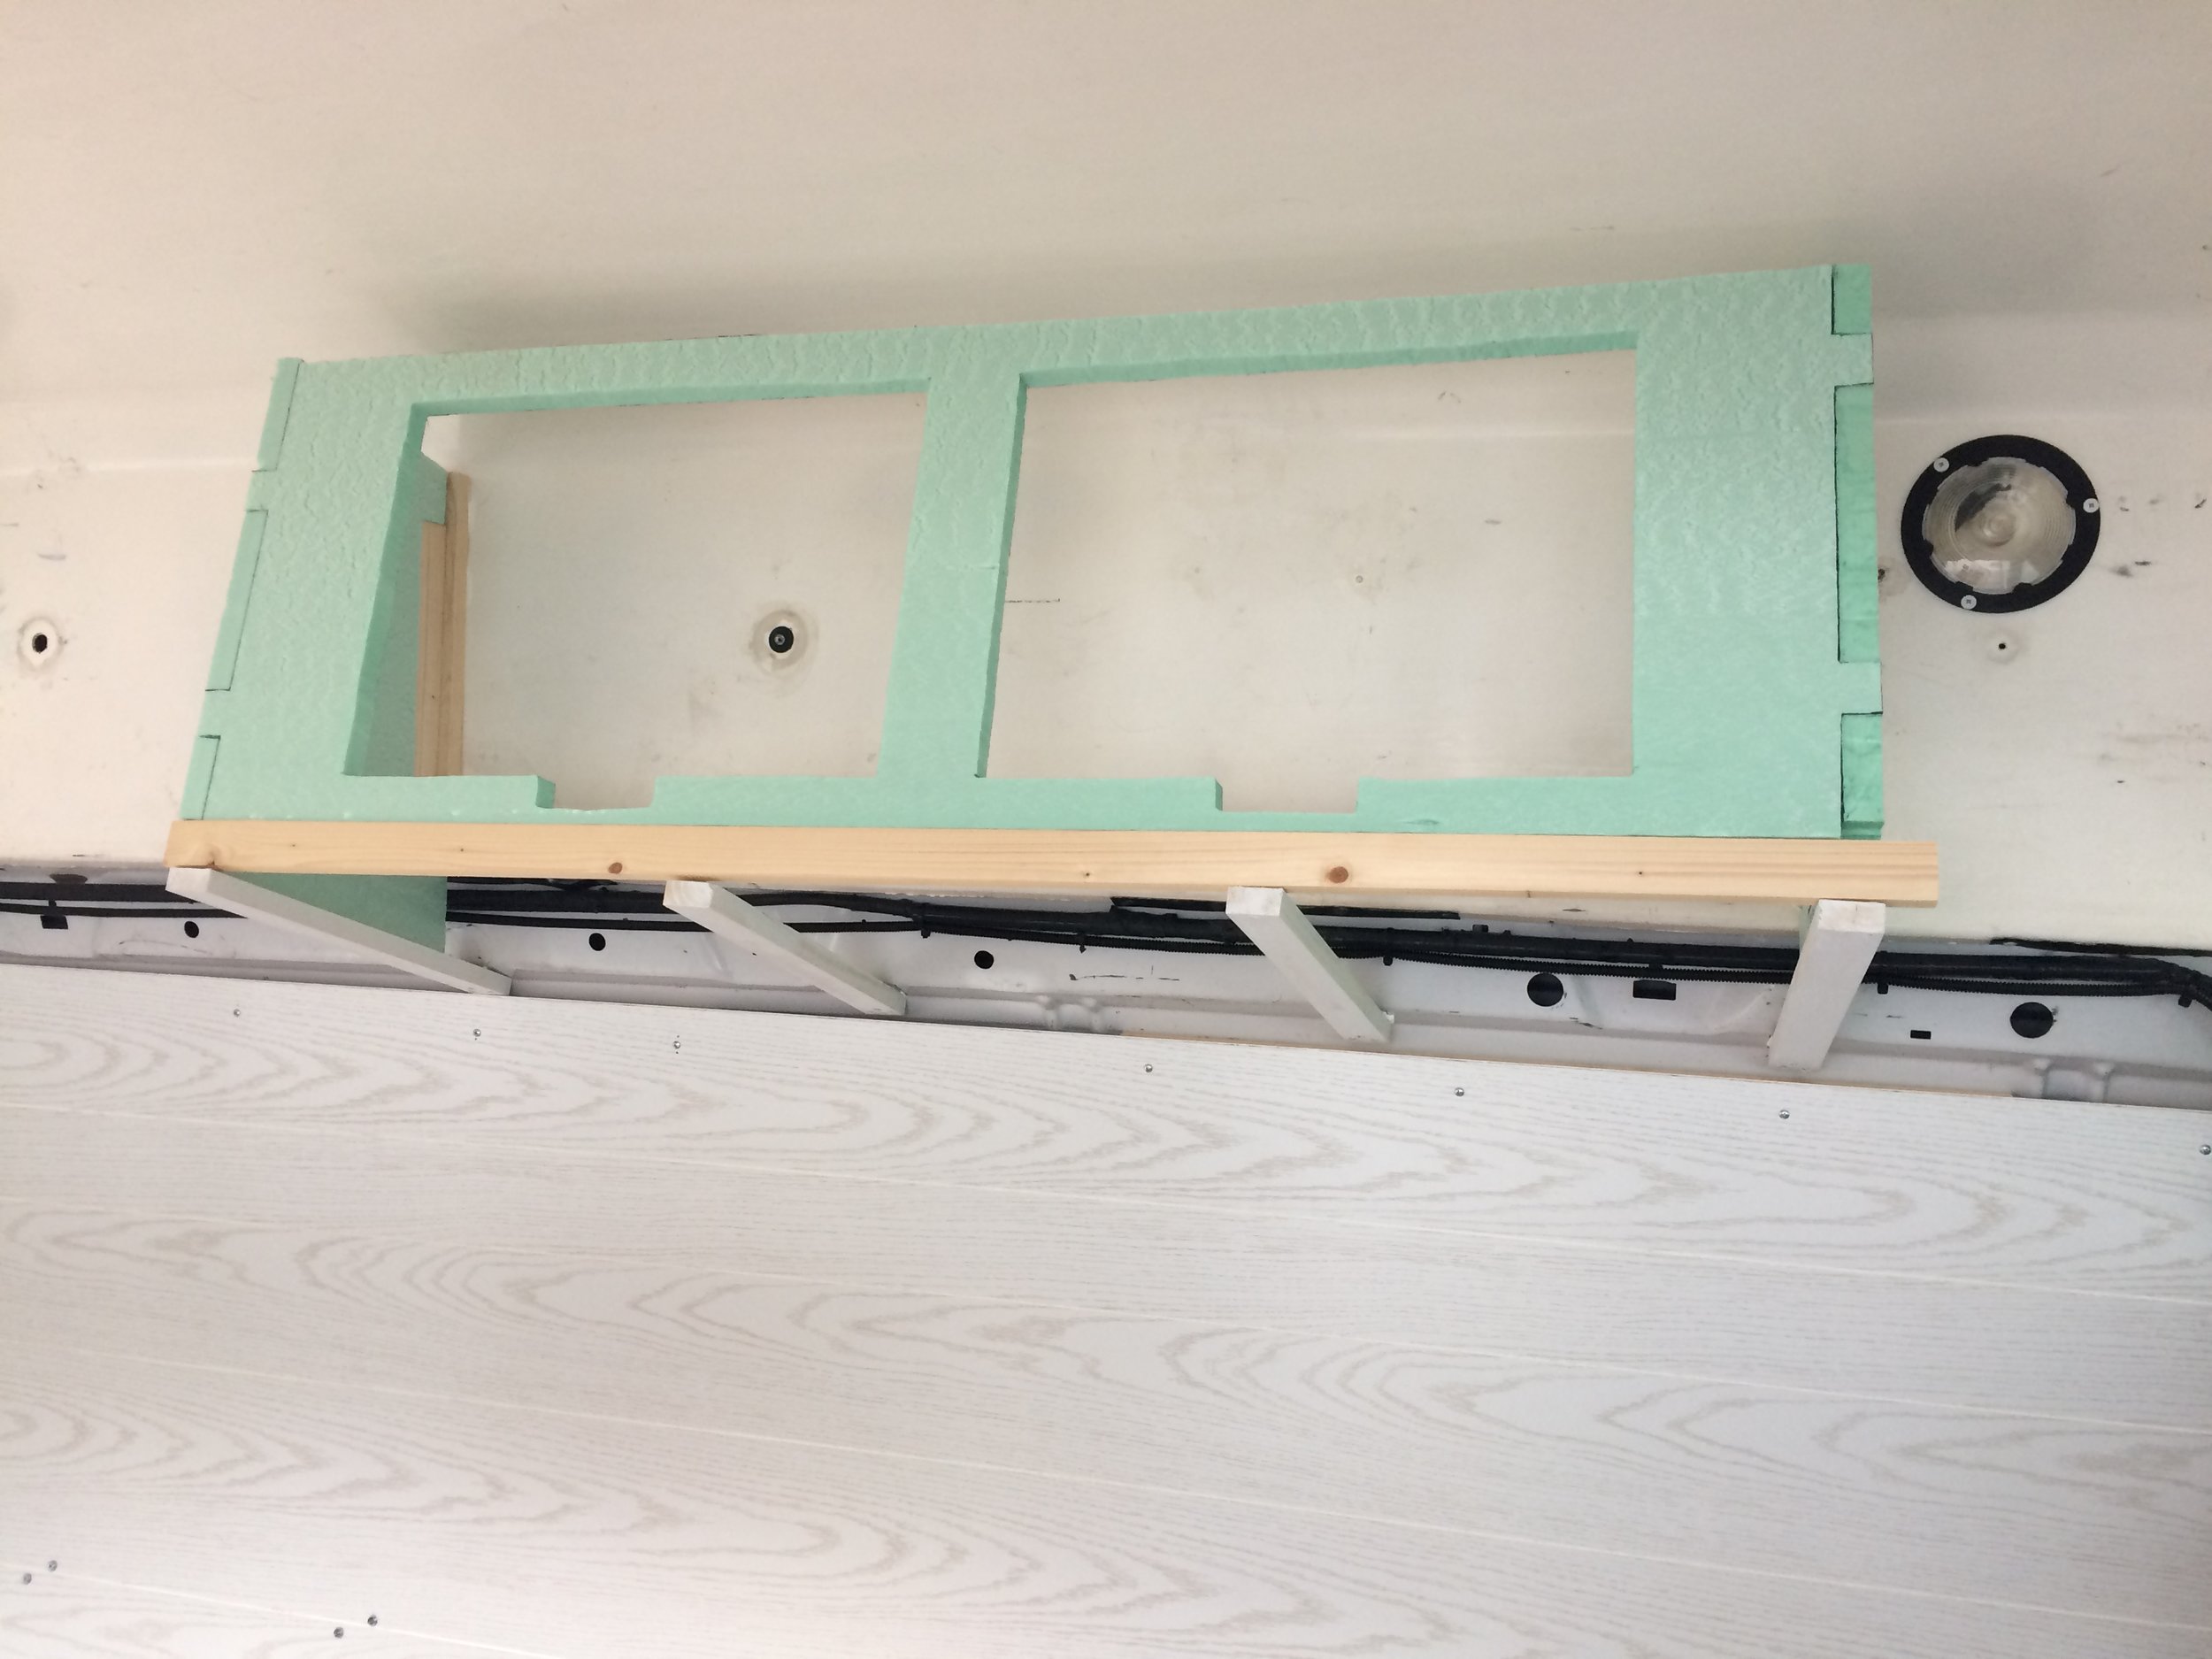
I made 2 foam cabinets, one upper and one lower for the drivers side where I wanted less weight. I did those first.
Here are a couple of Youtube links that I watched first before I attempted this:
I had never built anything this way before, so I watched the Youtubes and then tried it! The materials are cheap enough that I was not afraid to try and fail a few times if necessary! I used a combination of both methods. I am not going to go over everything in the Youtube videos here, if this construction method is something you are interested in I highly recommend watching them yourself. I am just going to show you how it went for me:
You may remember these from an earlier post:

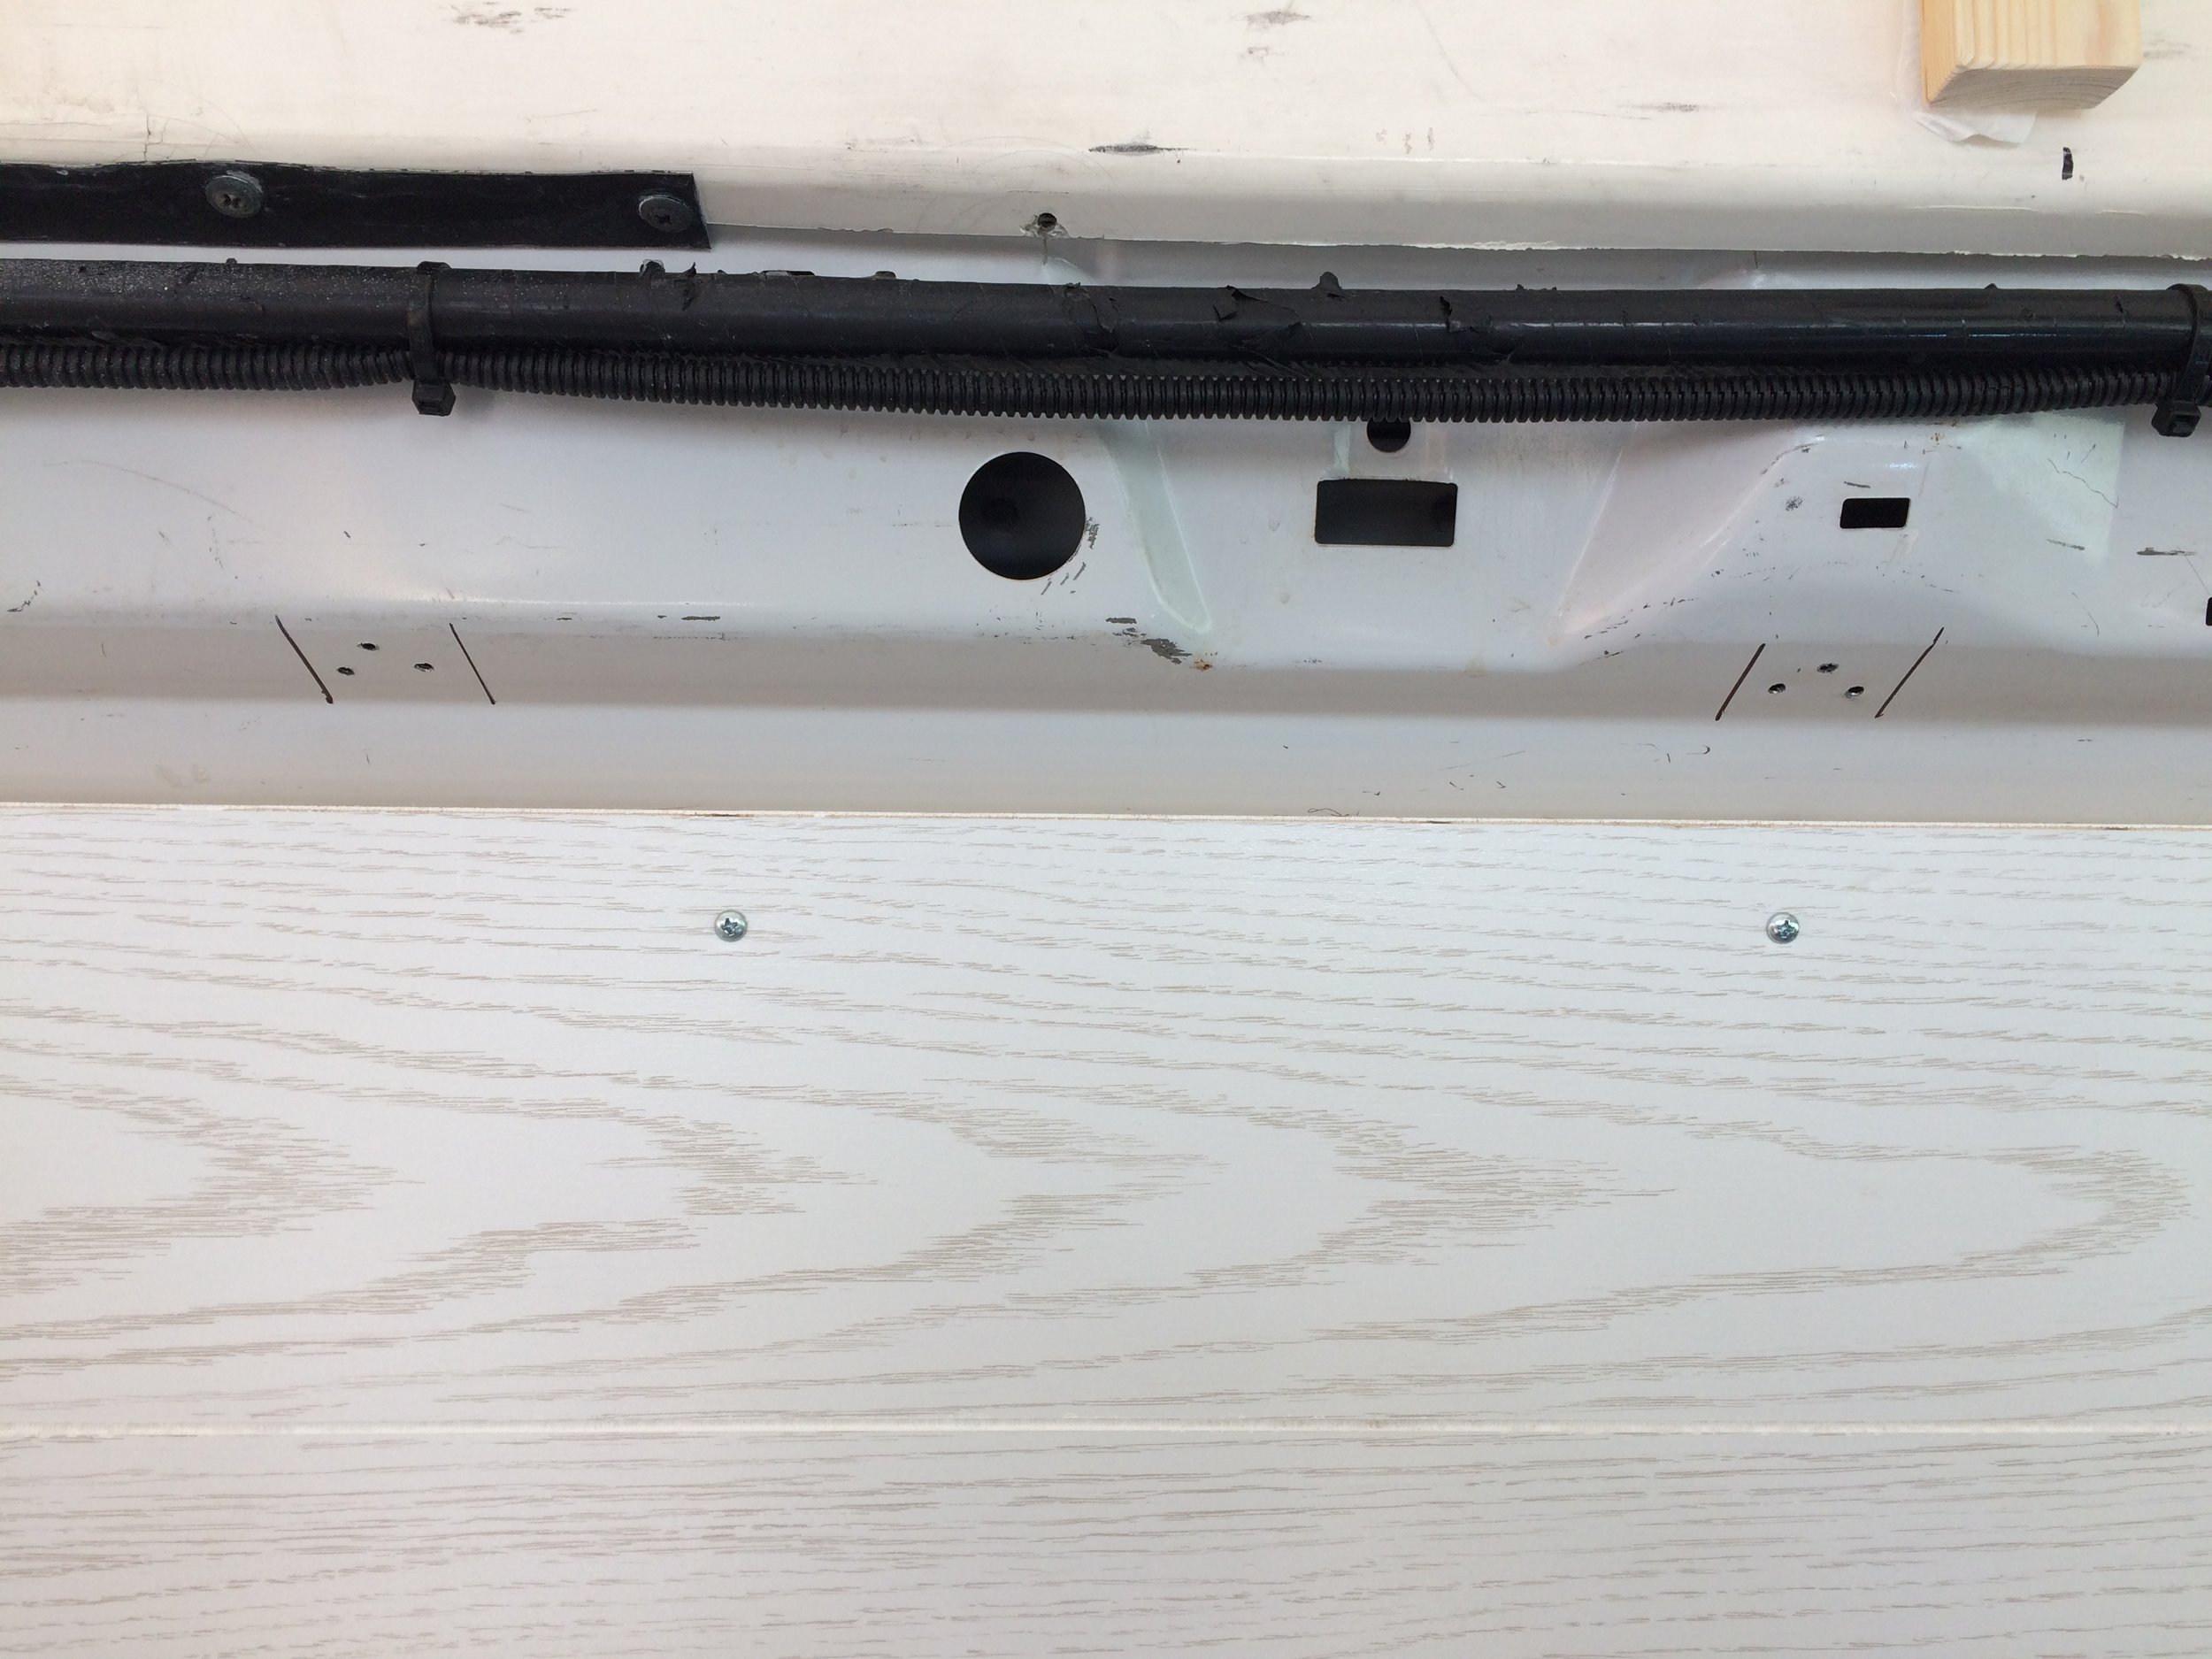
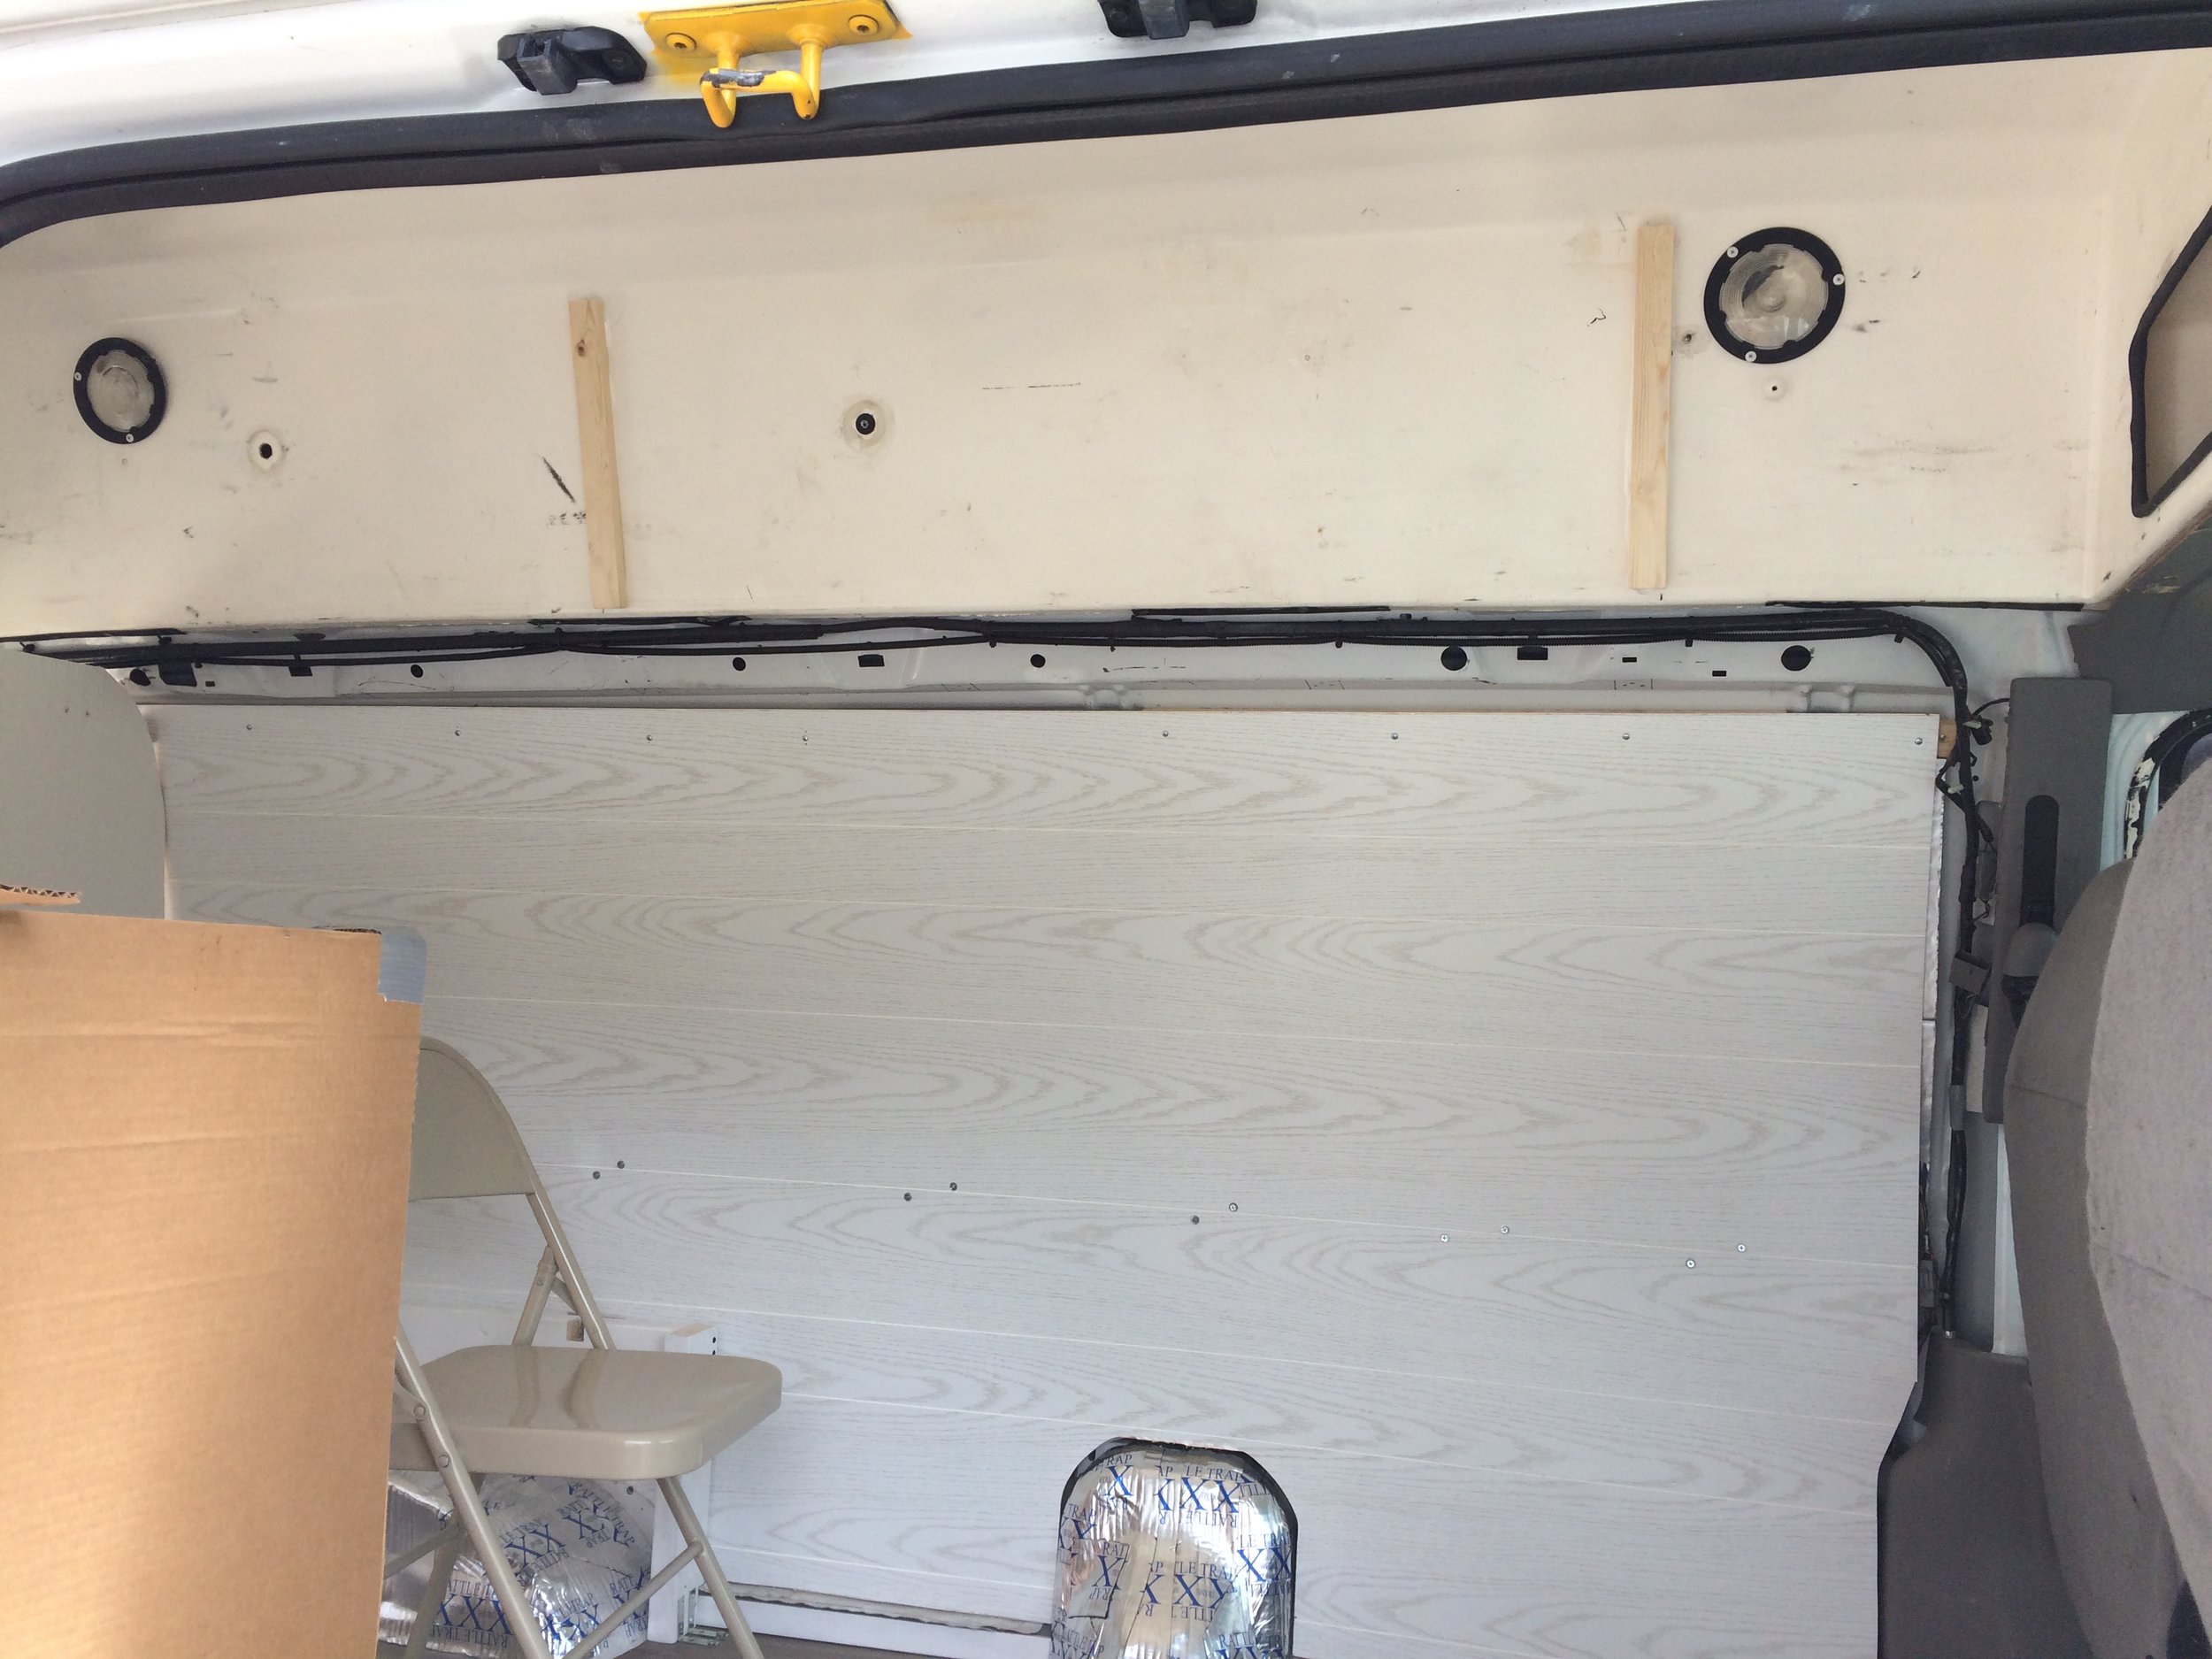
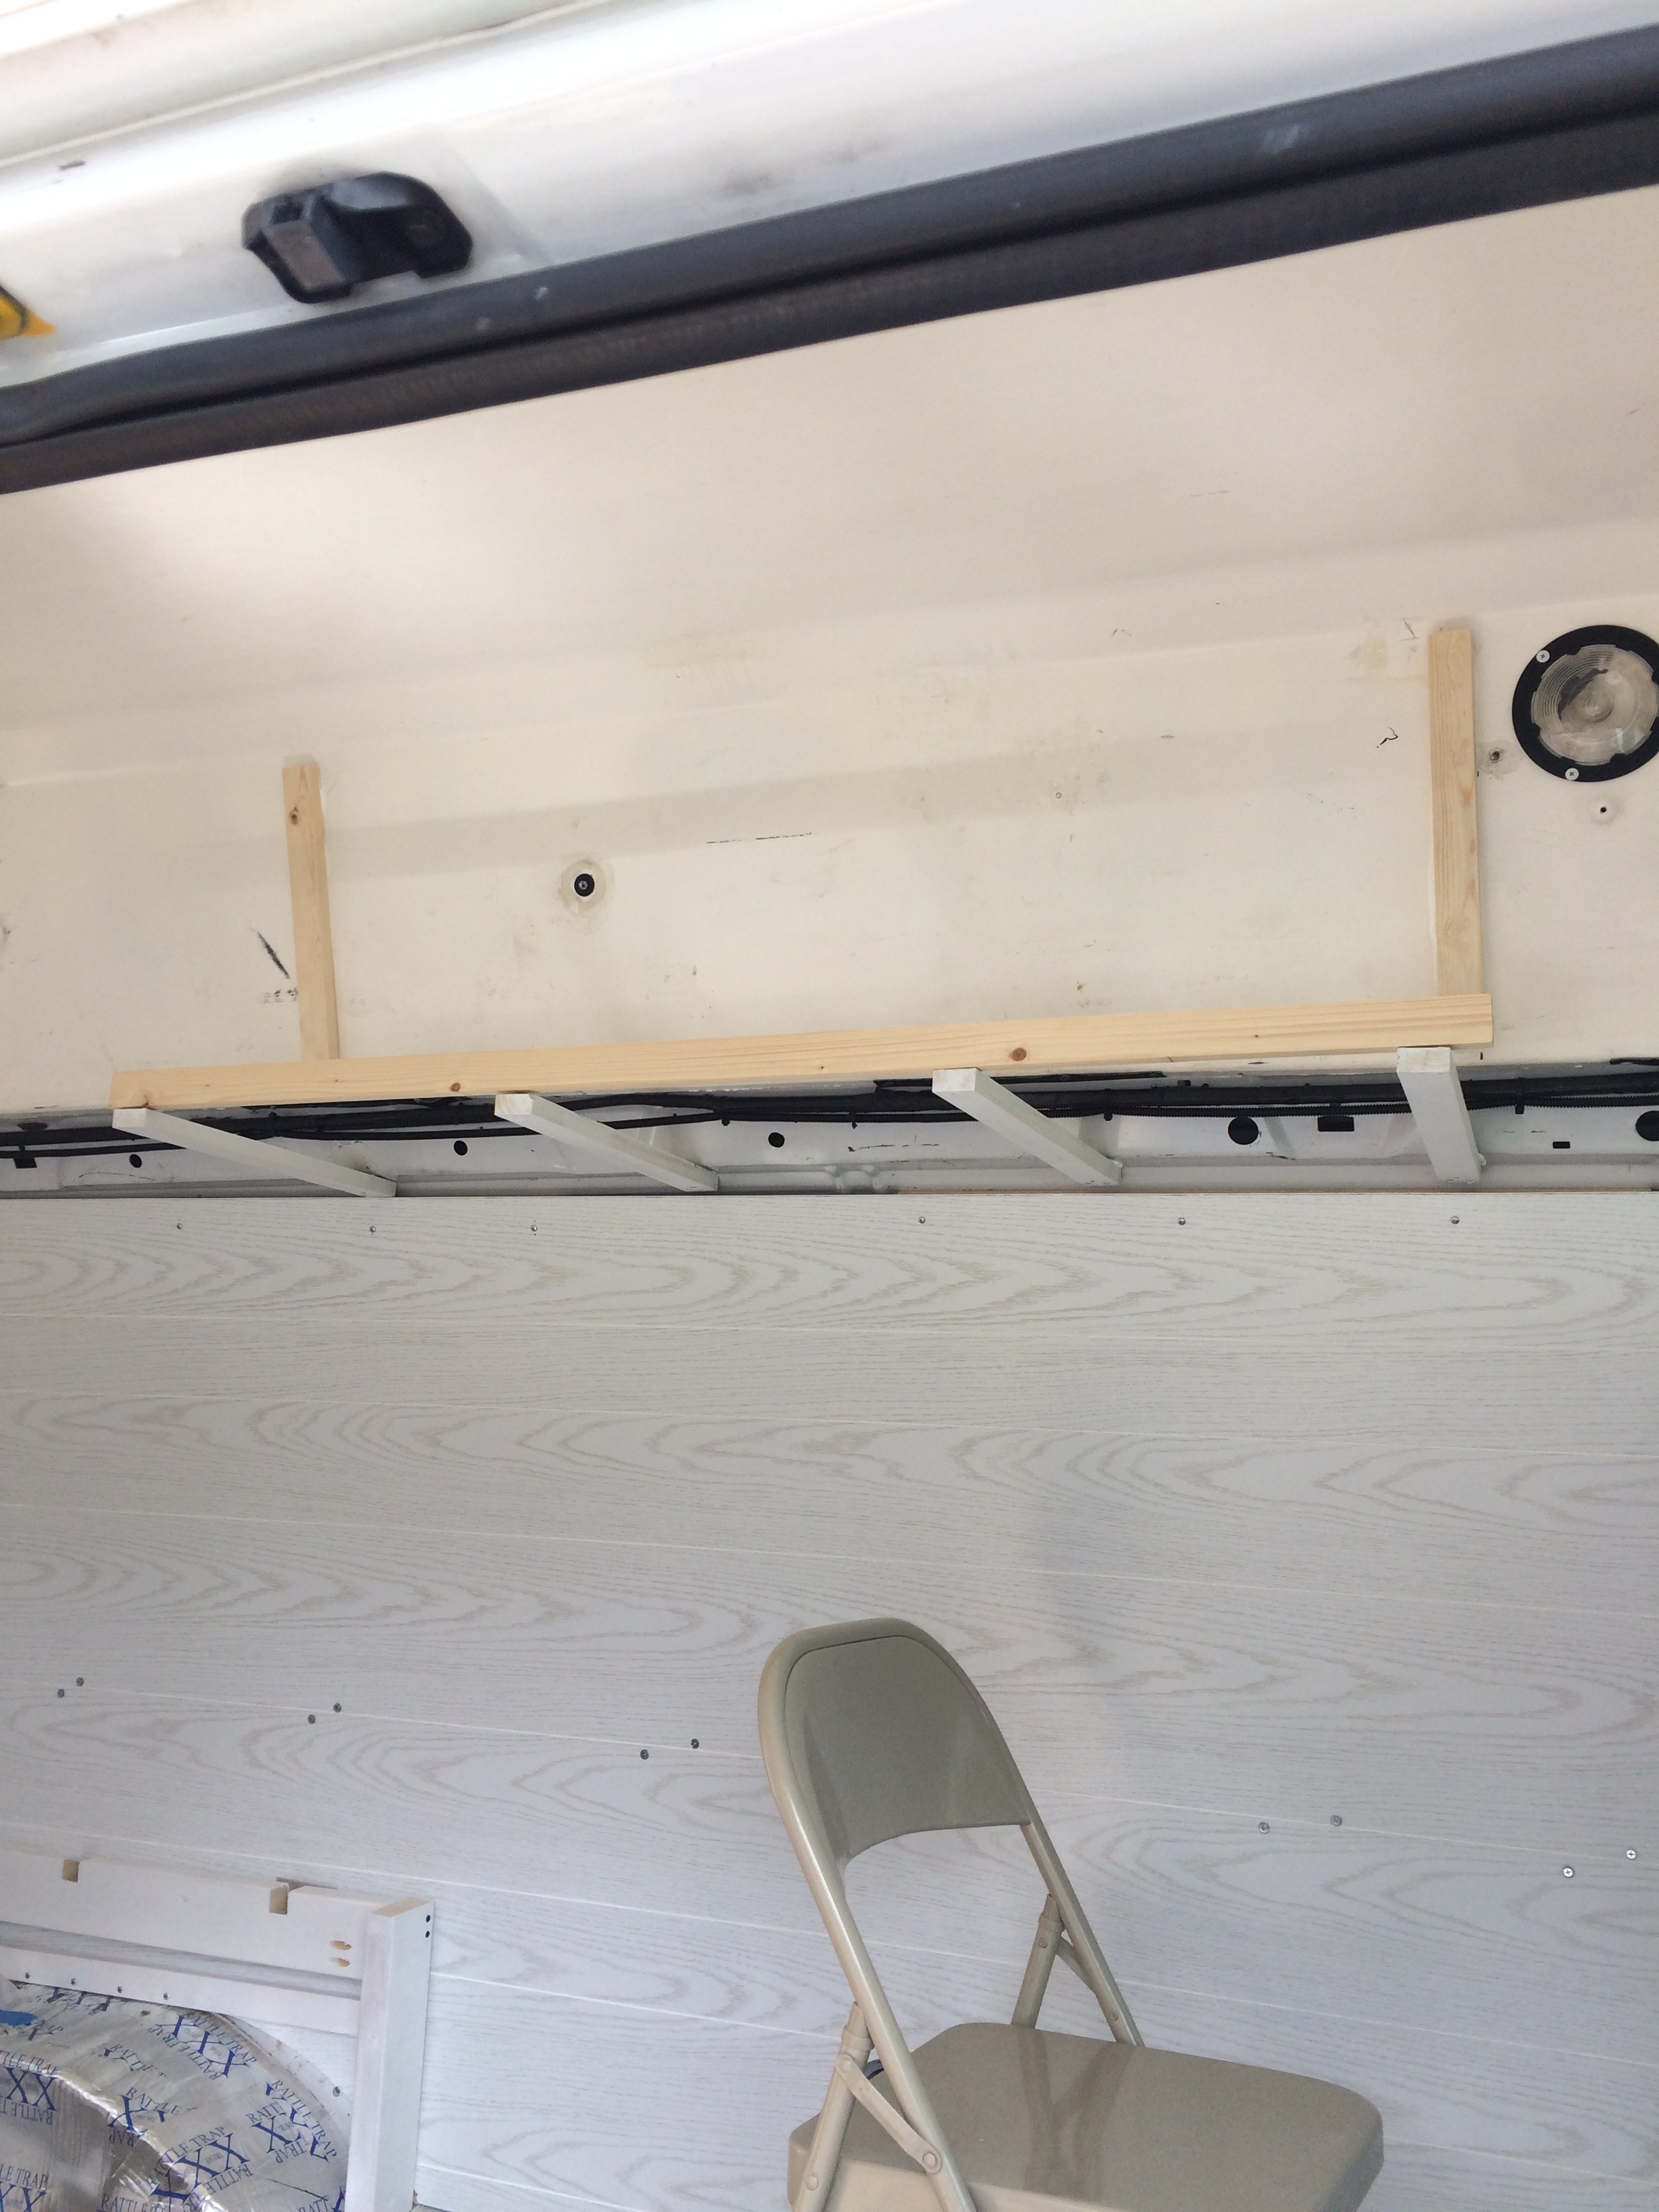
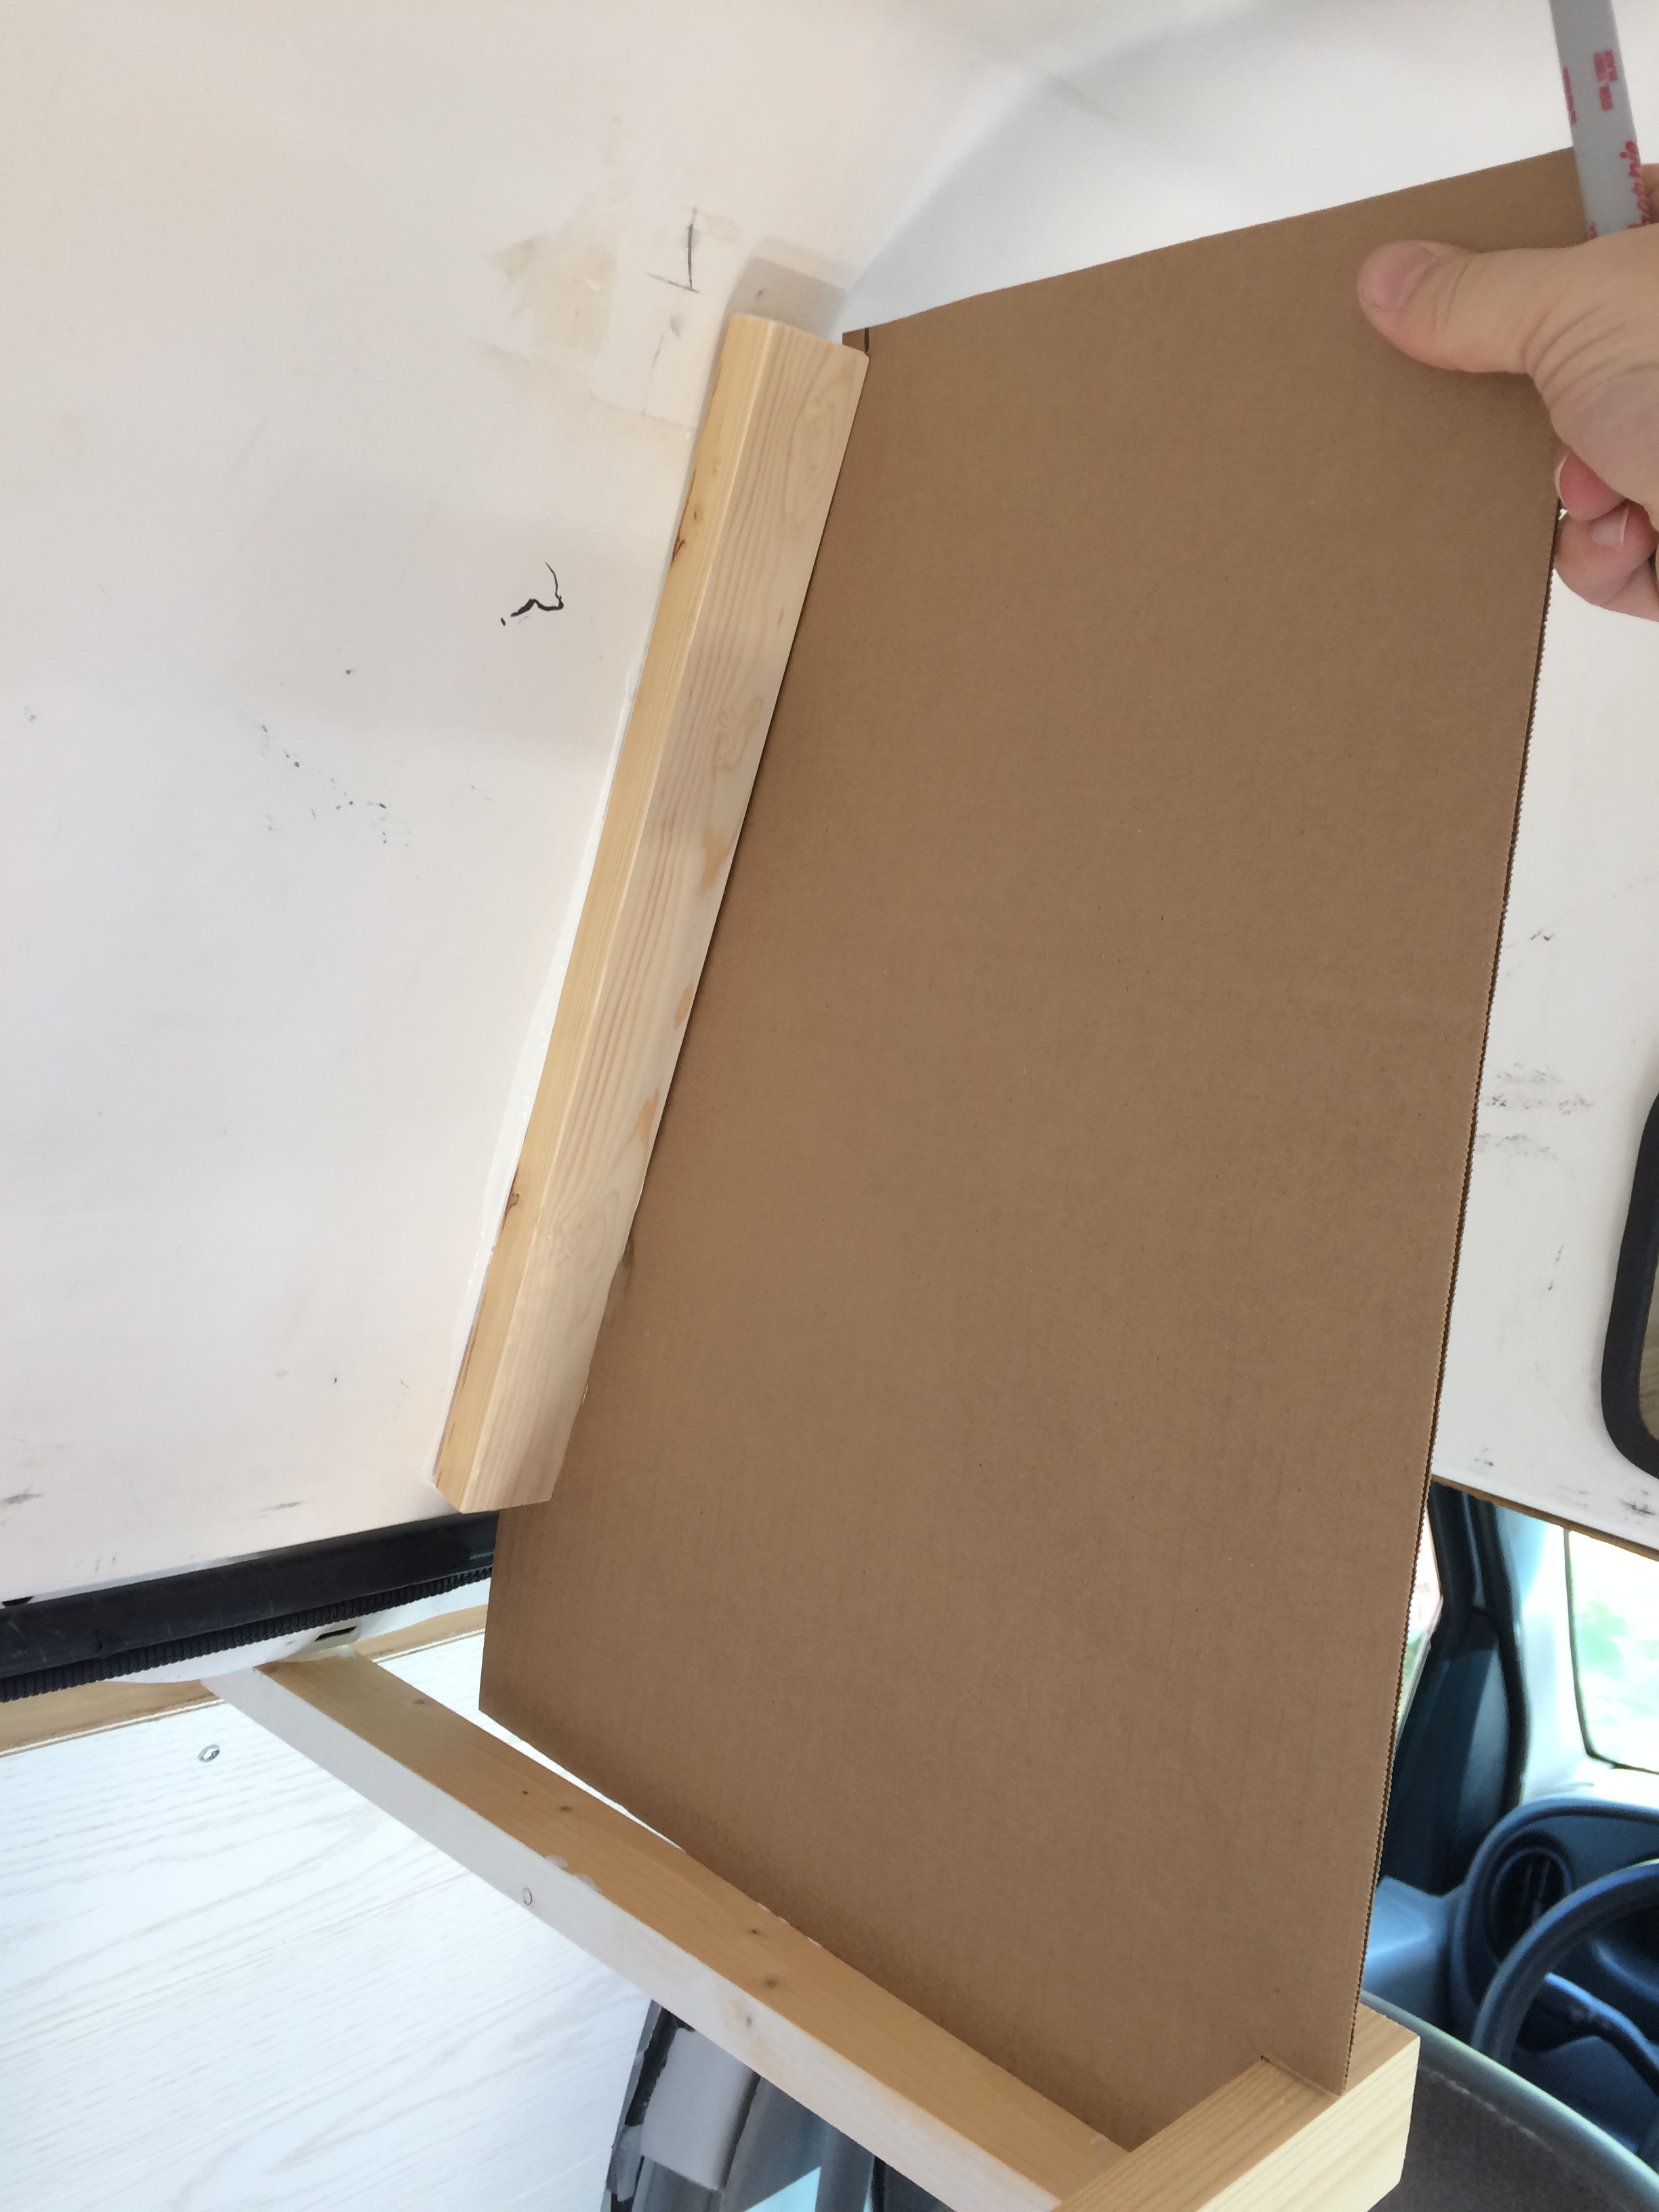
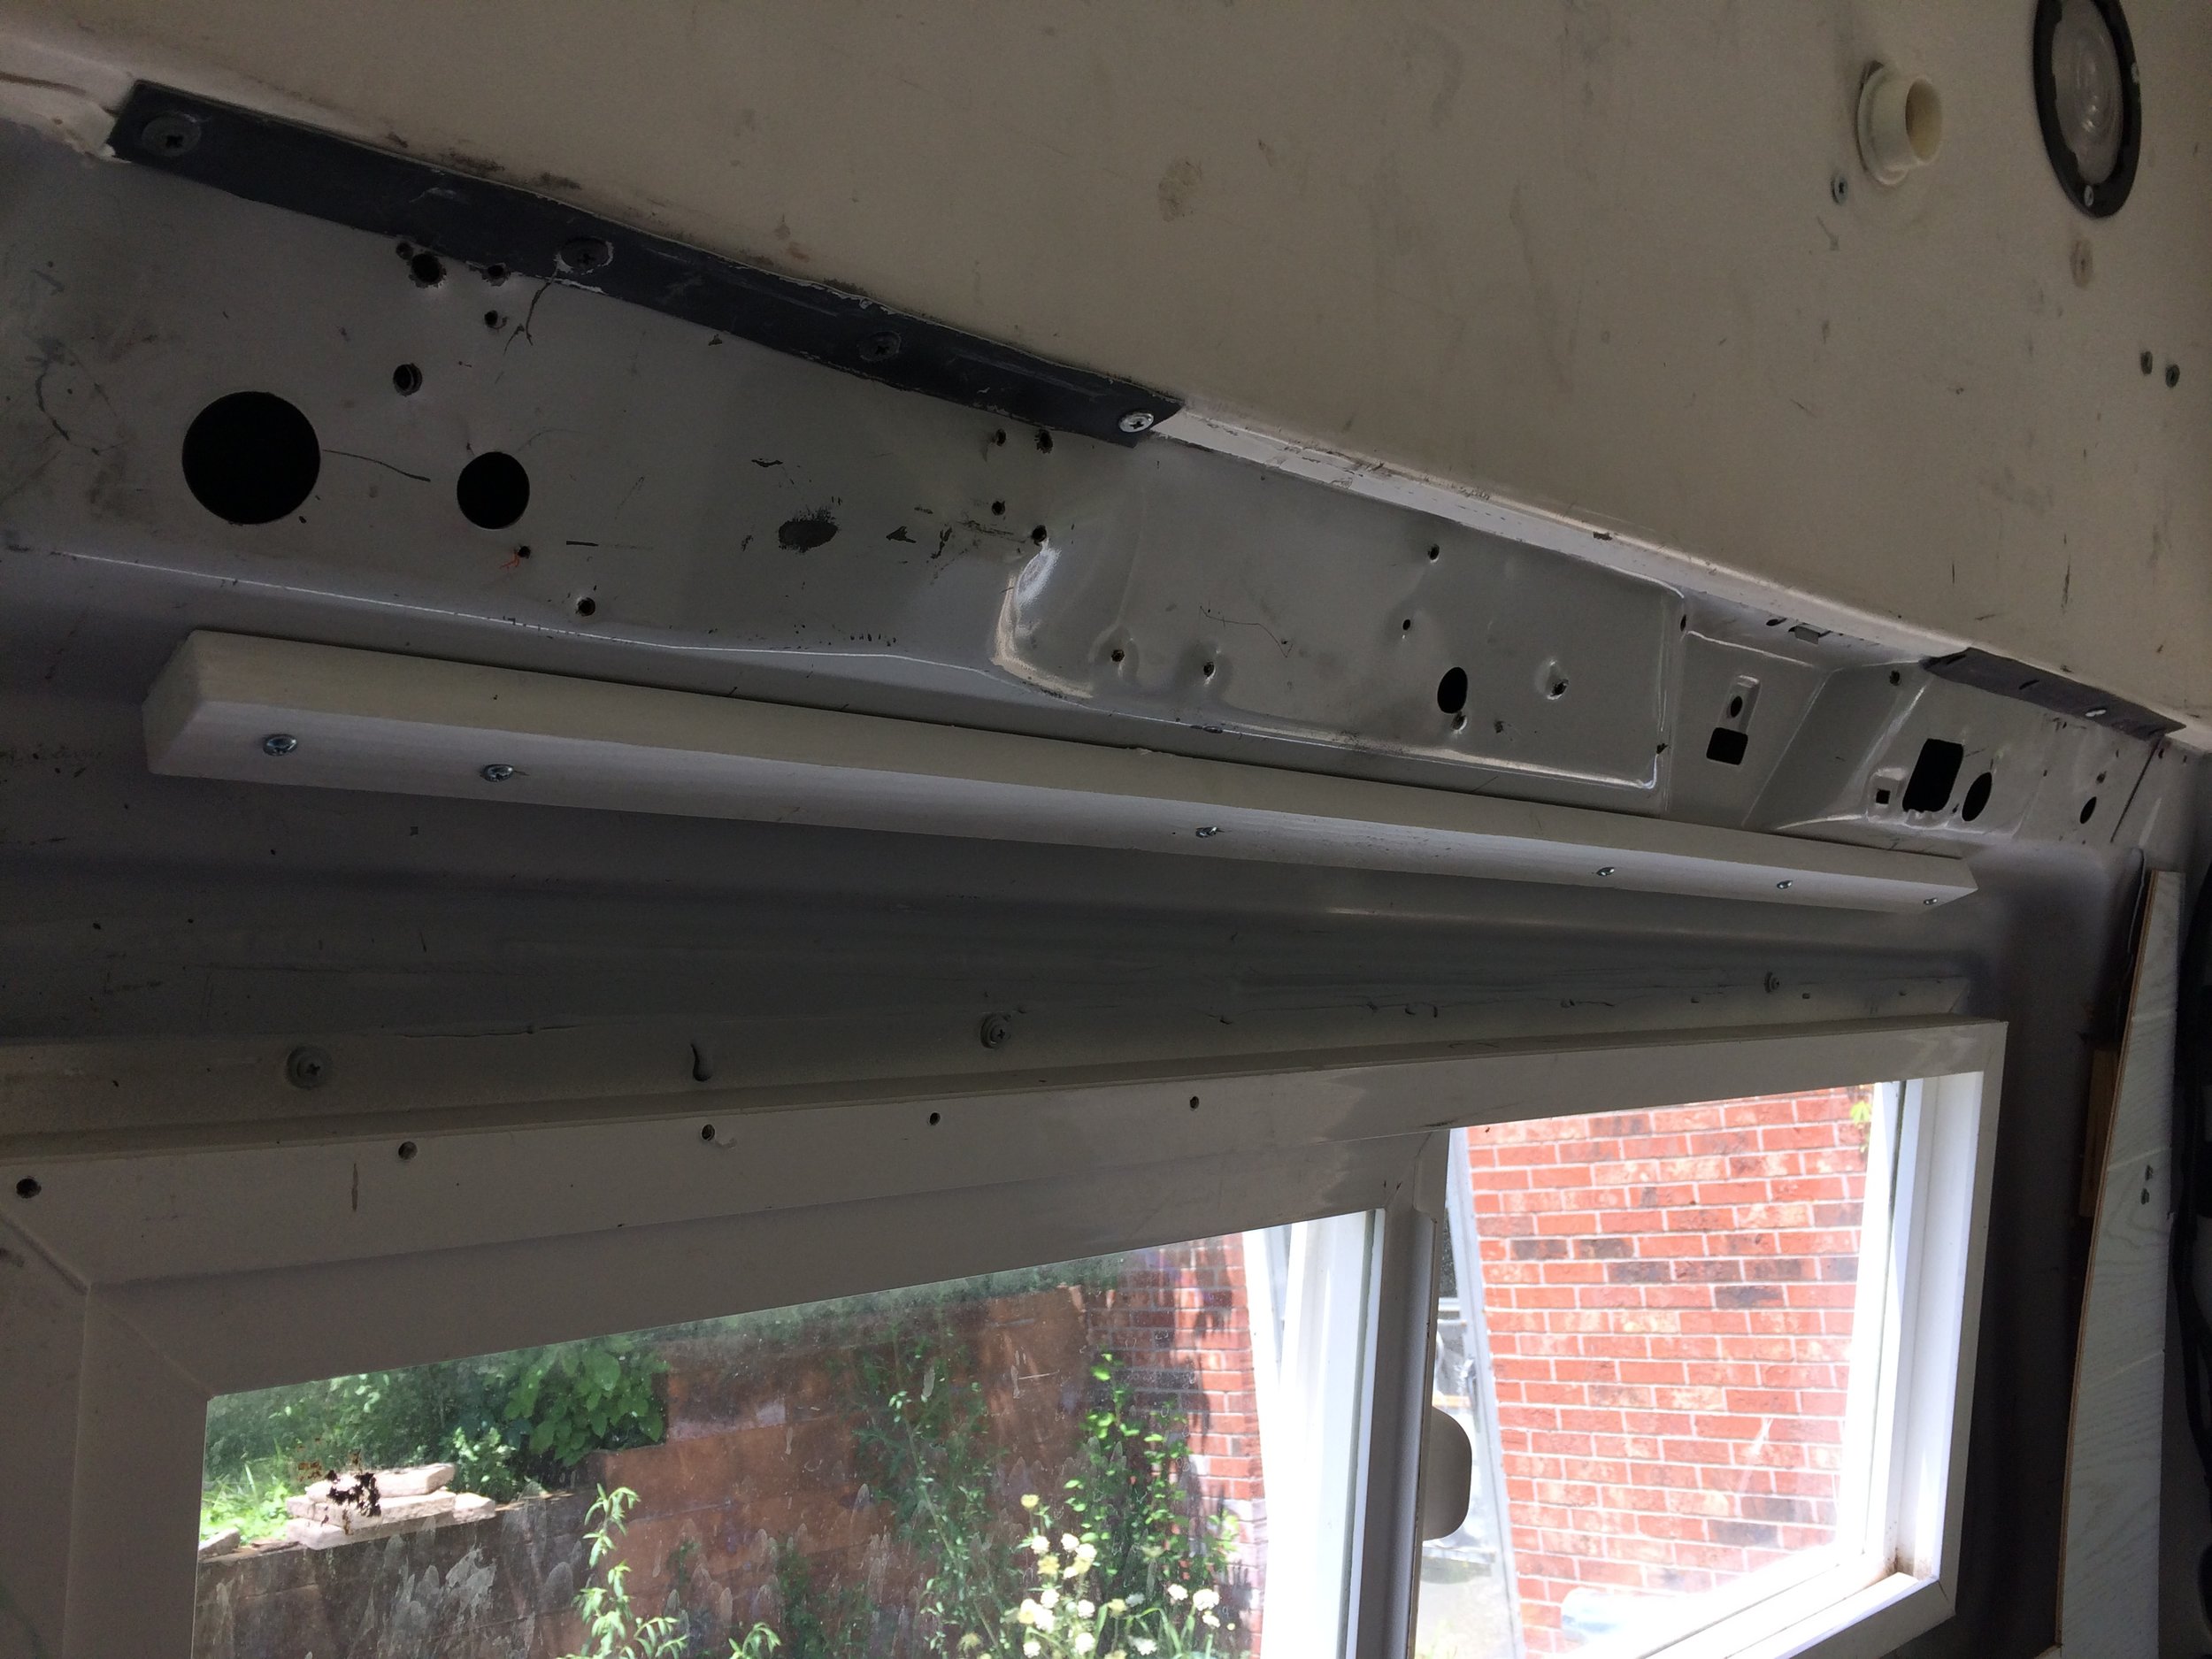
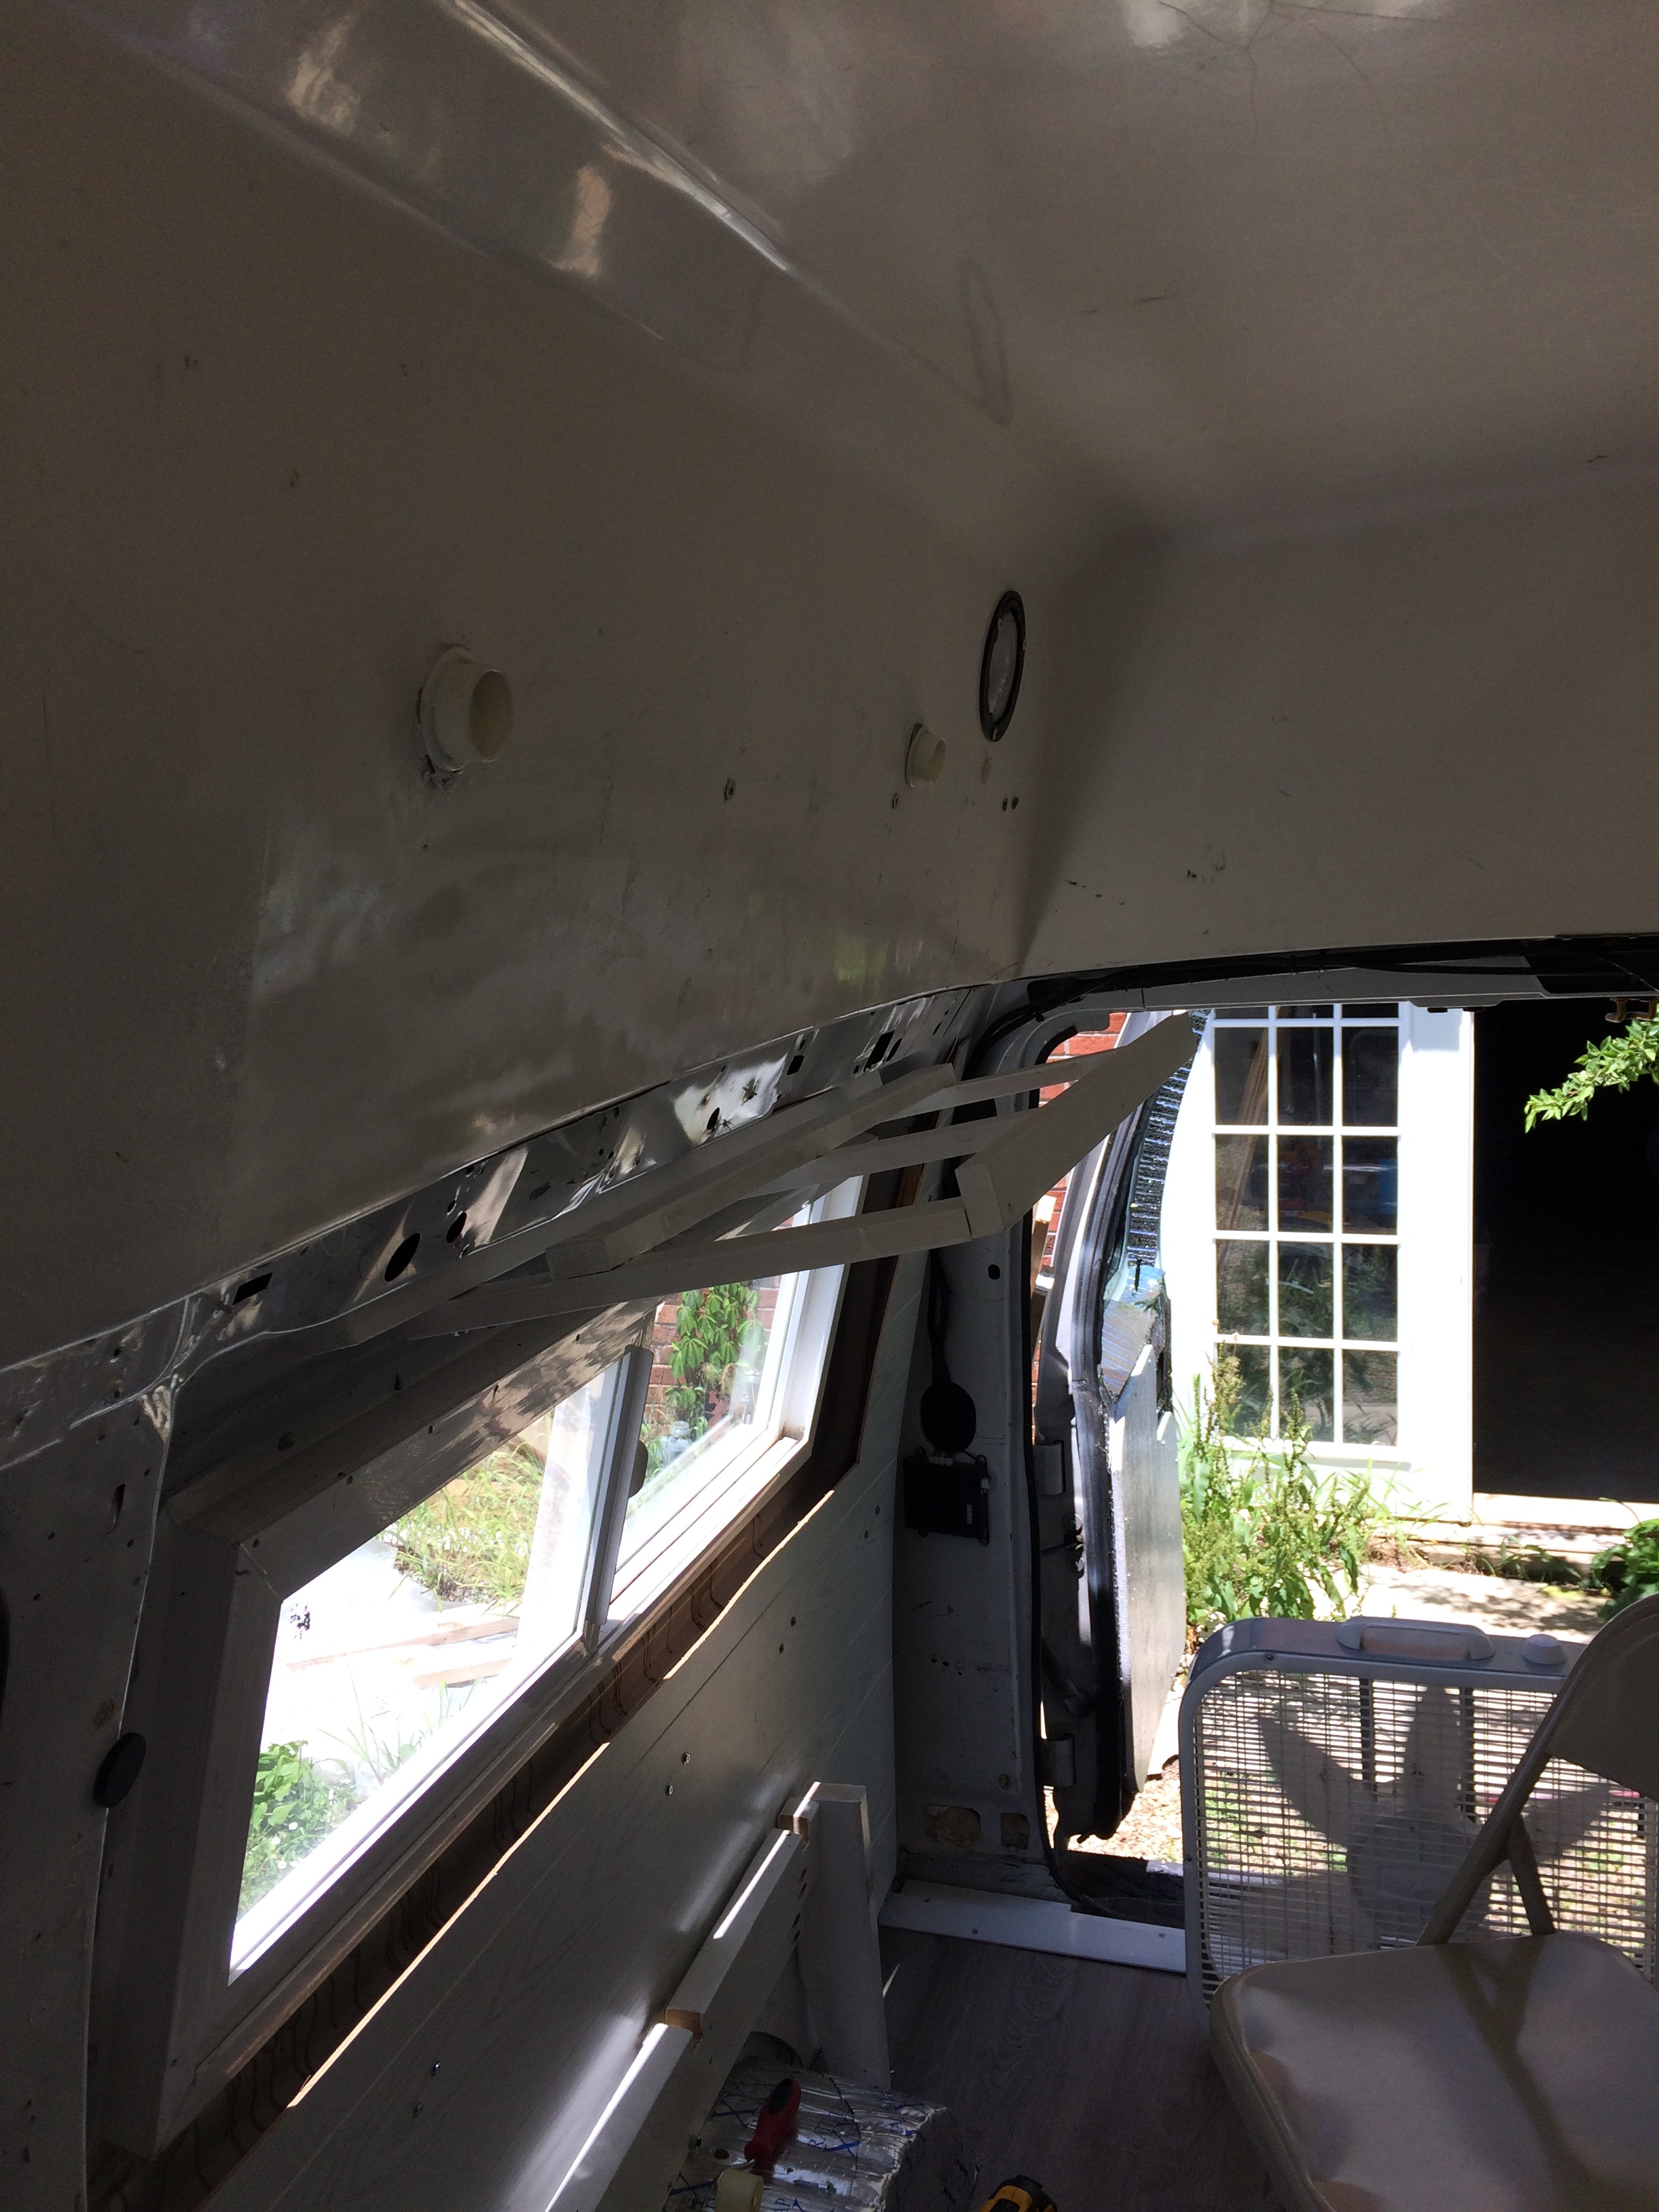
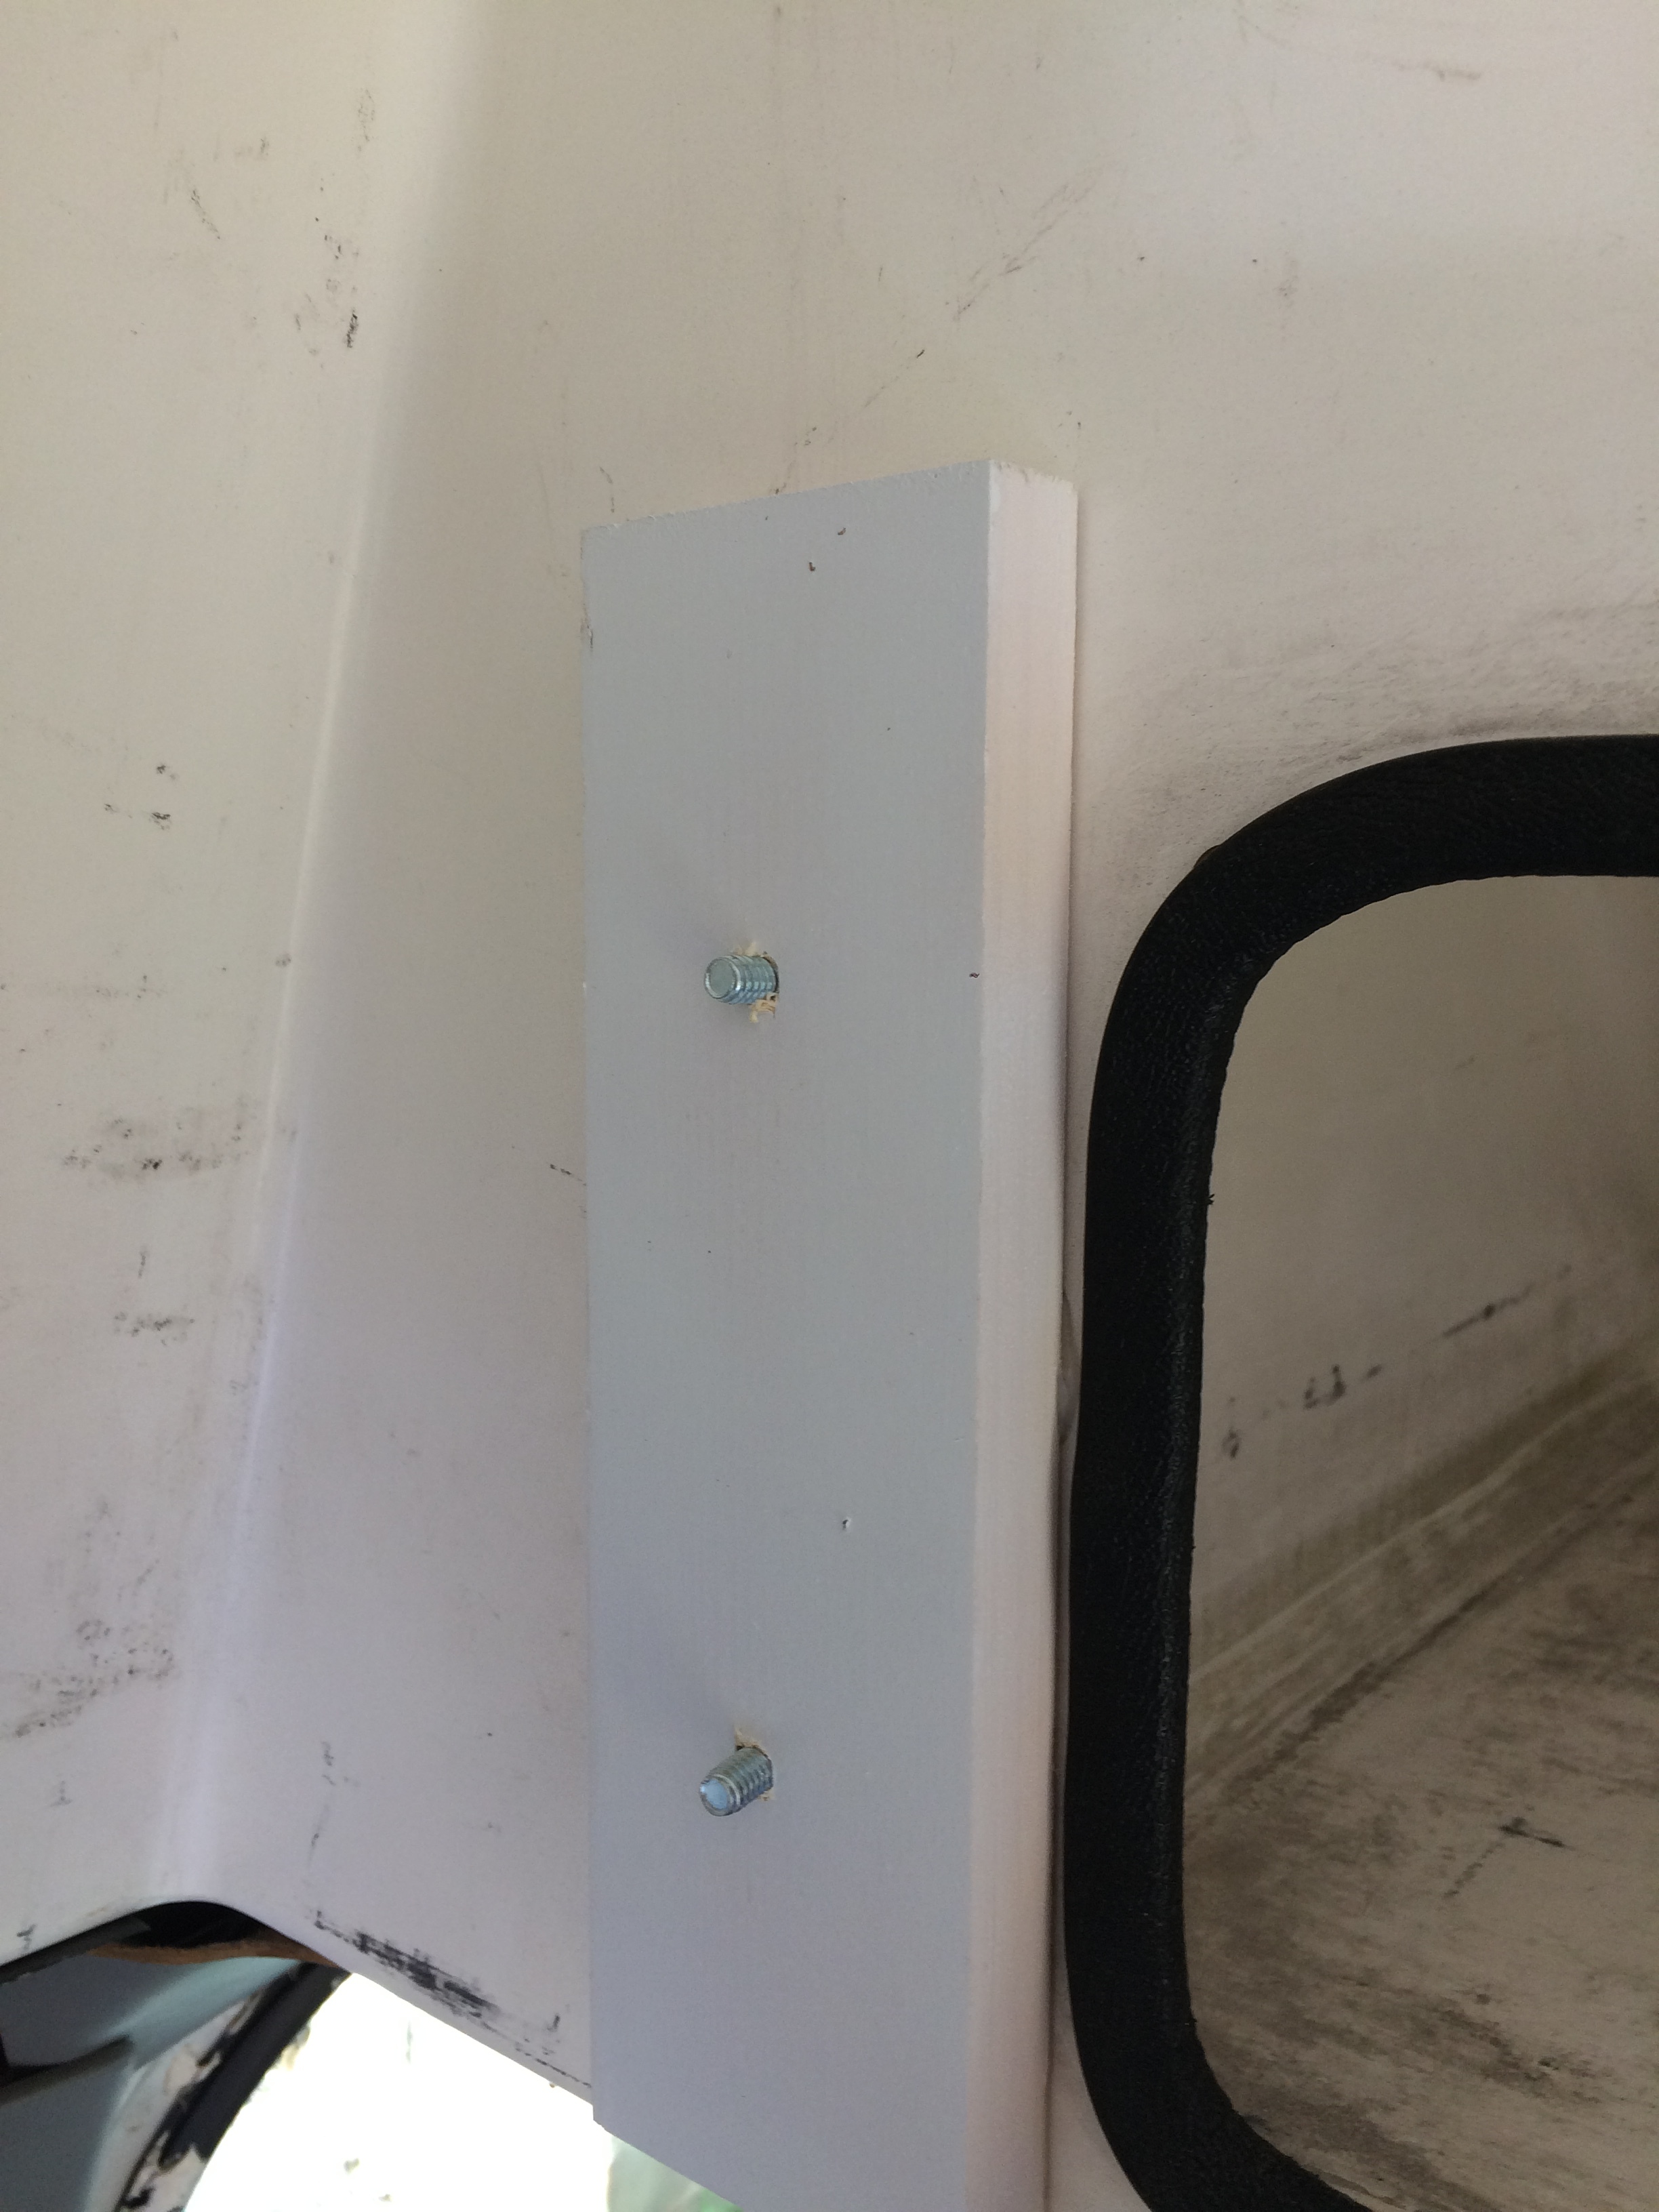
These are the bottom supports for the upper cabinet on the drivers side. I put them in first in case I needed to notch the paneling for them. I didn’t end up needing to do that thankfully, but it’s easier to notch while the paneling is still flat and not screwed to the wall! These supports are screwed and glued directly to the steel body of the van (yes I had to pre-drill all those holes…self tapping screws…not so much with actual self tapping) like so:
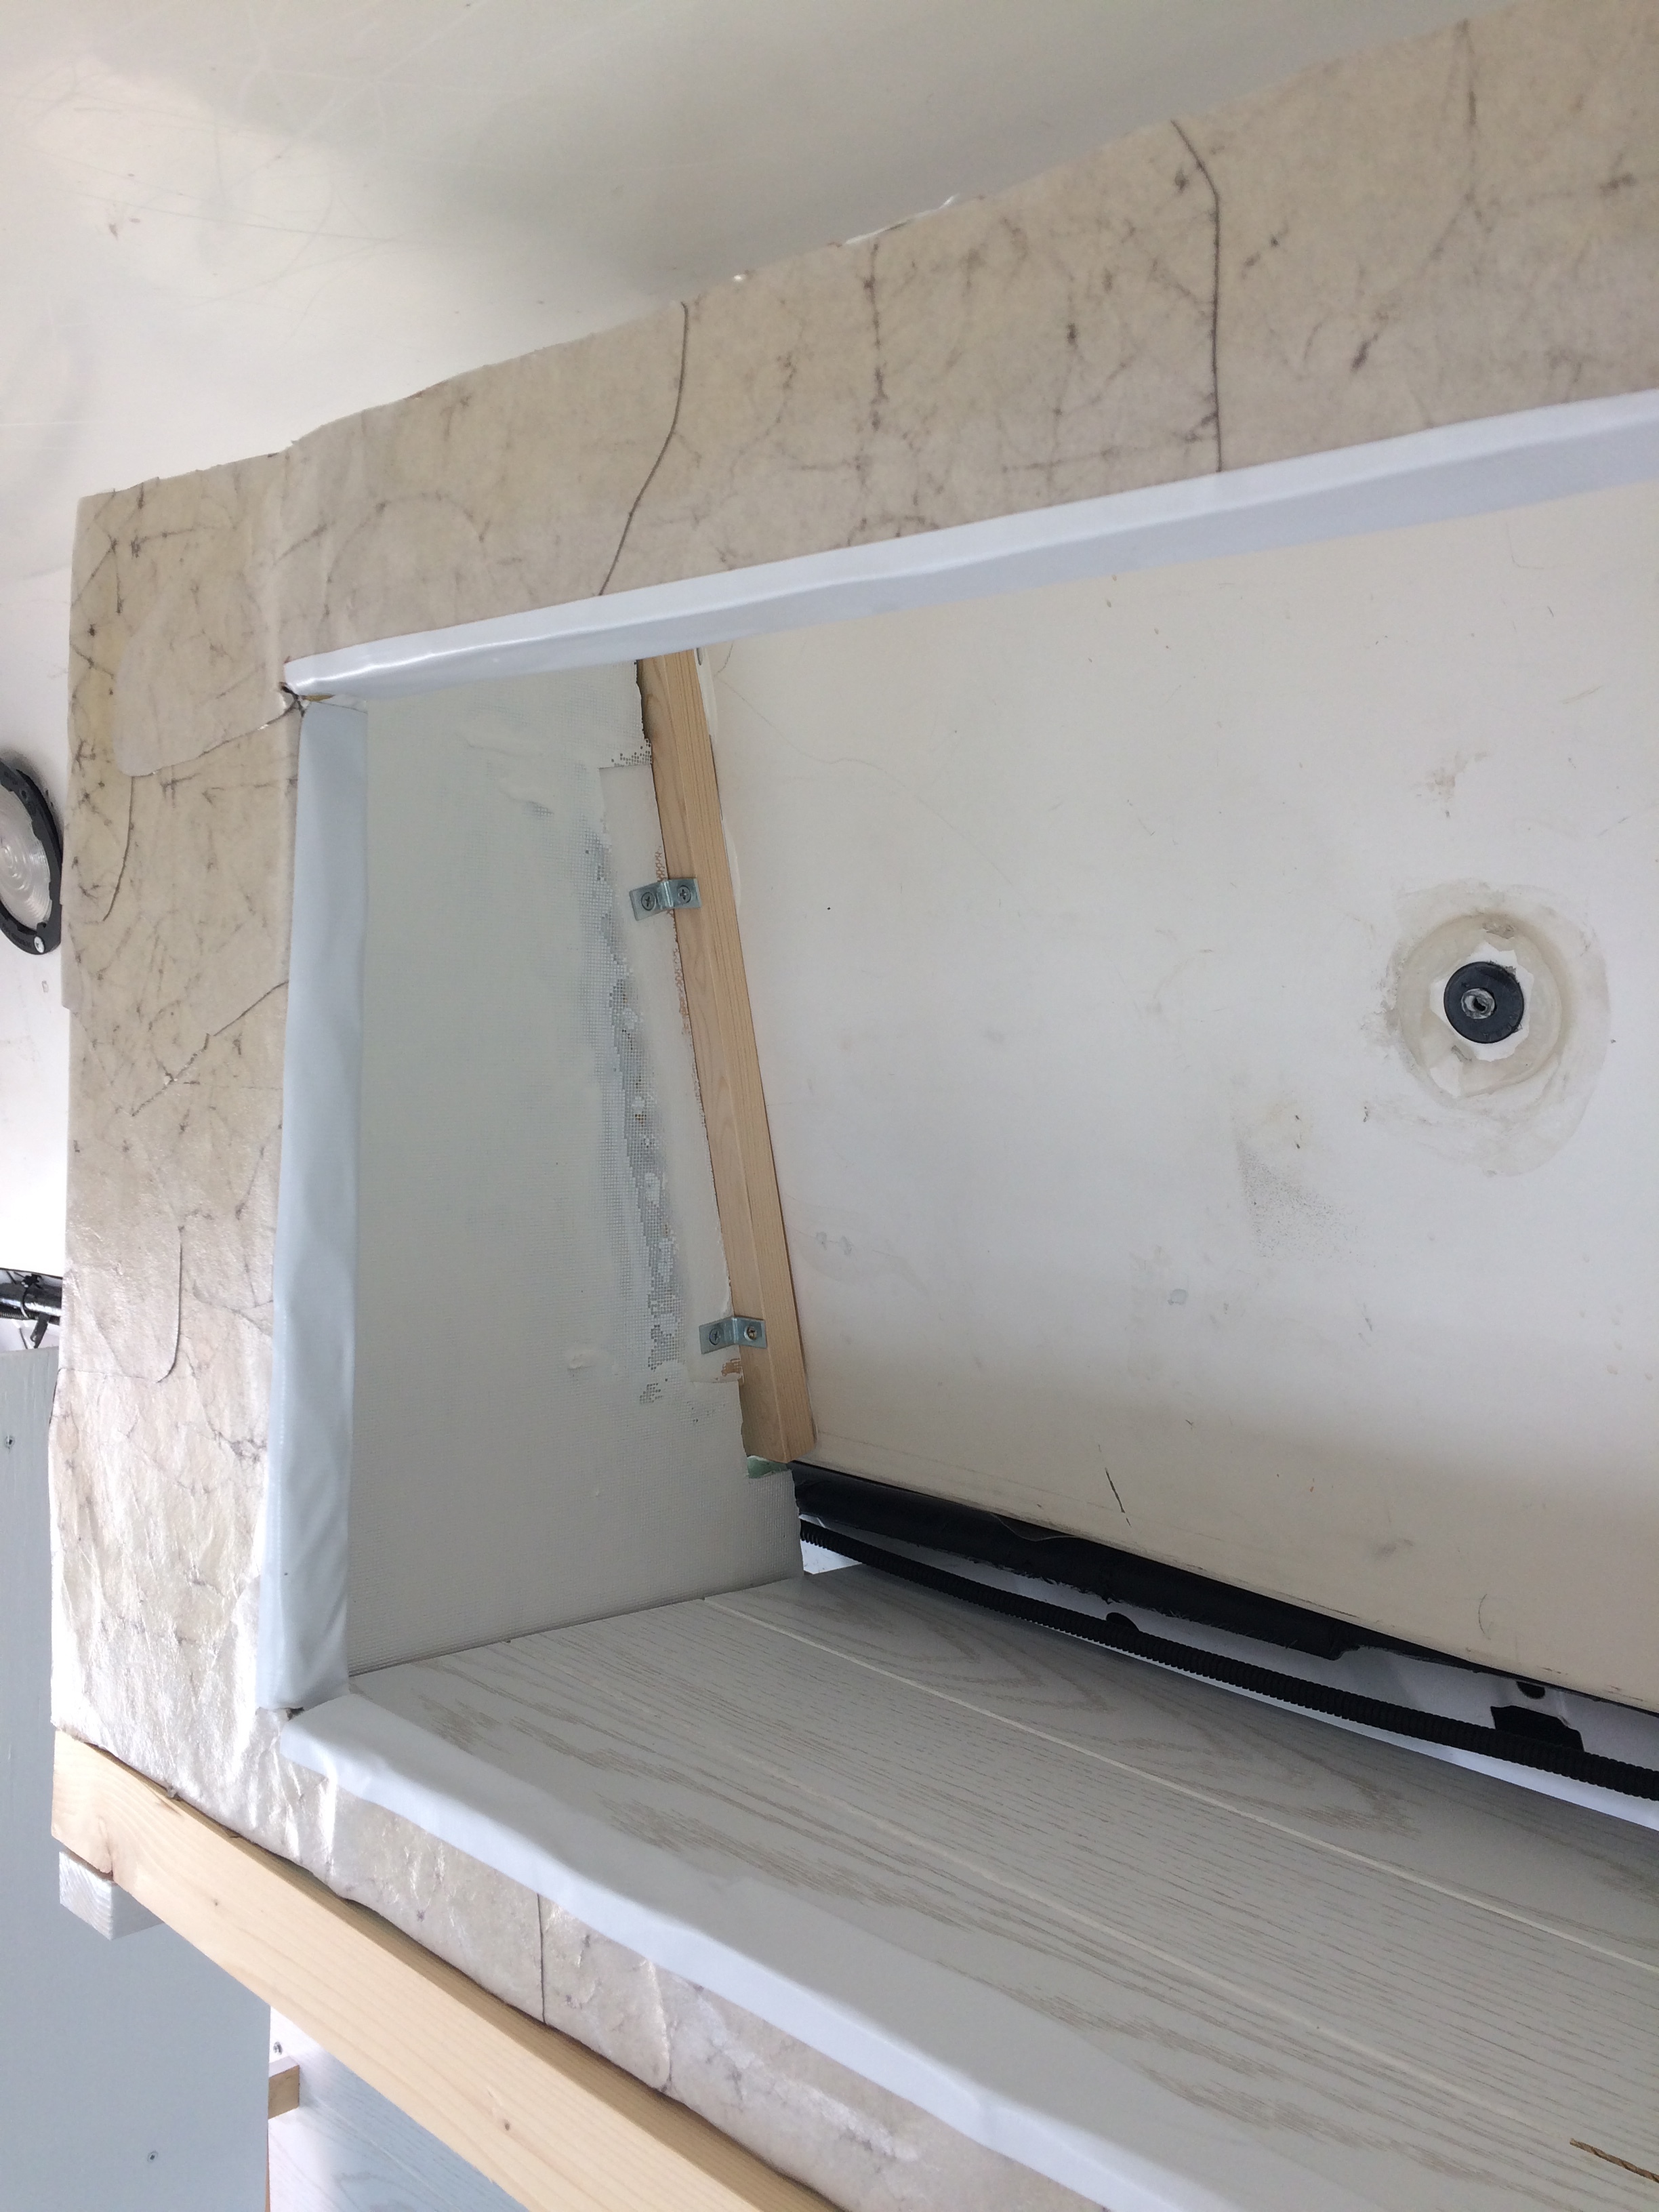
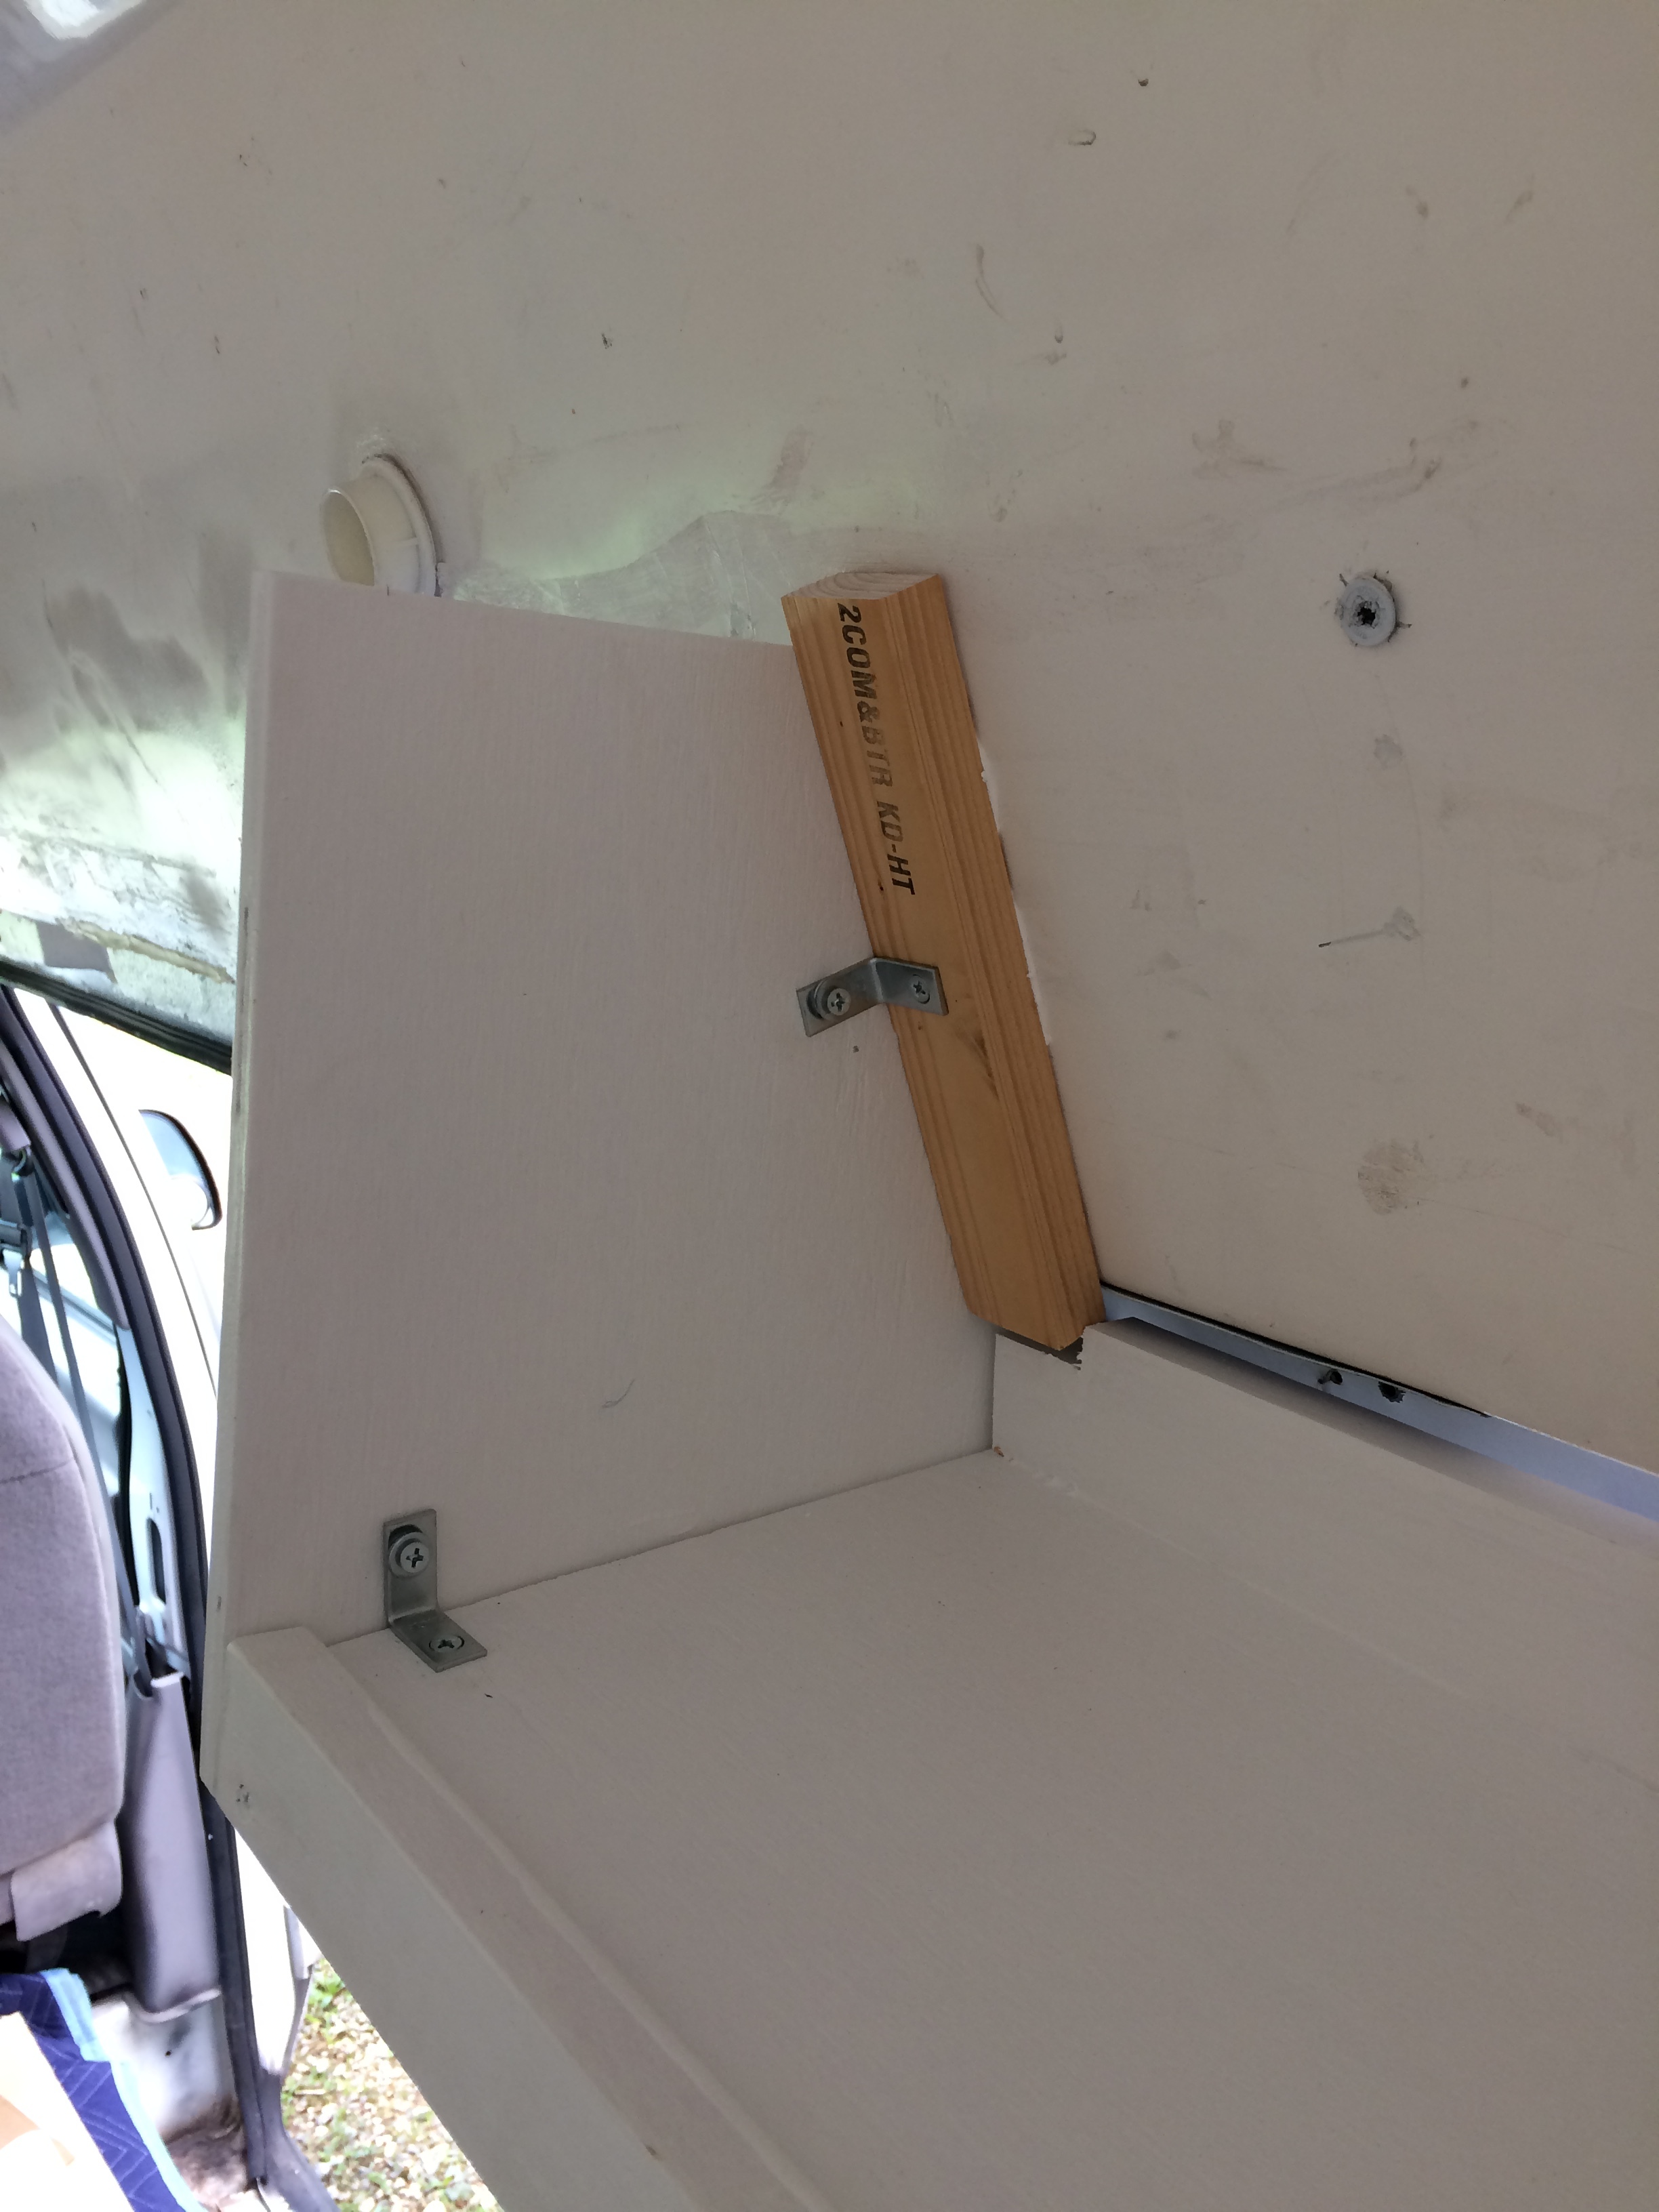
I attached the front piece with L brackets and then used Gorilla Glue to attach two pieces of wood to the fiberglass interior (after a couple of months these started to pull away from the fiberglass, it wasn’t a huge deal since the weight is actually borne on the bottom supports but I reattached them with Iron Grip and that has lasted much better for much longer) like so:

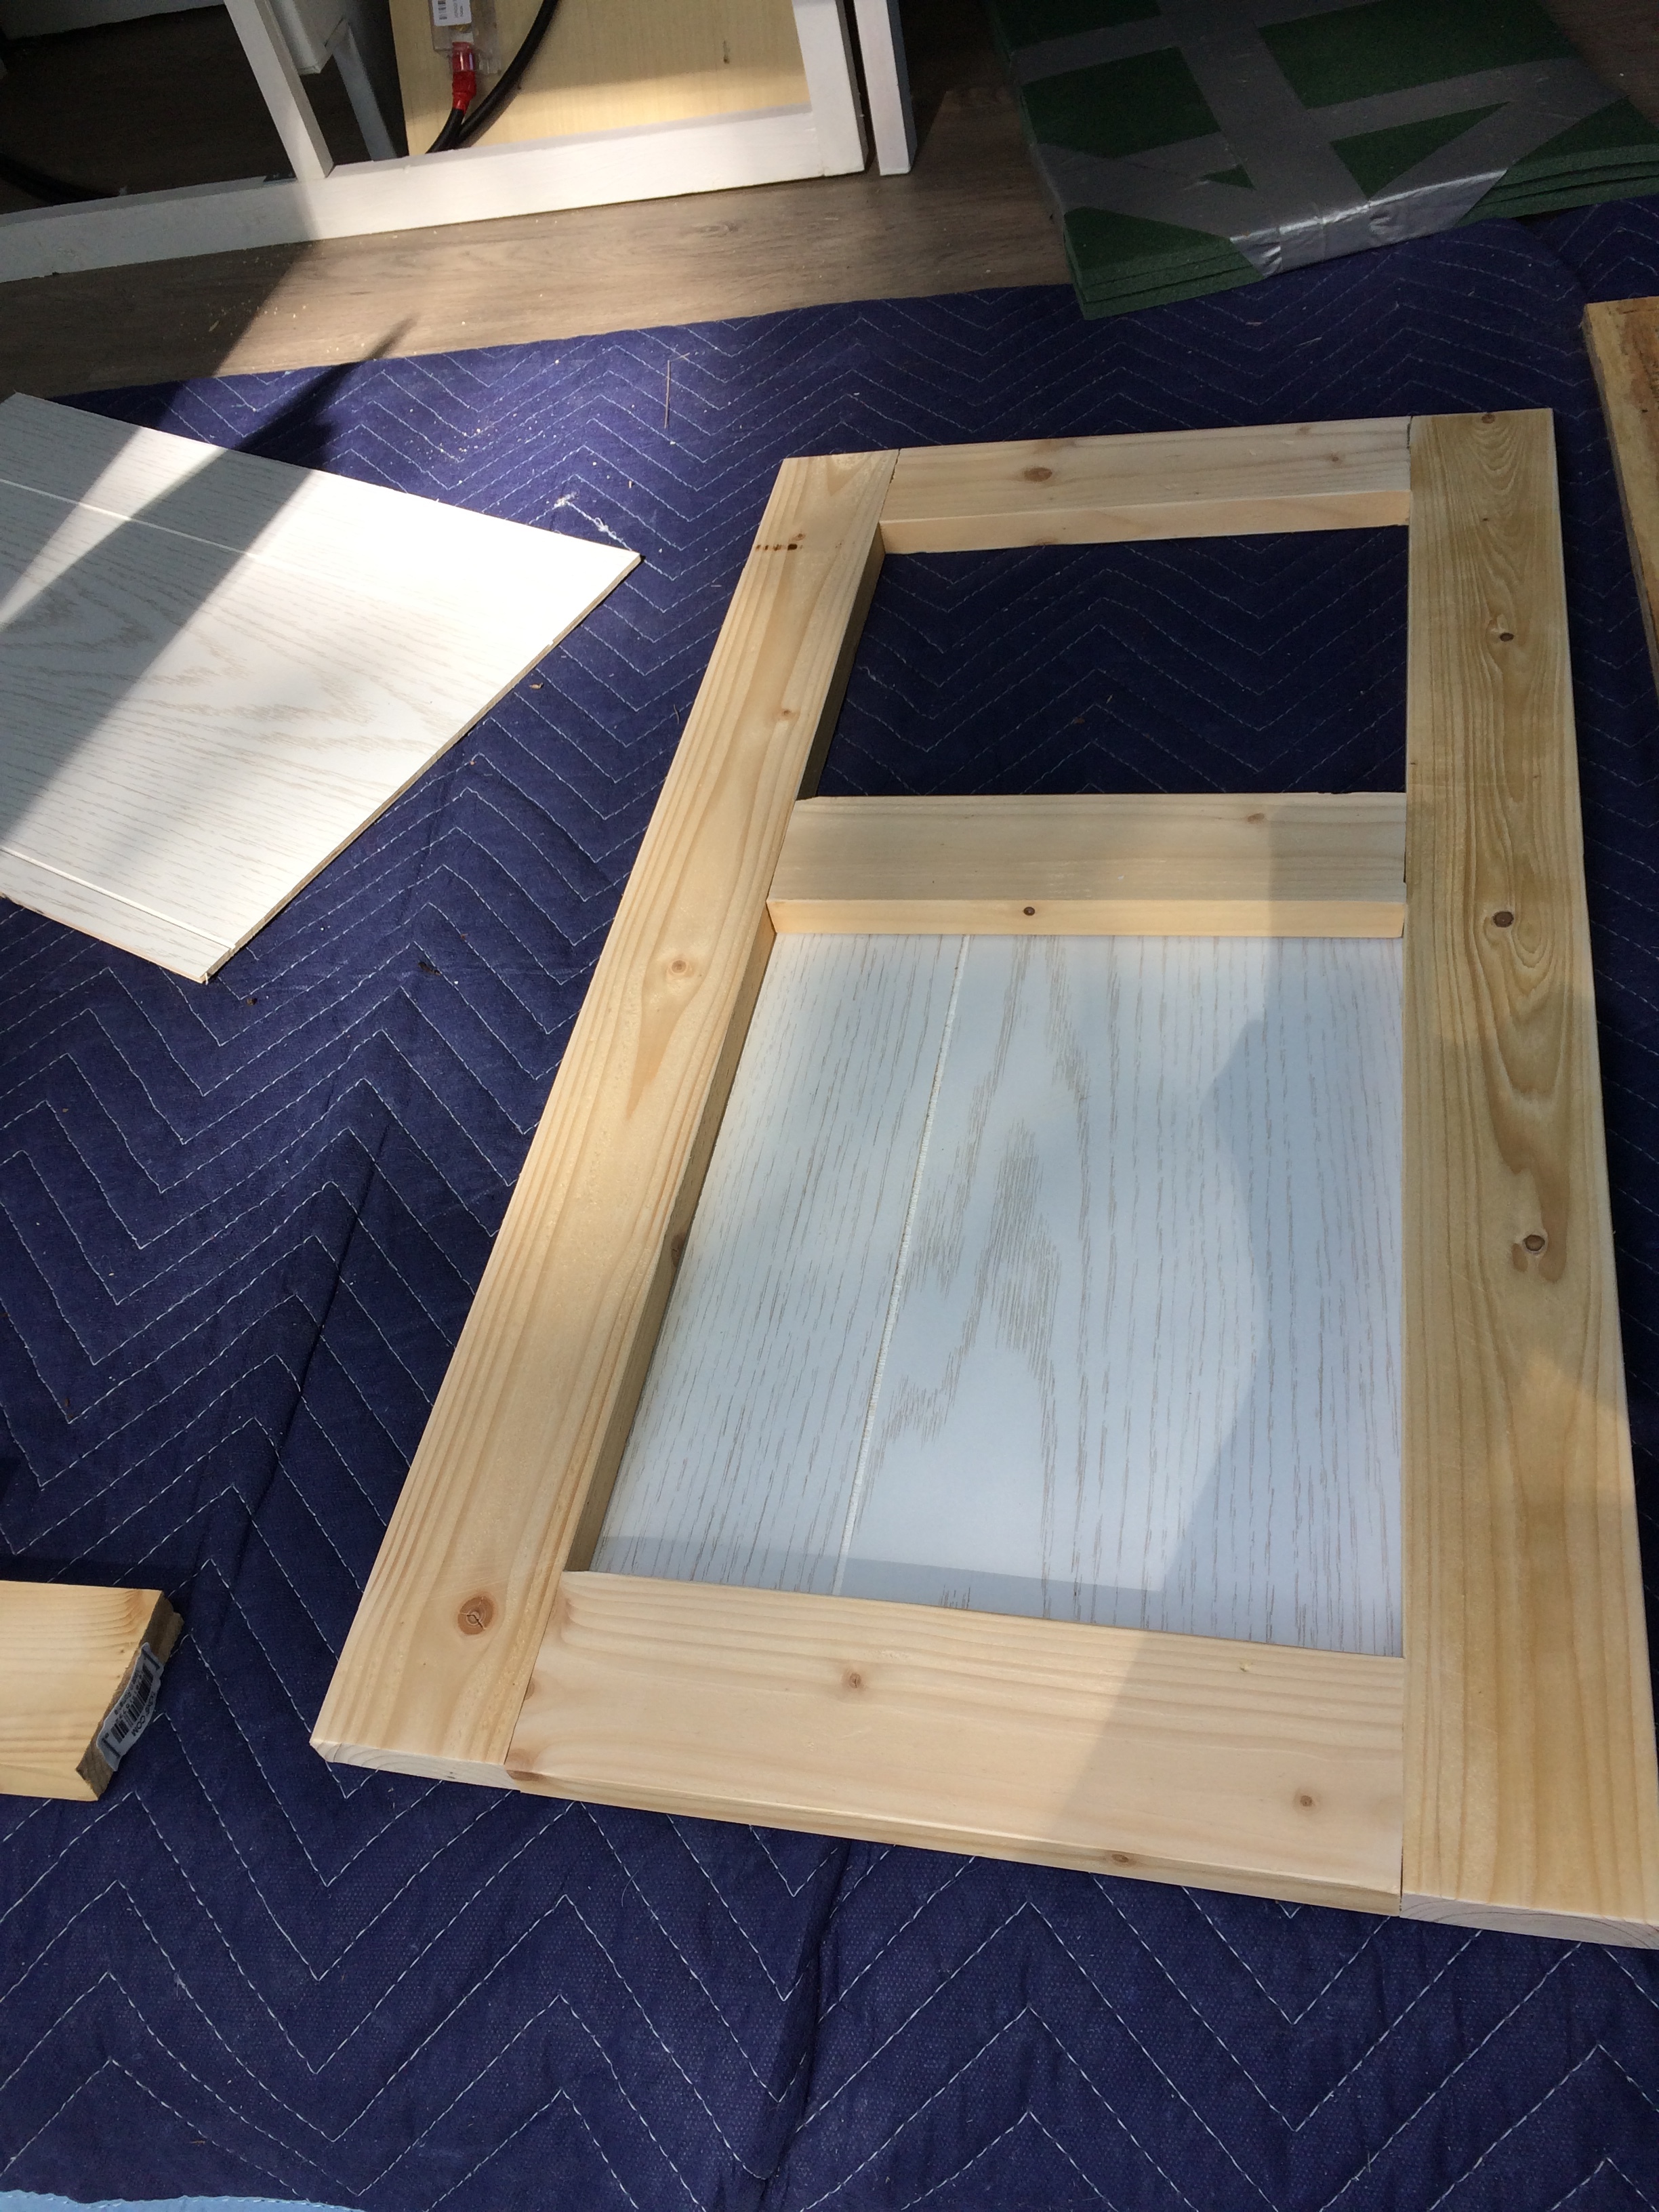
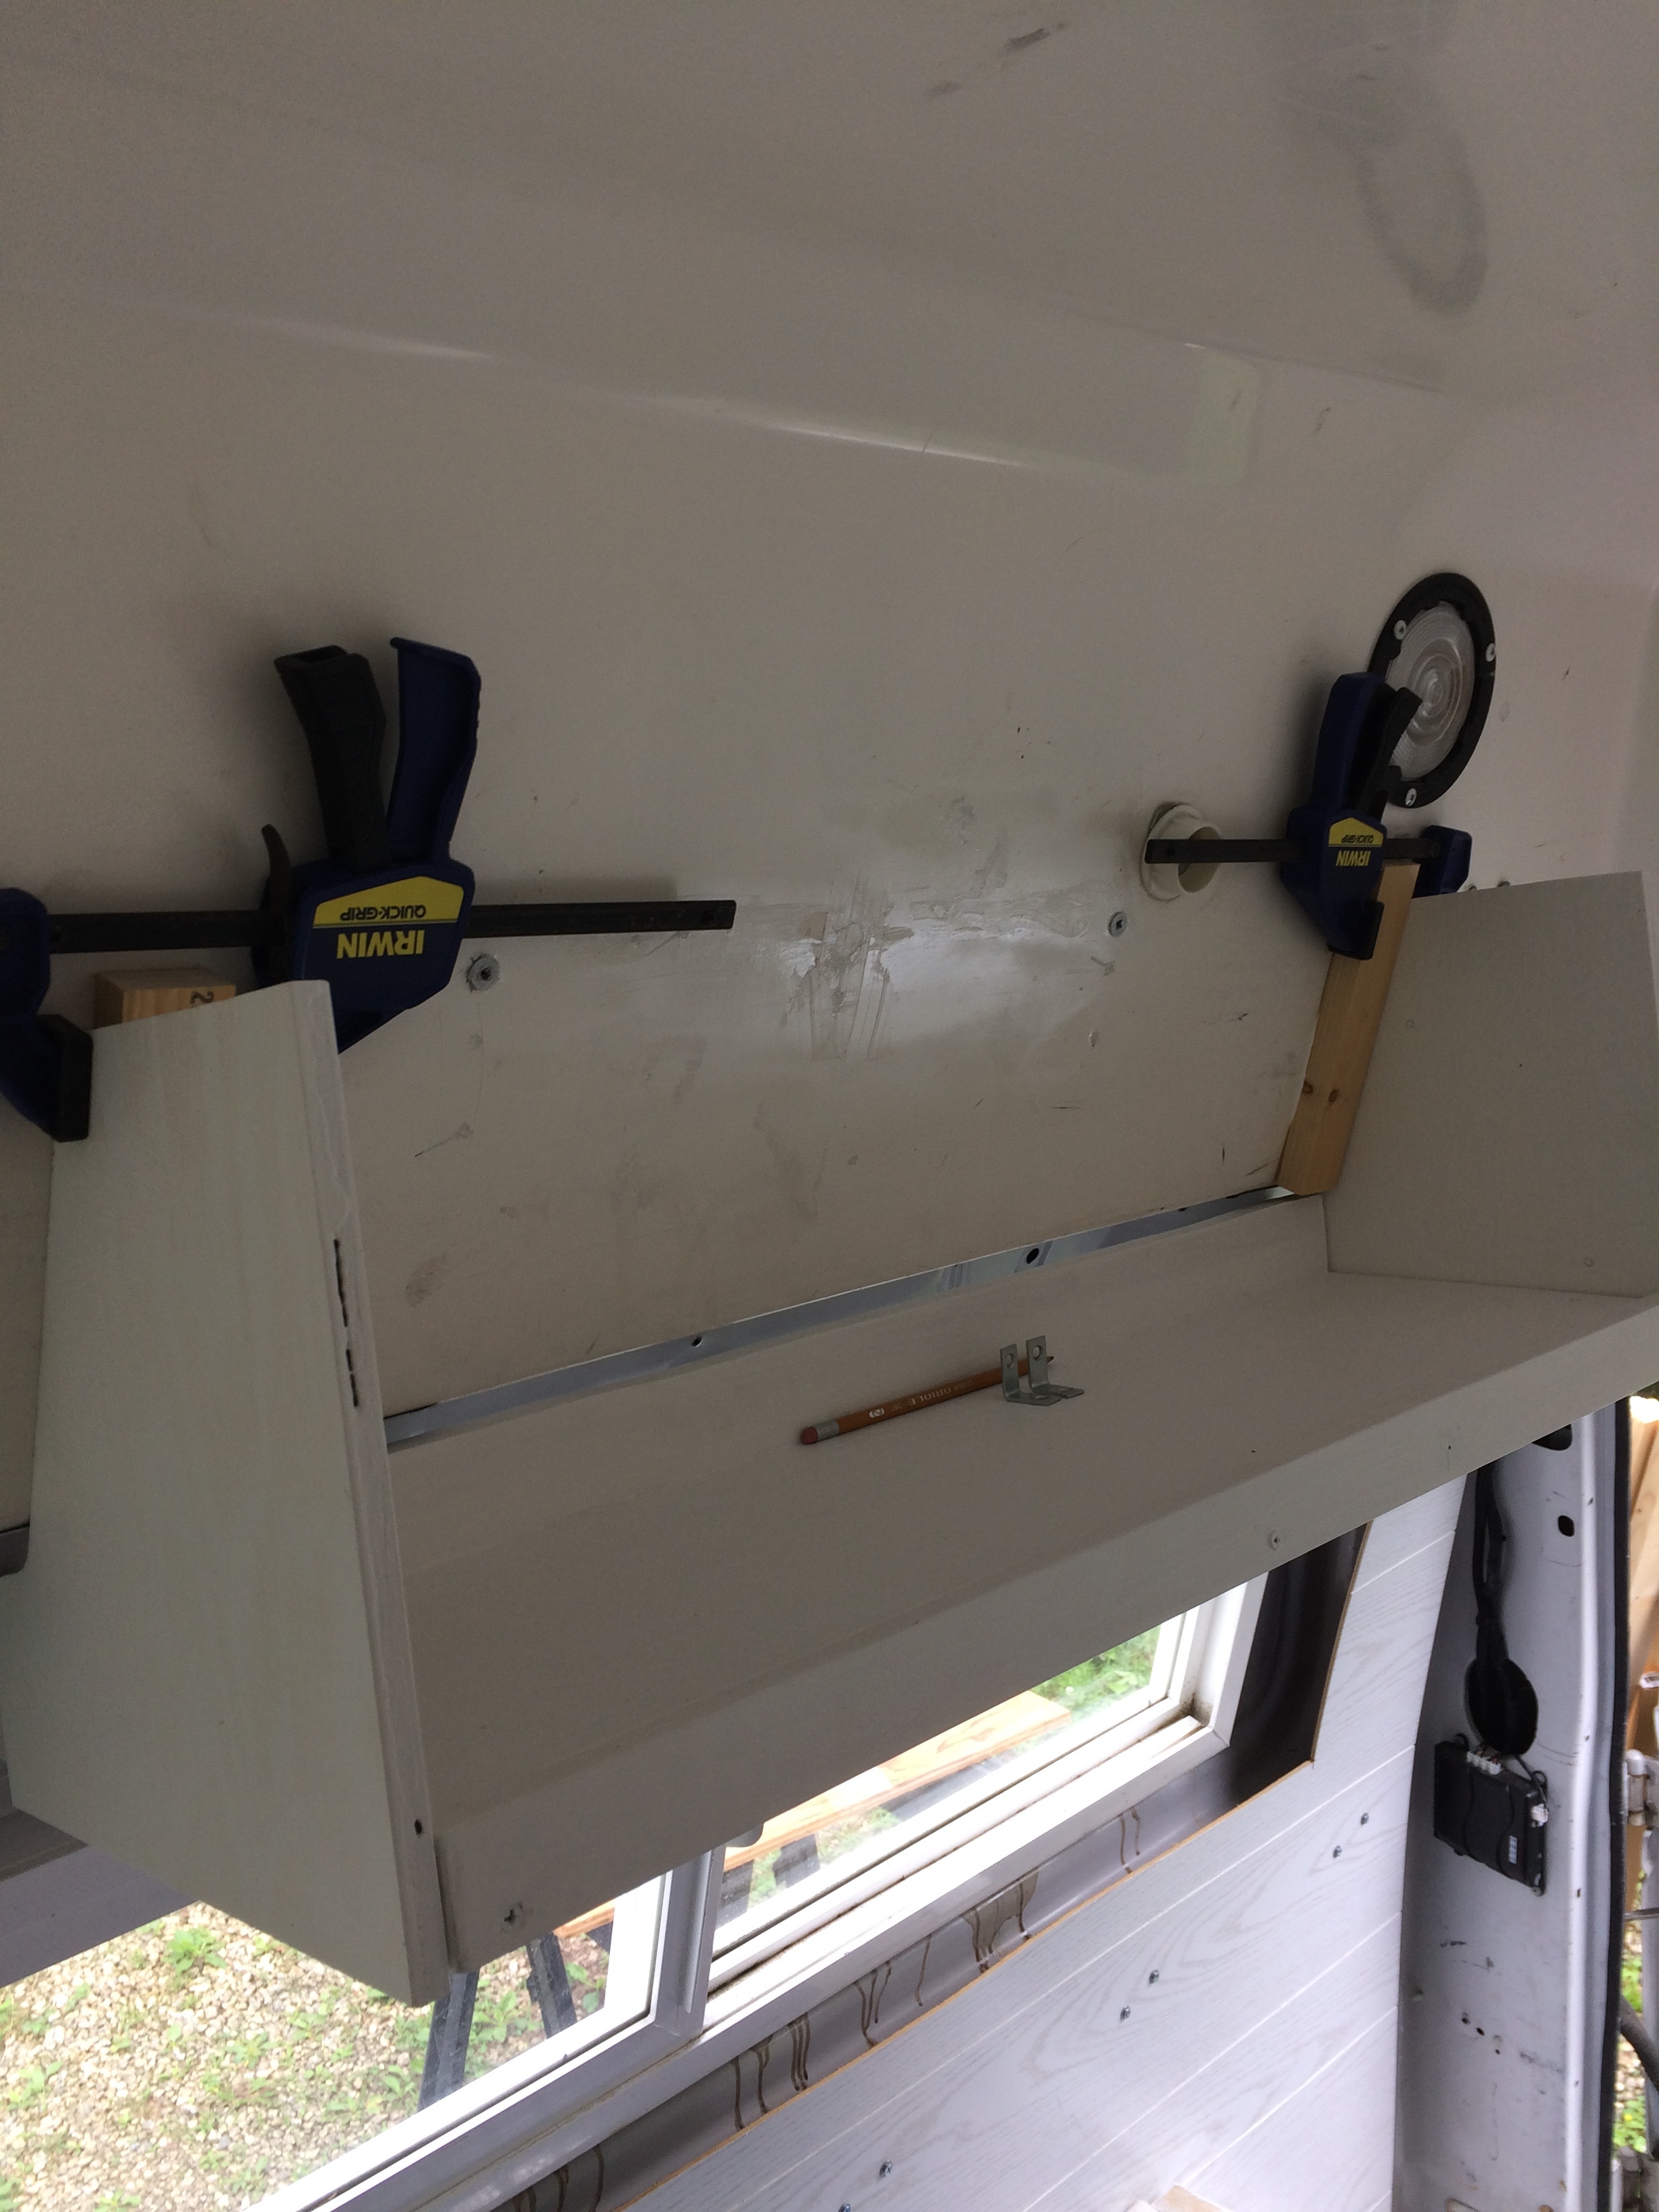
The fiberglass roof is angled so this cabinet is the least square (by necessity) and was the second most complicated! So naturally there were cardboard mockups first!
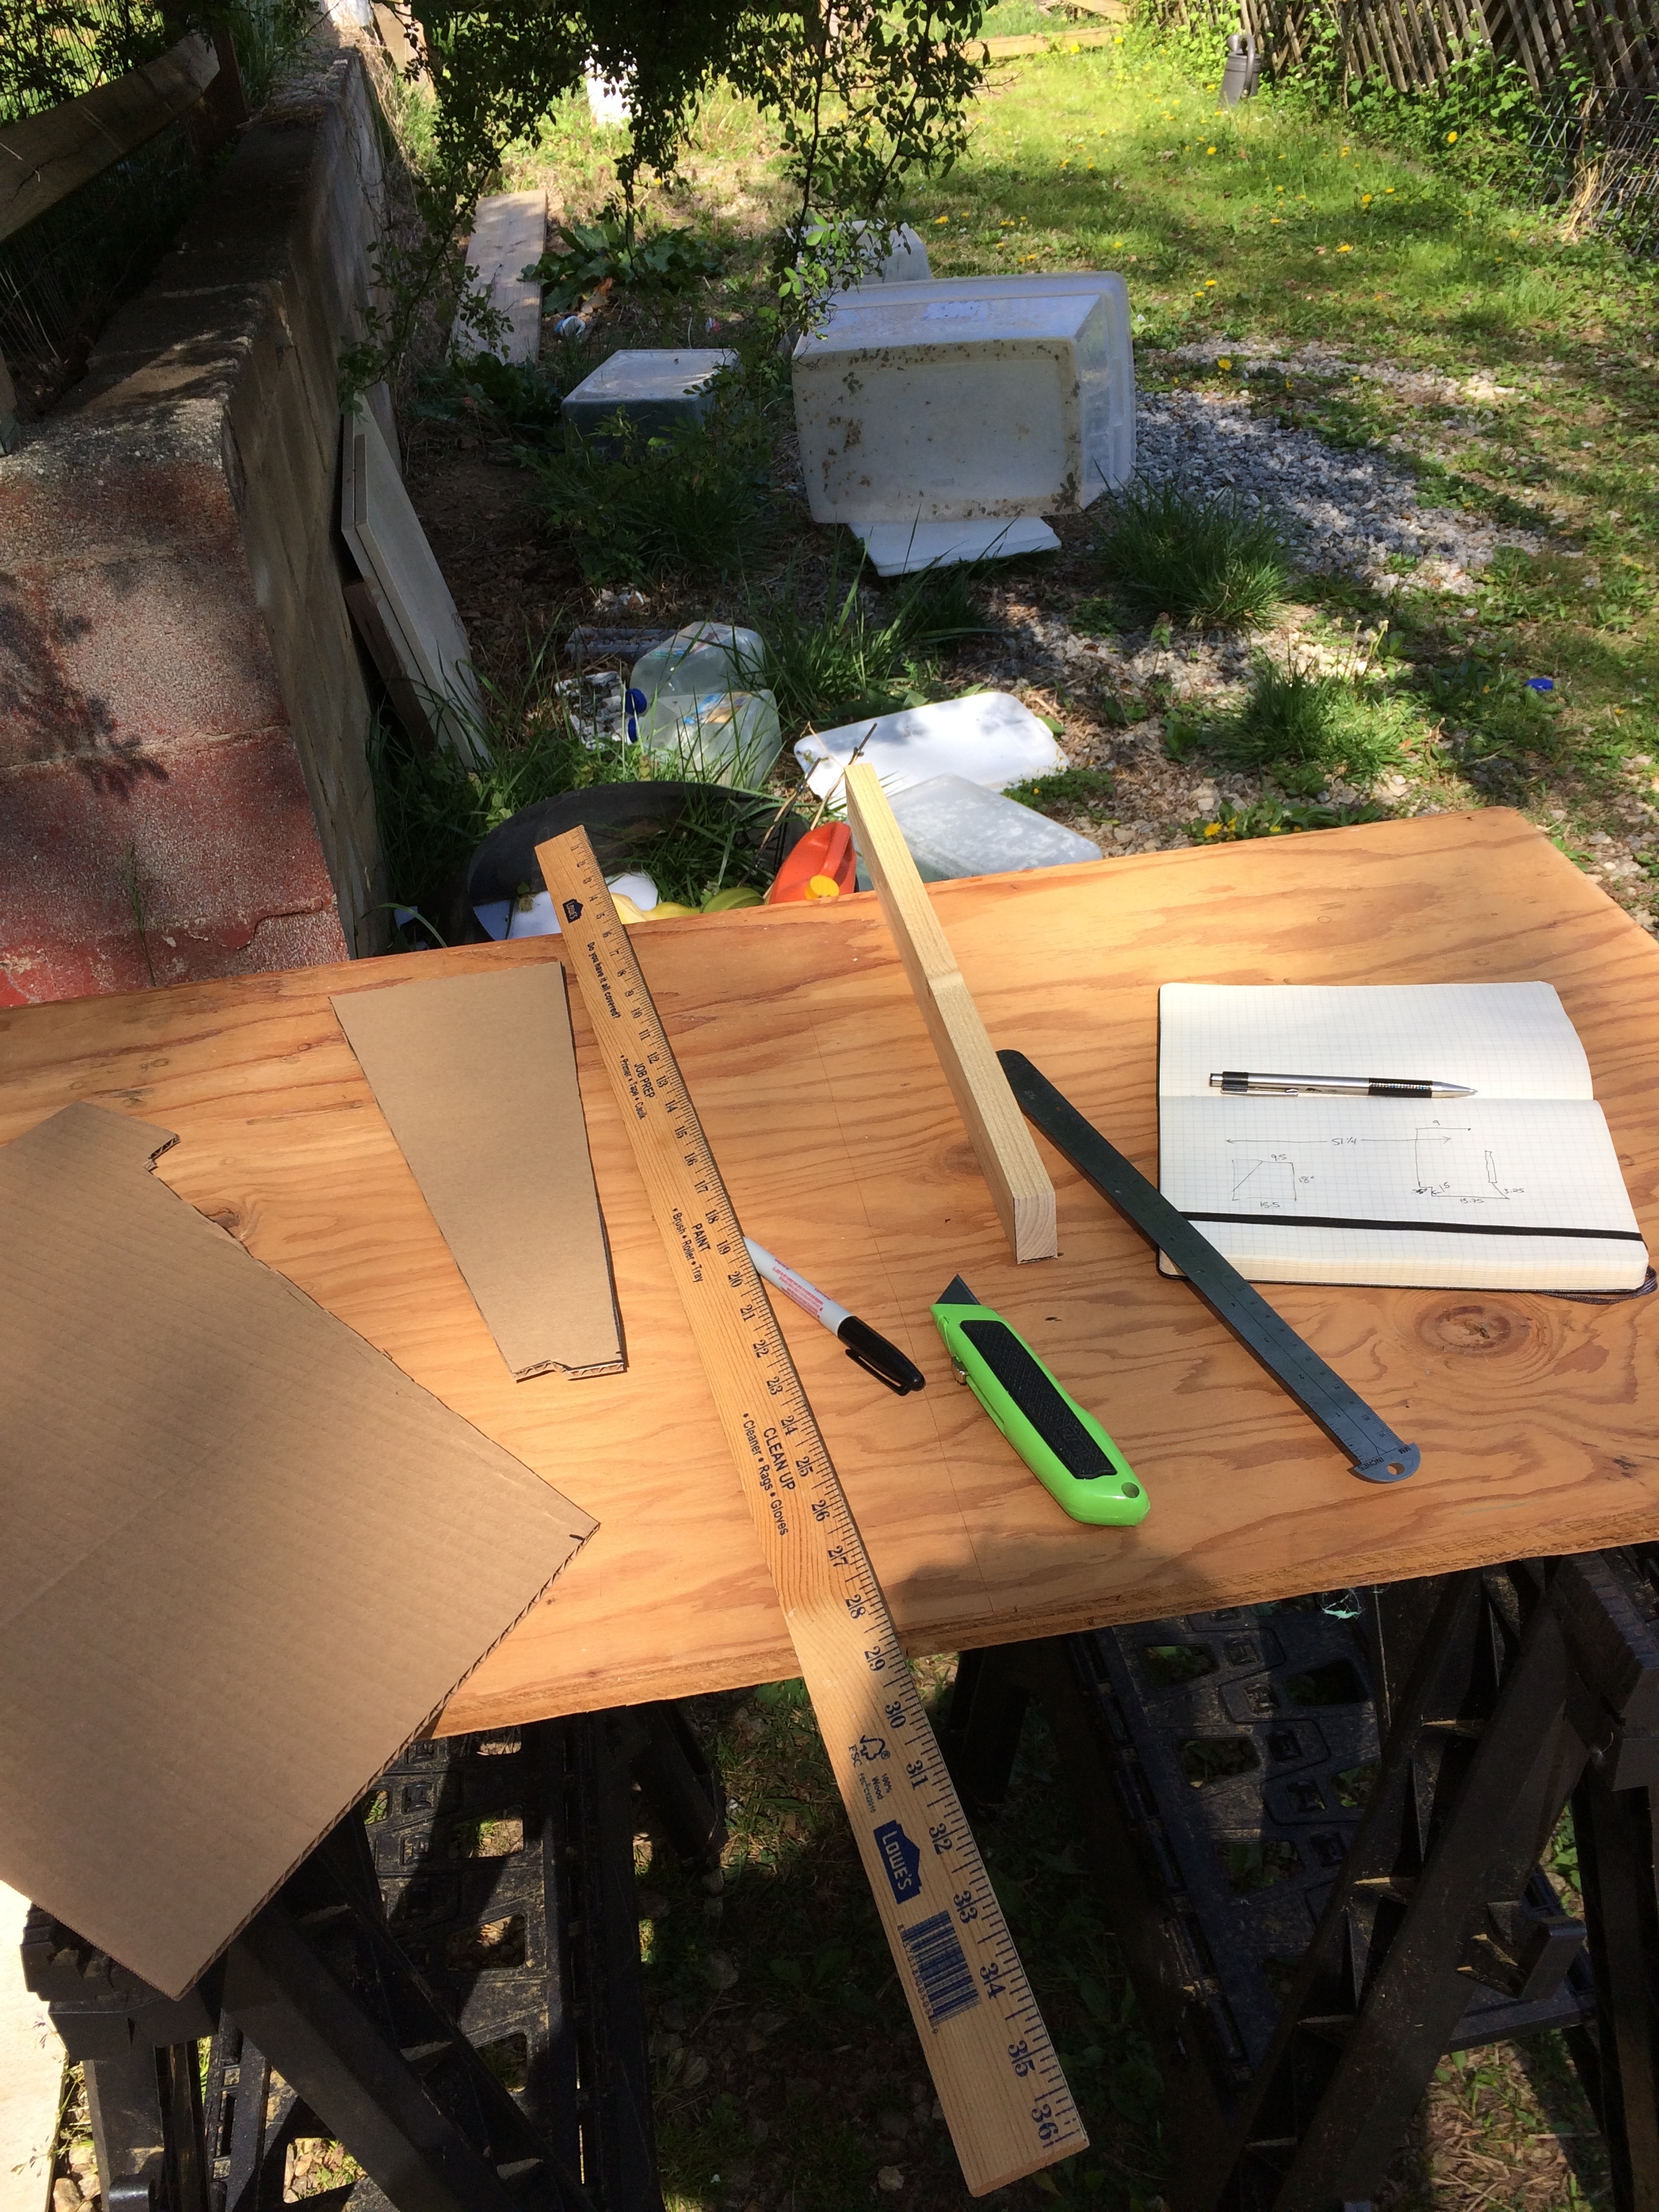
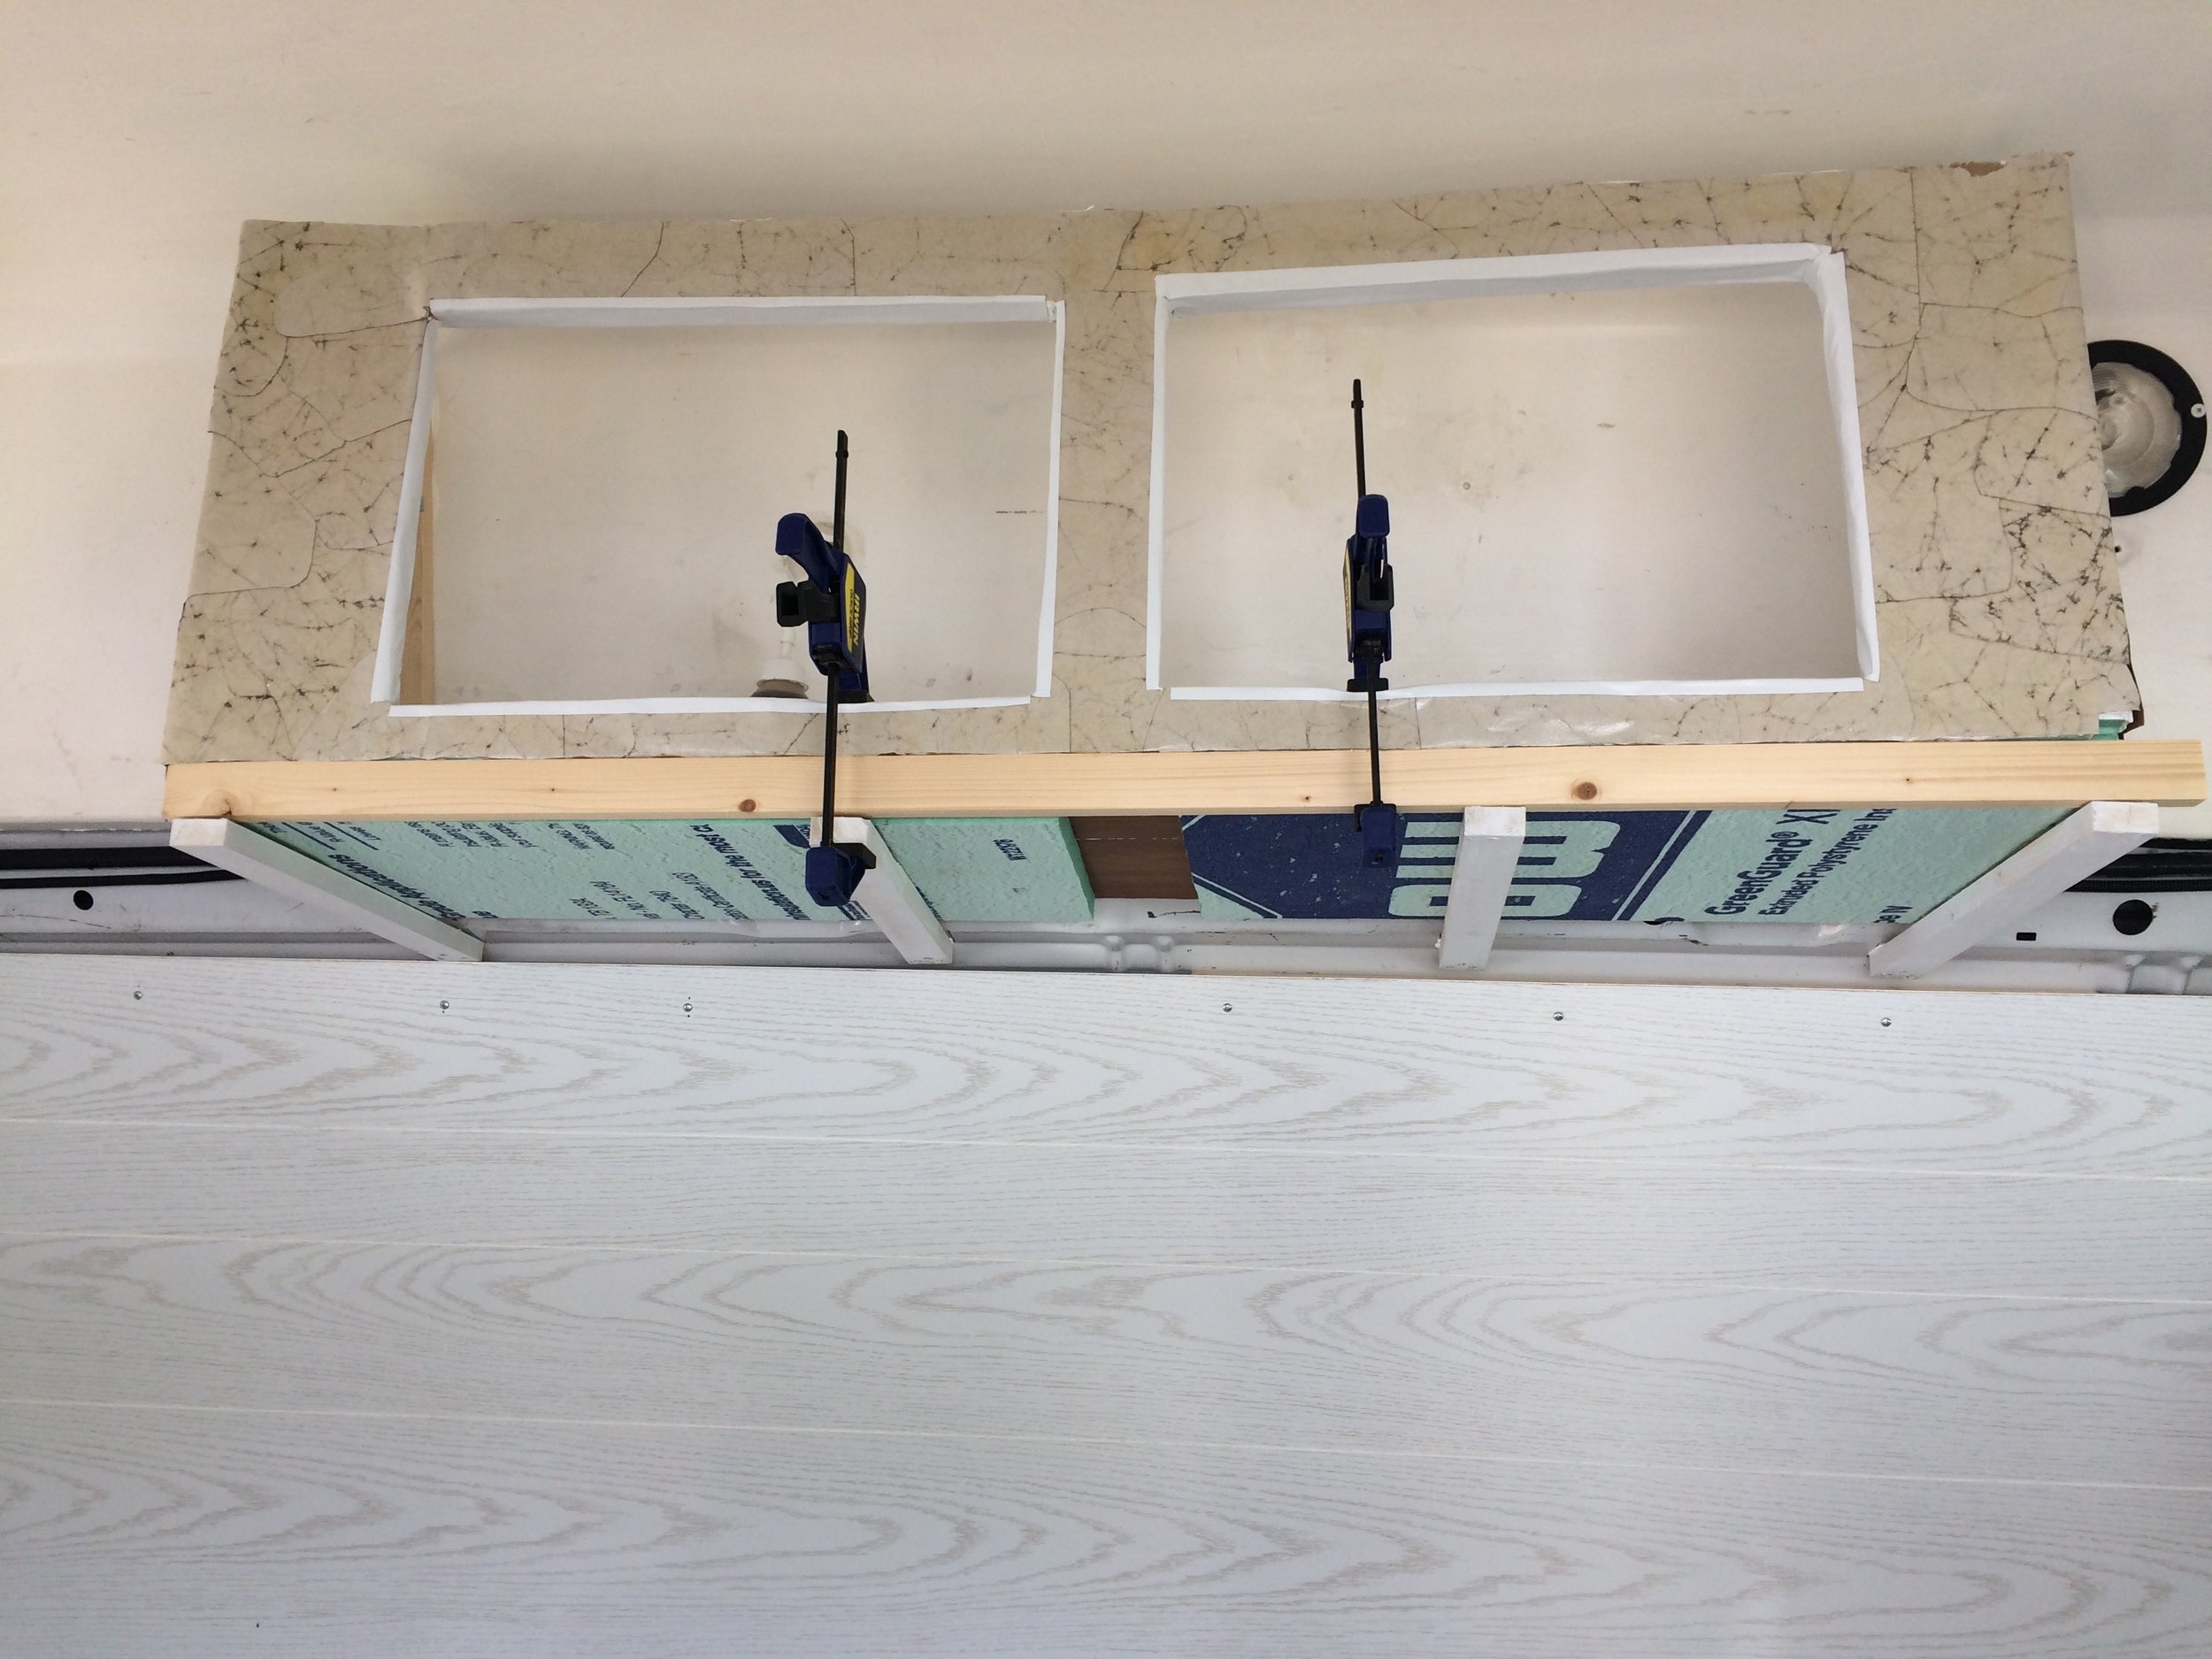
I dry fit the whole thing before I painted/glued it together:

I tried out the crumpled paper type finish (see this Youtube video) on this cabinet. All the clear coats I tried yellowed noticeably which I did not care for. I kept the cabinet since it was complete when the yellowing began, but I didn’t use this finish on any other cabinets/shelves in the van. Most people cover cabinets made with foam/screen because they don’t like the texture of the painted screen. I actually quite like the texture but it would be hard to clean so in my other cabinets I covered the surfaces with shelf liner from Walmart which is easily cleaned/replaced.
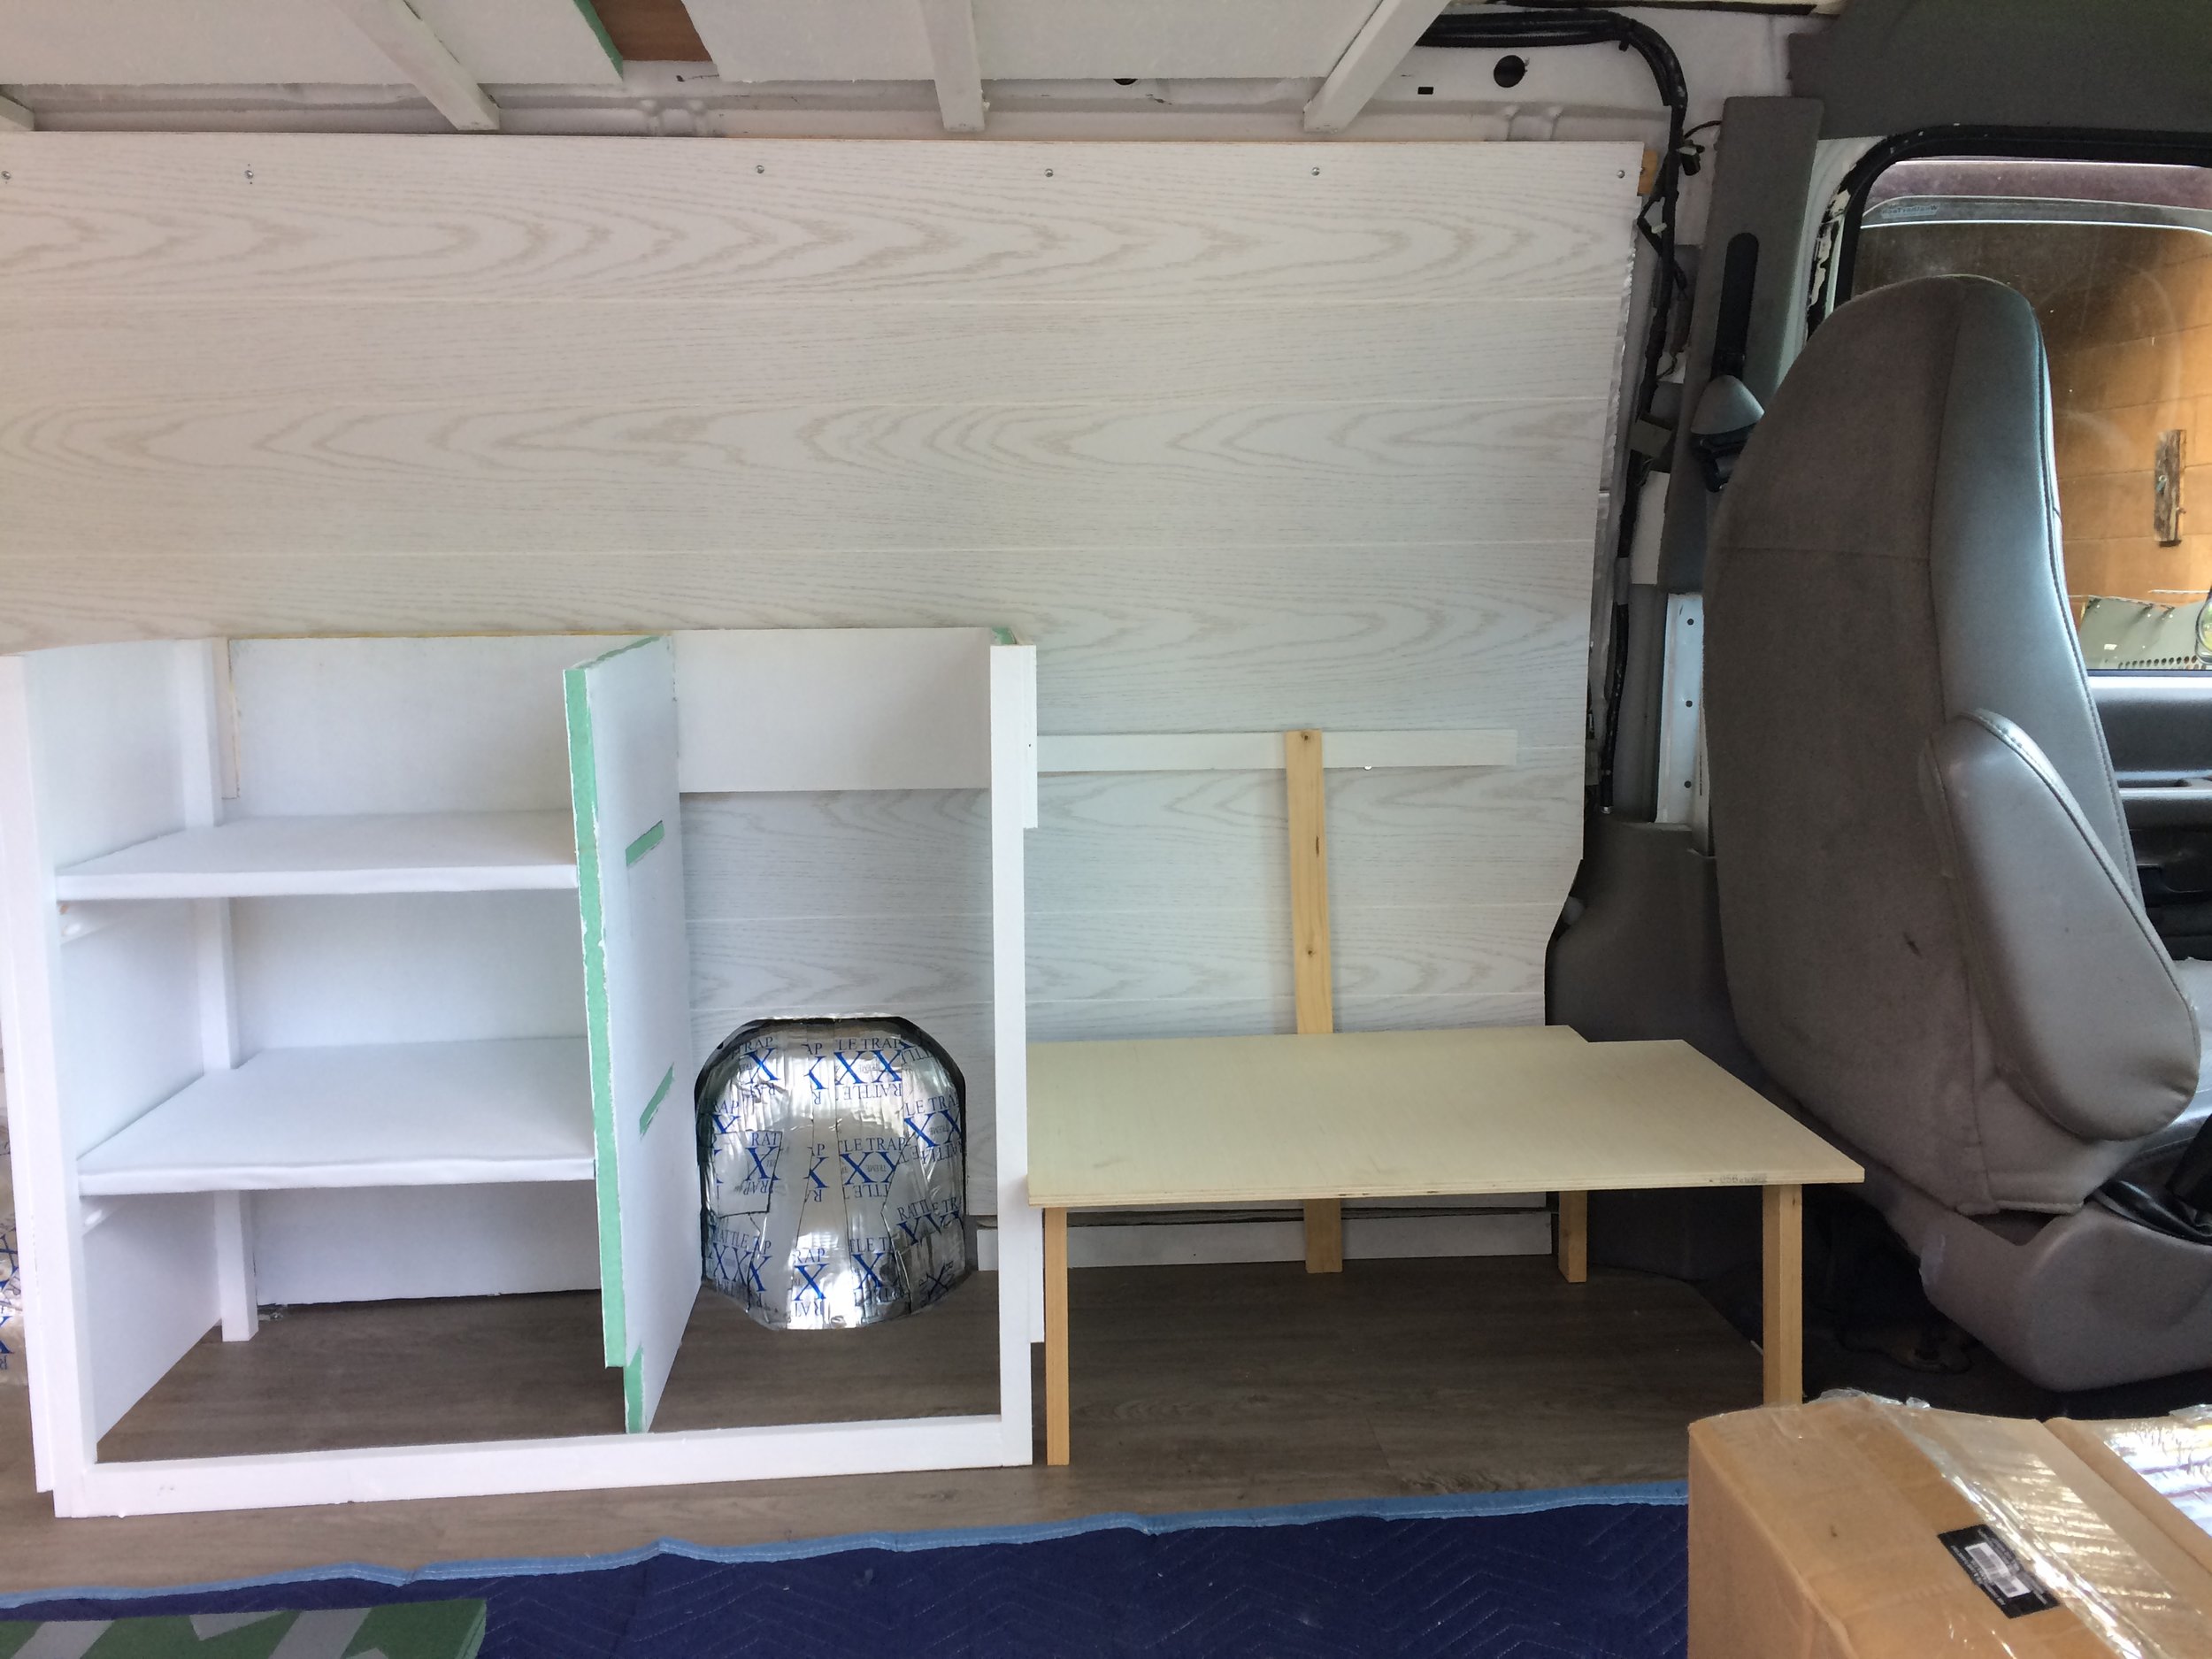
The cabinet underneath this one has the gas tank inlet where I put in the solar power components mounted on a flat board which I detailed in the post about solar power. On either side there is storage shelving and a stand for my 12v refrigerator, respectively.
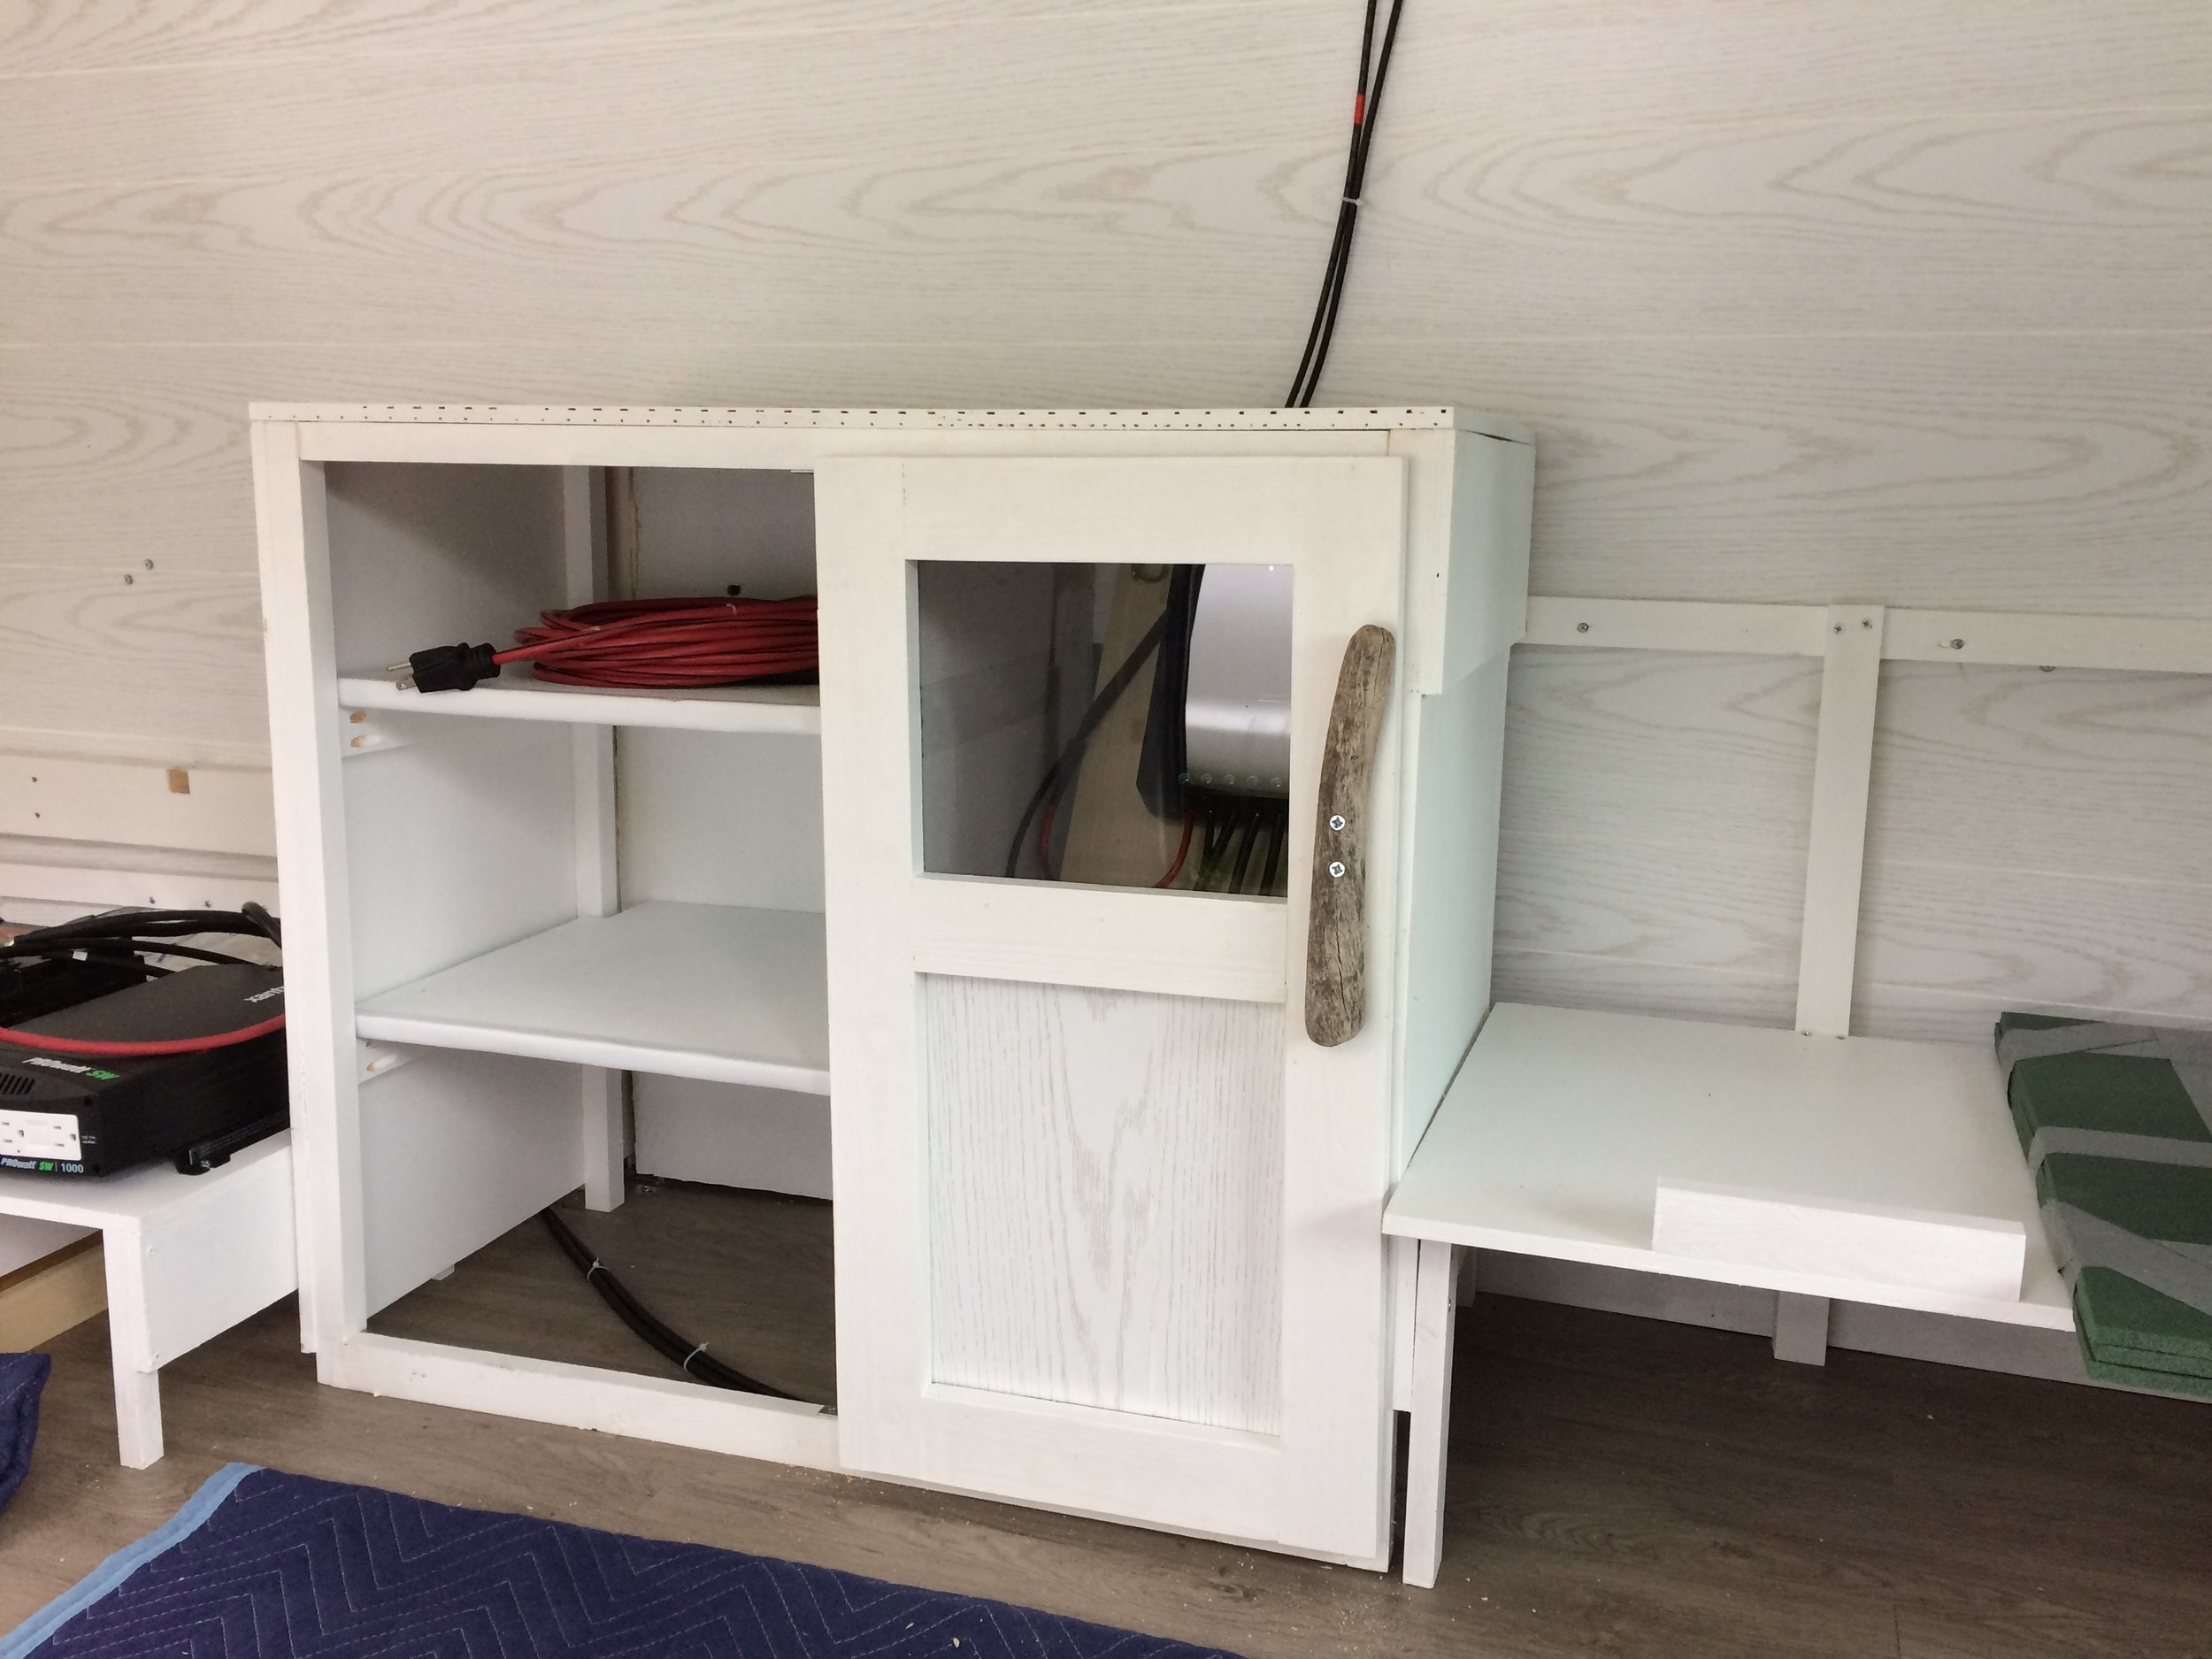
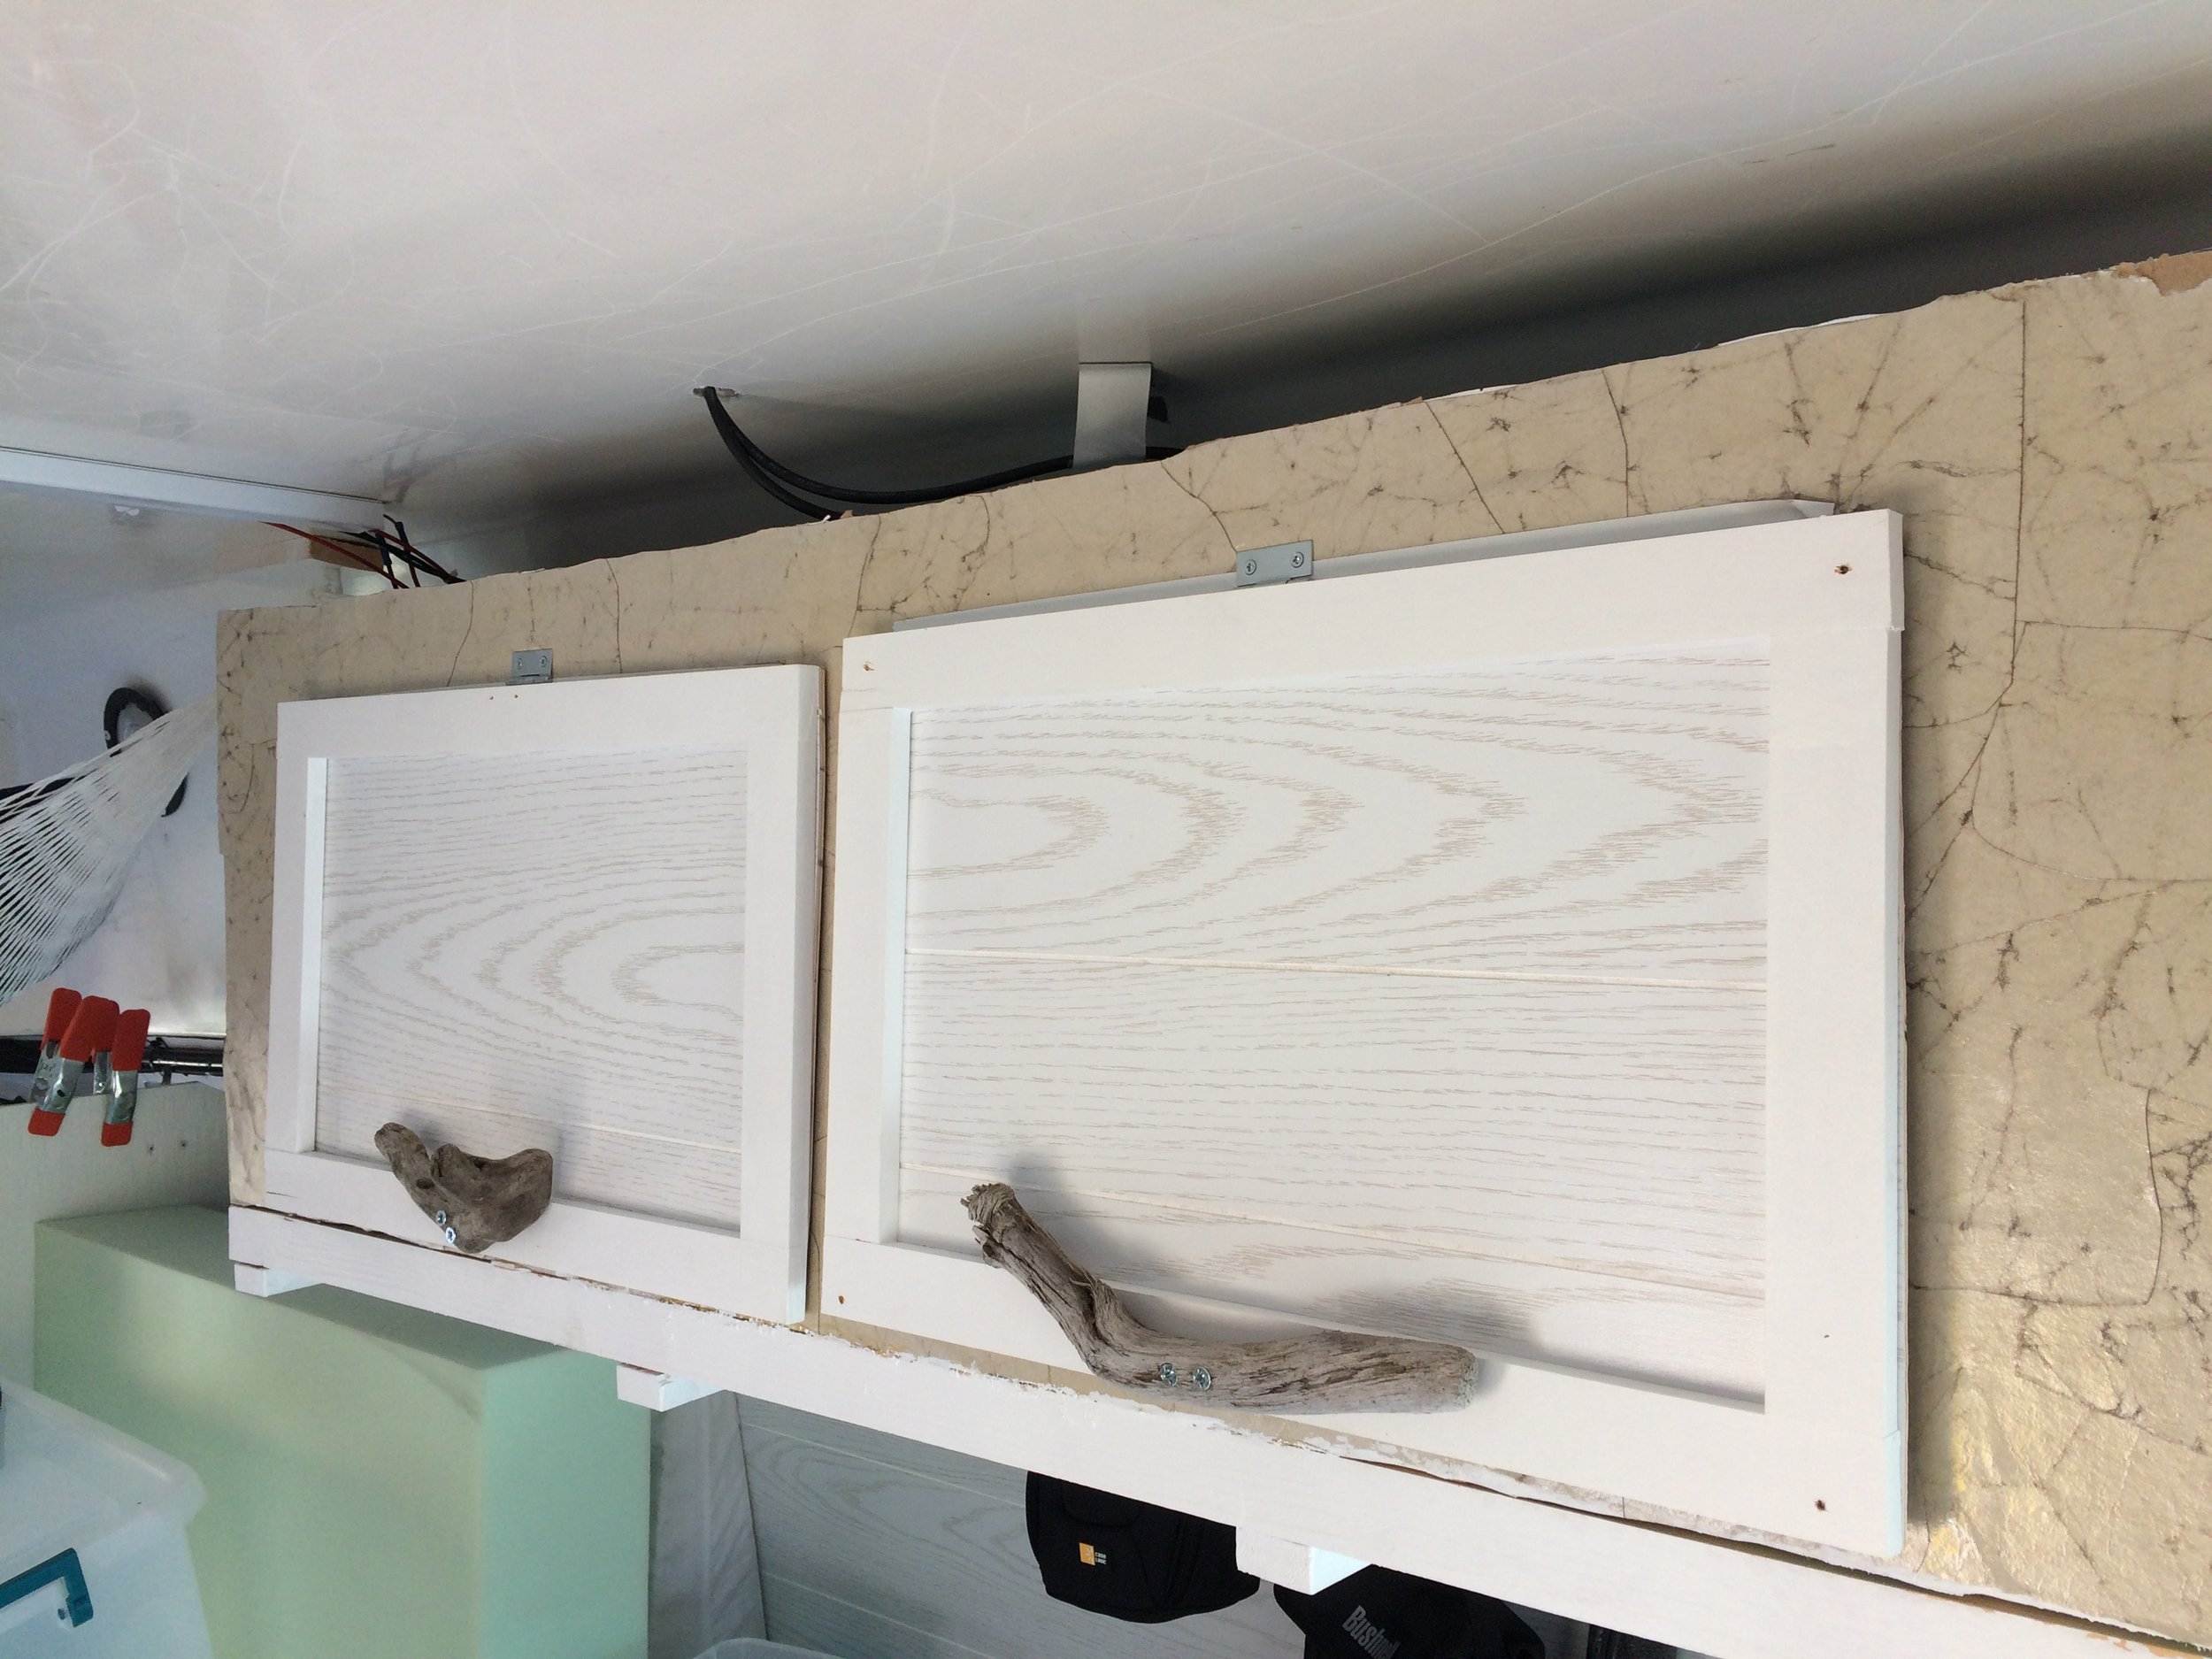
All of the cabinet handles are driftwood collected by my parents while they were on their belated honeymoon in coastal CA and OR. They sent me a small boxful when they got back and I picked through and used what I could as handles. I love the greyed wood and it goes well with both my paneling and flooring. They are unique and personally meaningful.
For the top of this cabinet I used old 18th century maps of the north when it was simply “unexplored region” that I picked up on eBay many years ago thinking “I’m gonna do something cool with these some day”. I love poring over maps and am fascinated by old ones in particular. I laid them out so that I could see as many of them as possible and then screwed clear plexiglass down over the top to give them some protection.

The kitchen cabinet was a more traditional cabinet with some special needs and I will cover it in a post about my kitchen/plumbing set-up later.
I put up a shelf over the passenger side rear window, it is just a normal wood shelf:
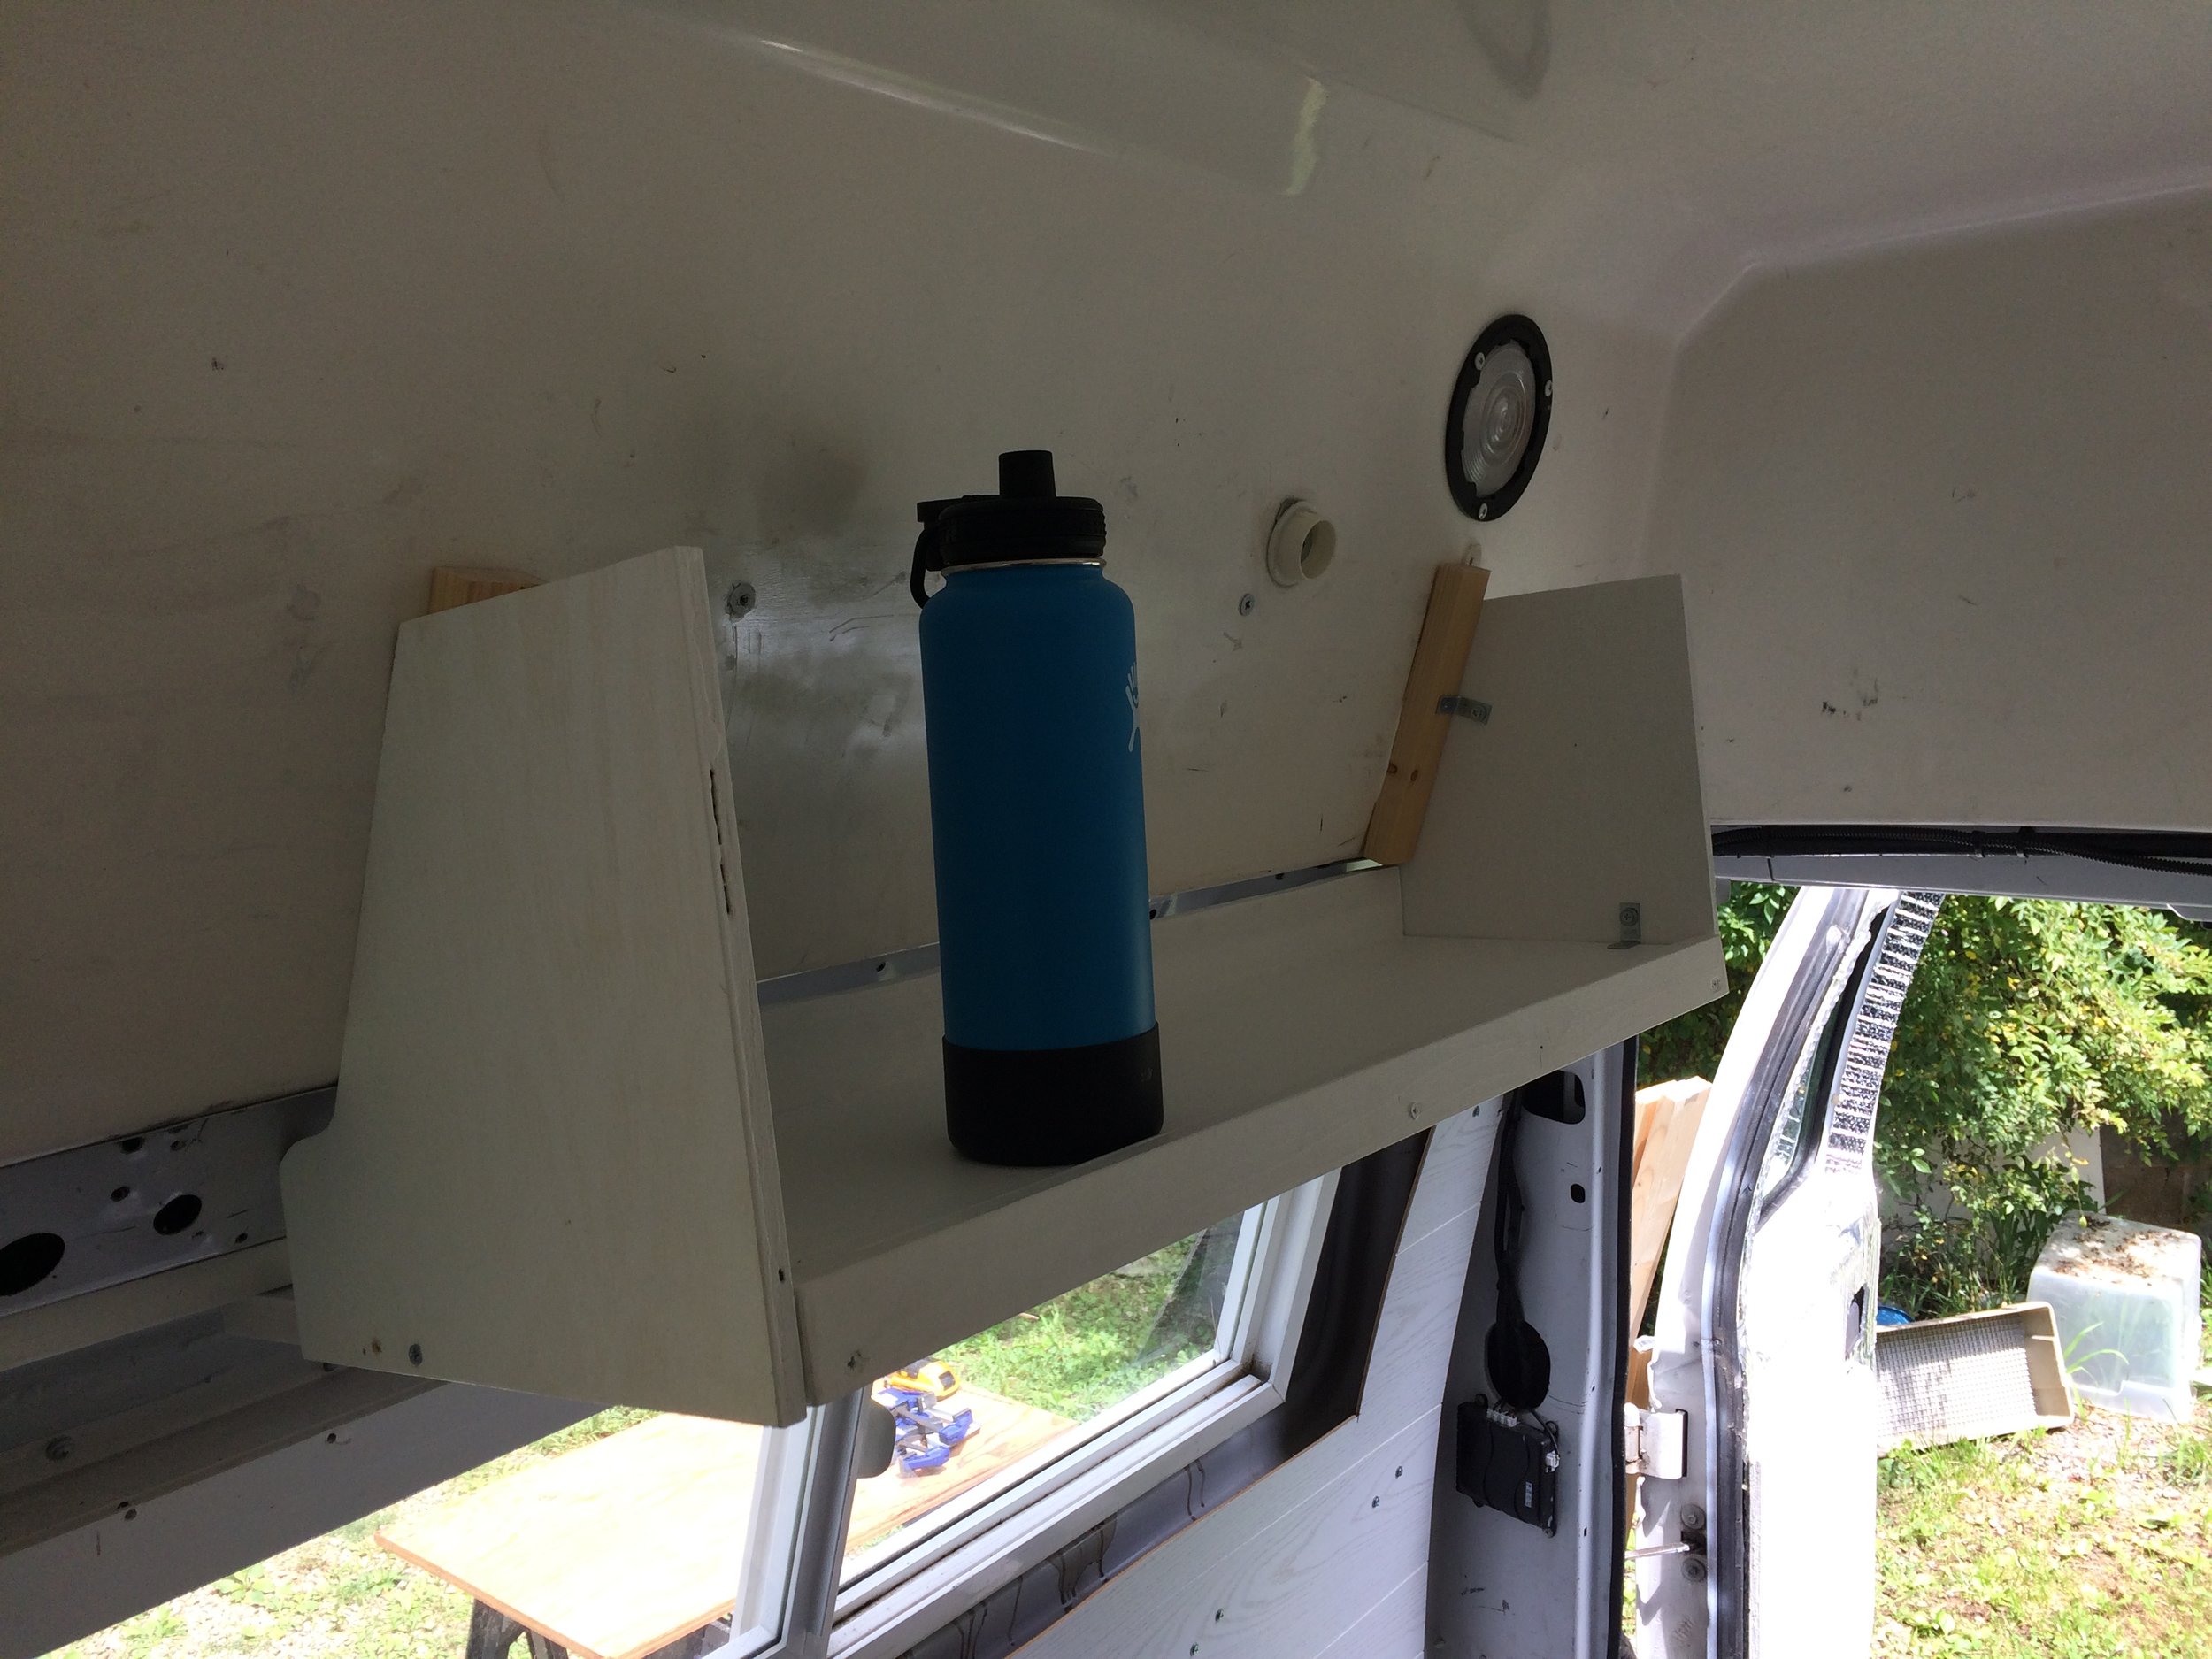
There is a small lip on the open edge of the shelf but not enough to keep things on the shelf if I had to swerve very much so I put a hook in each side and run a bungee across to keep things in when I am on the road.
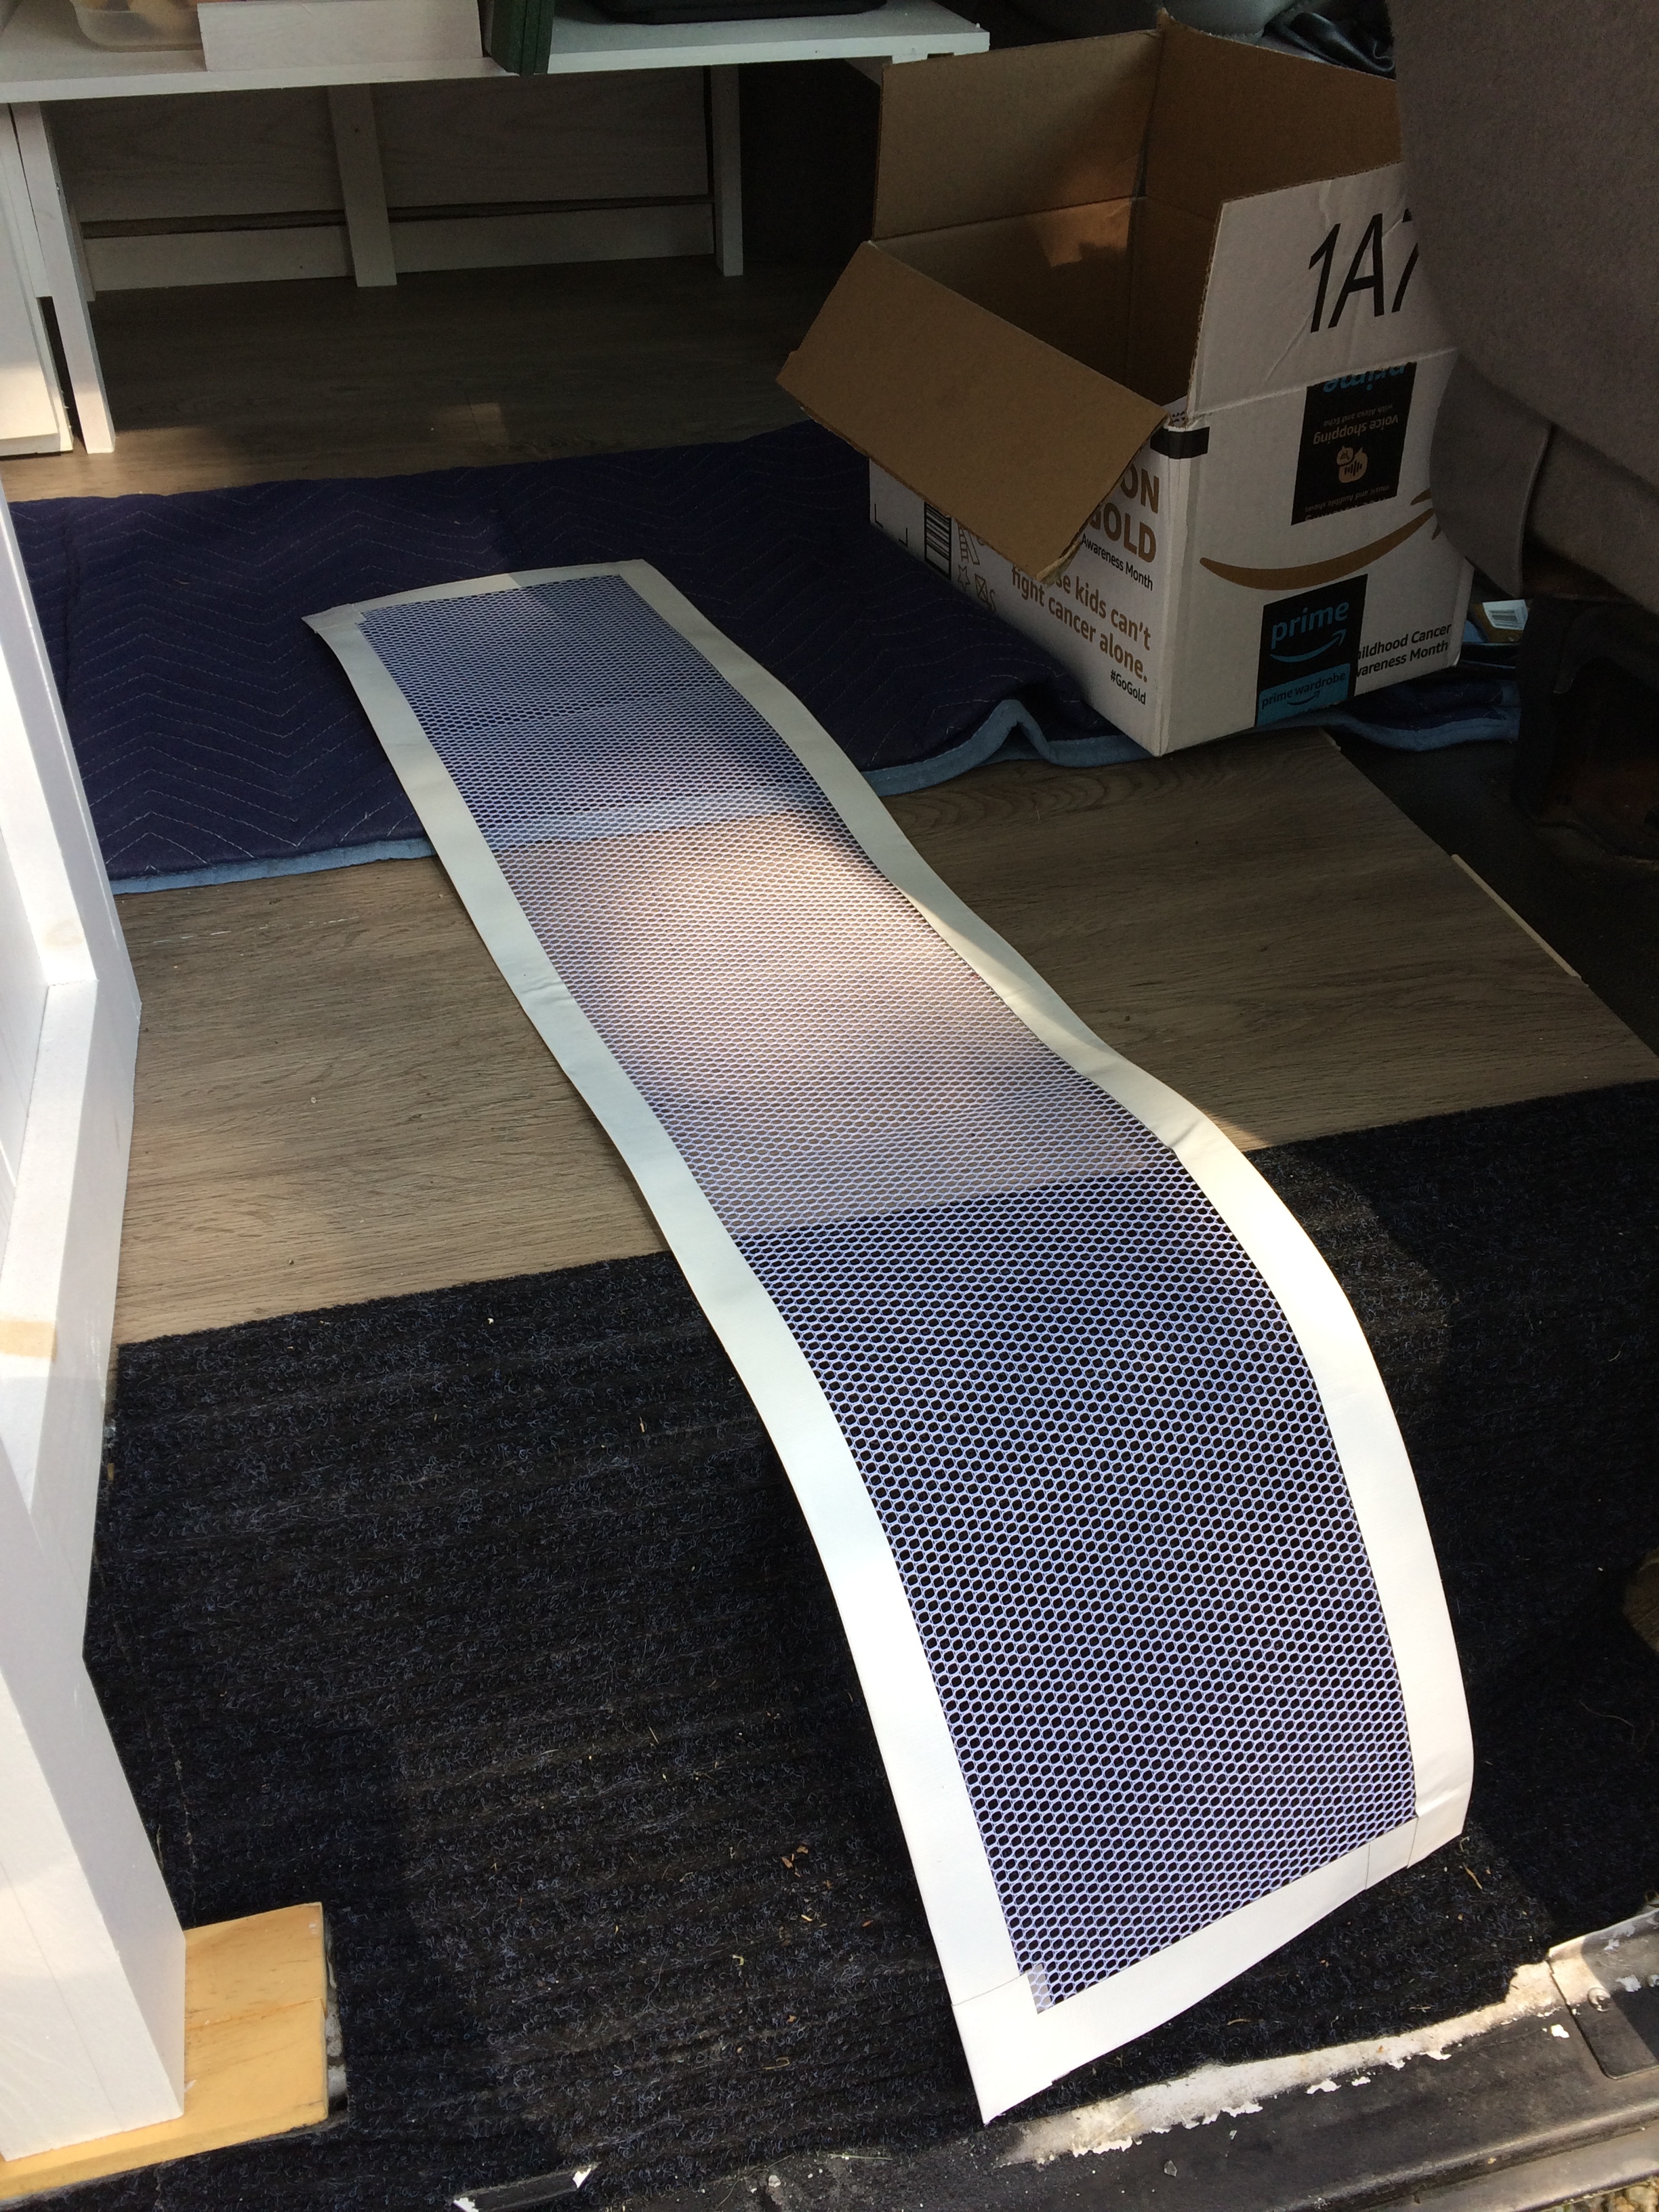
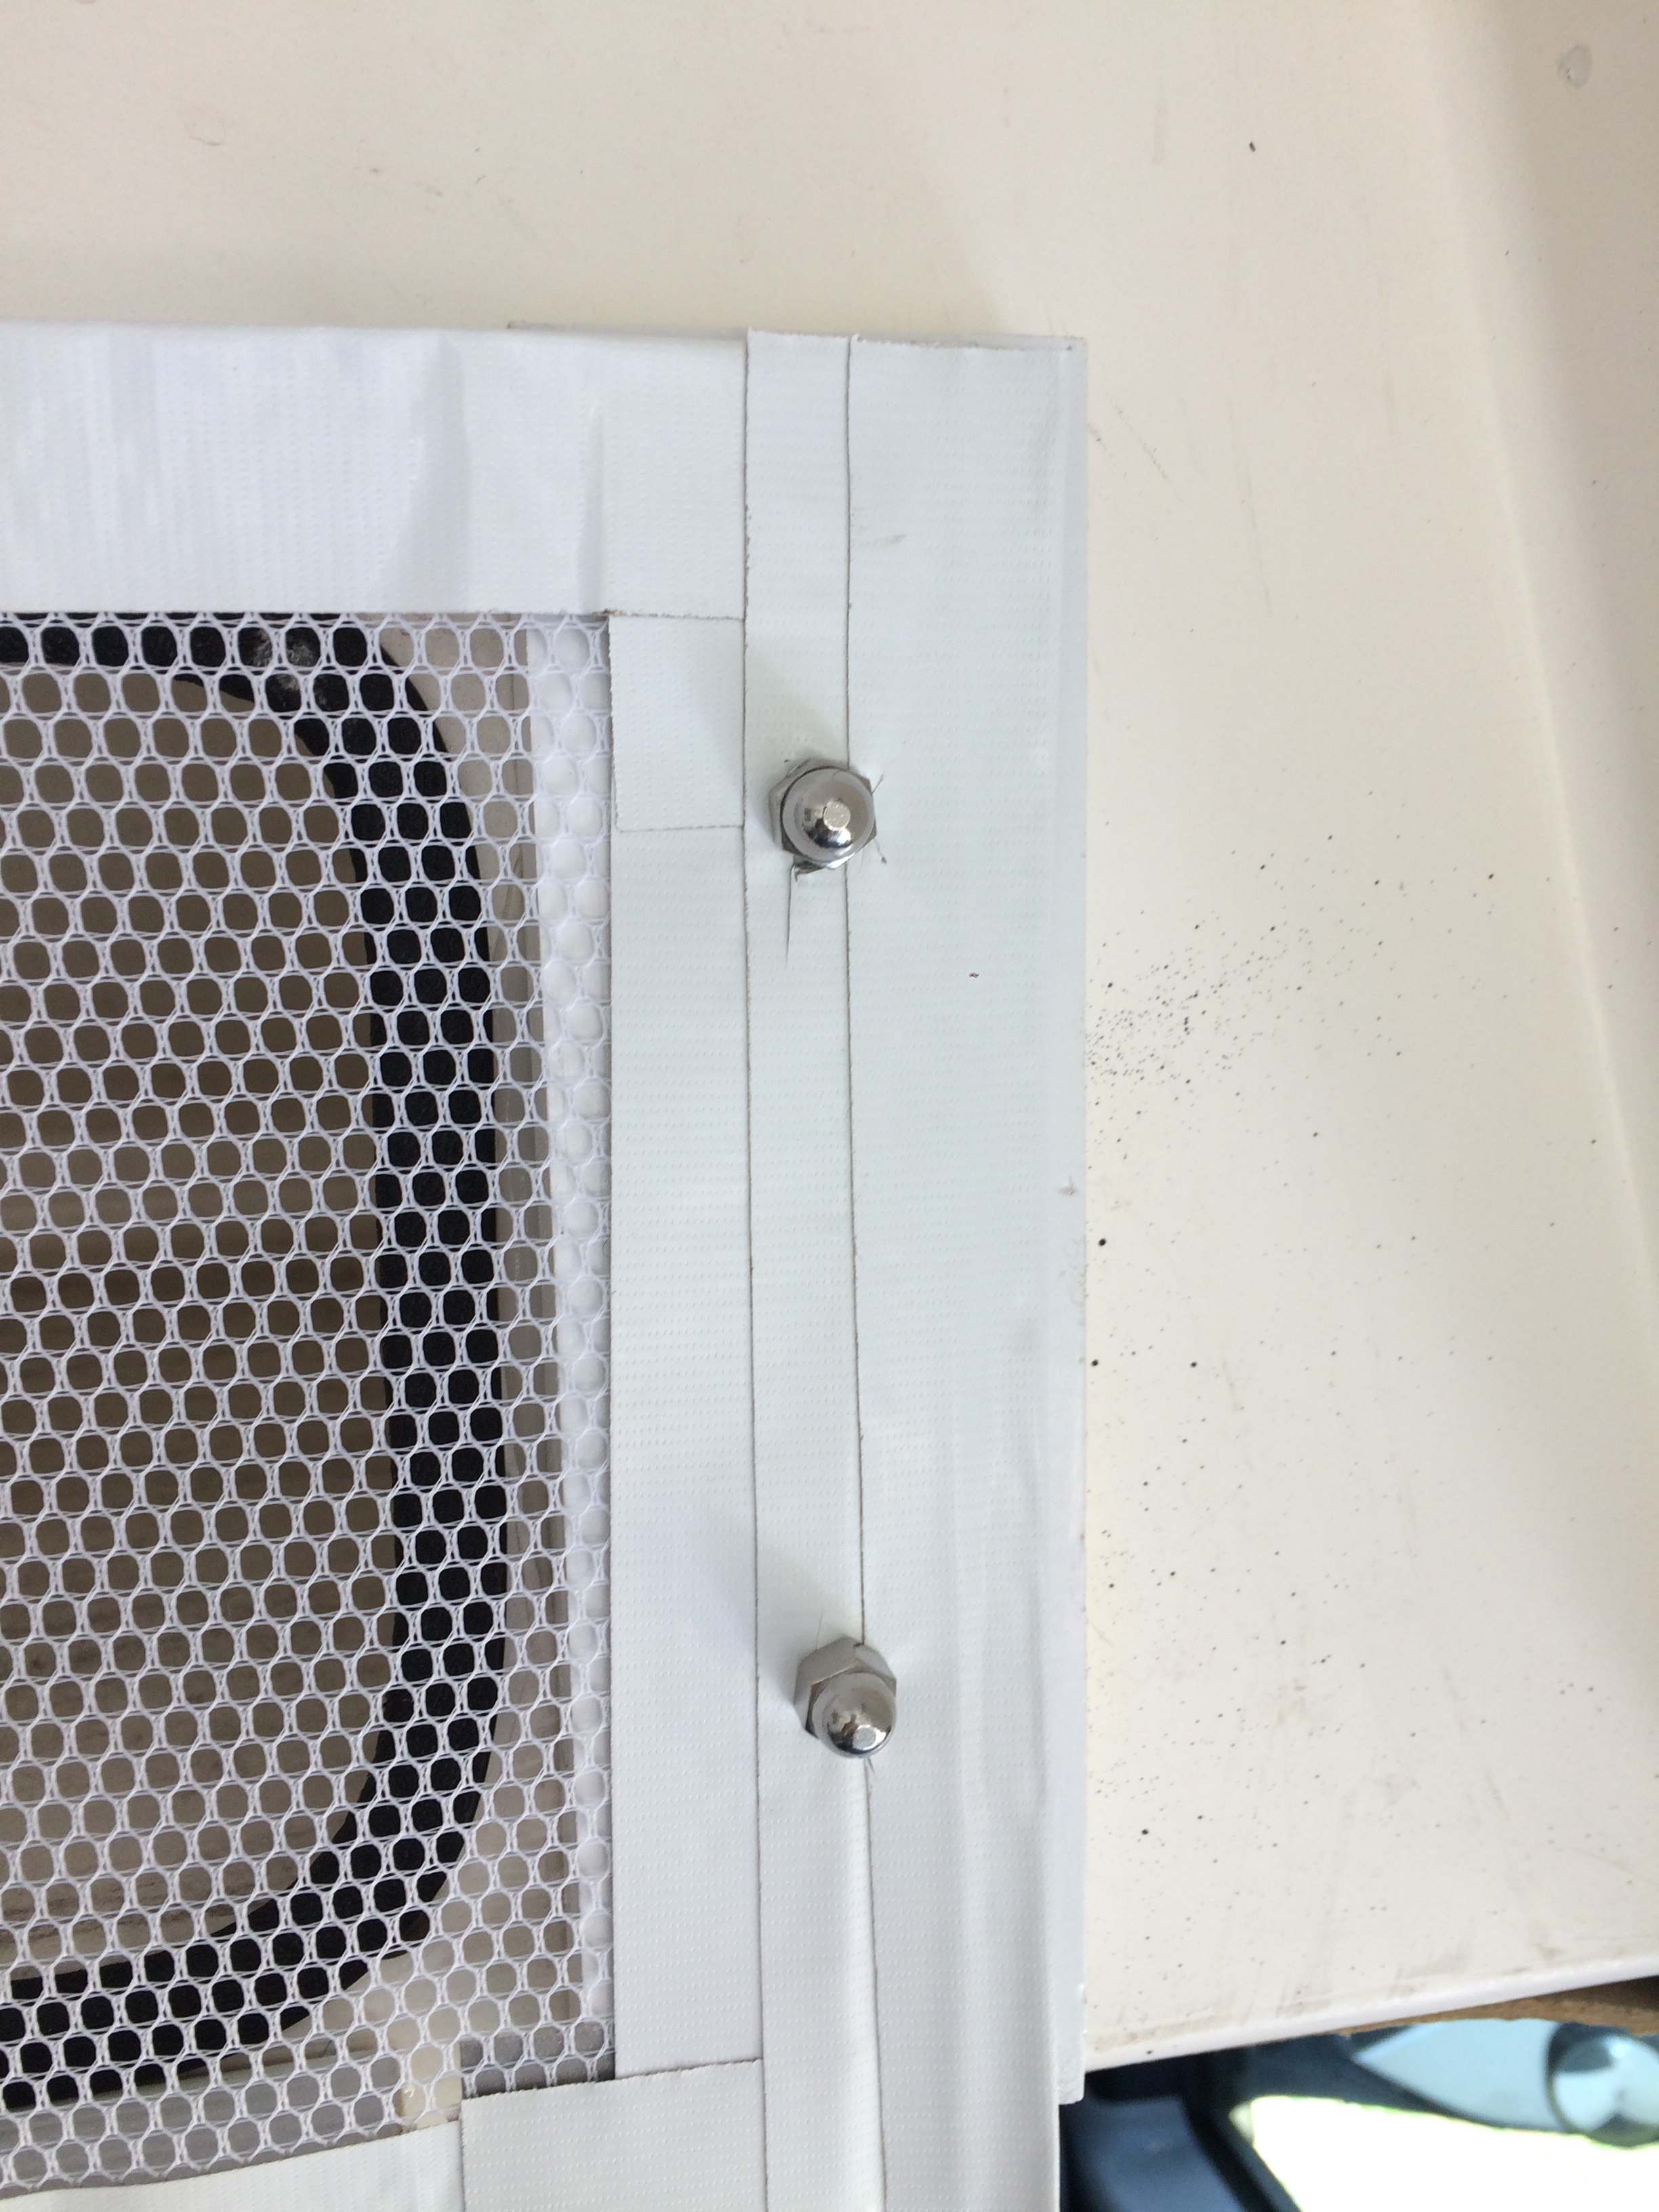
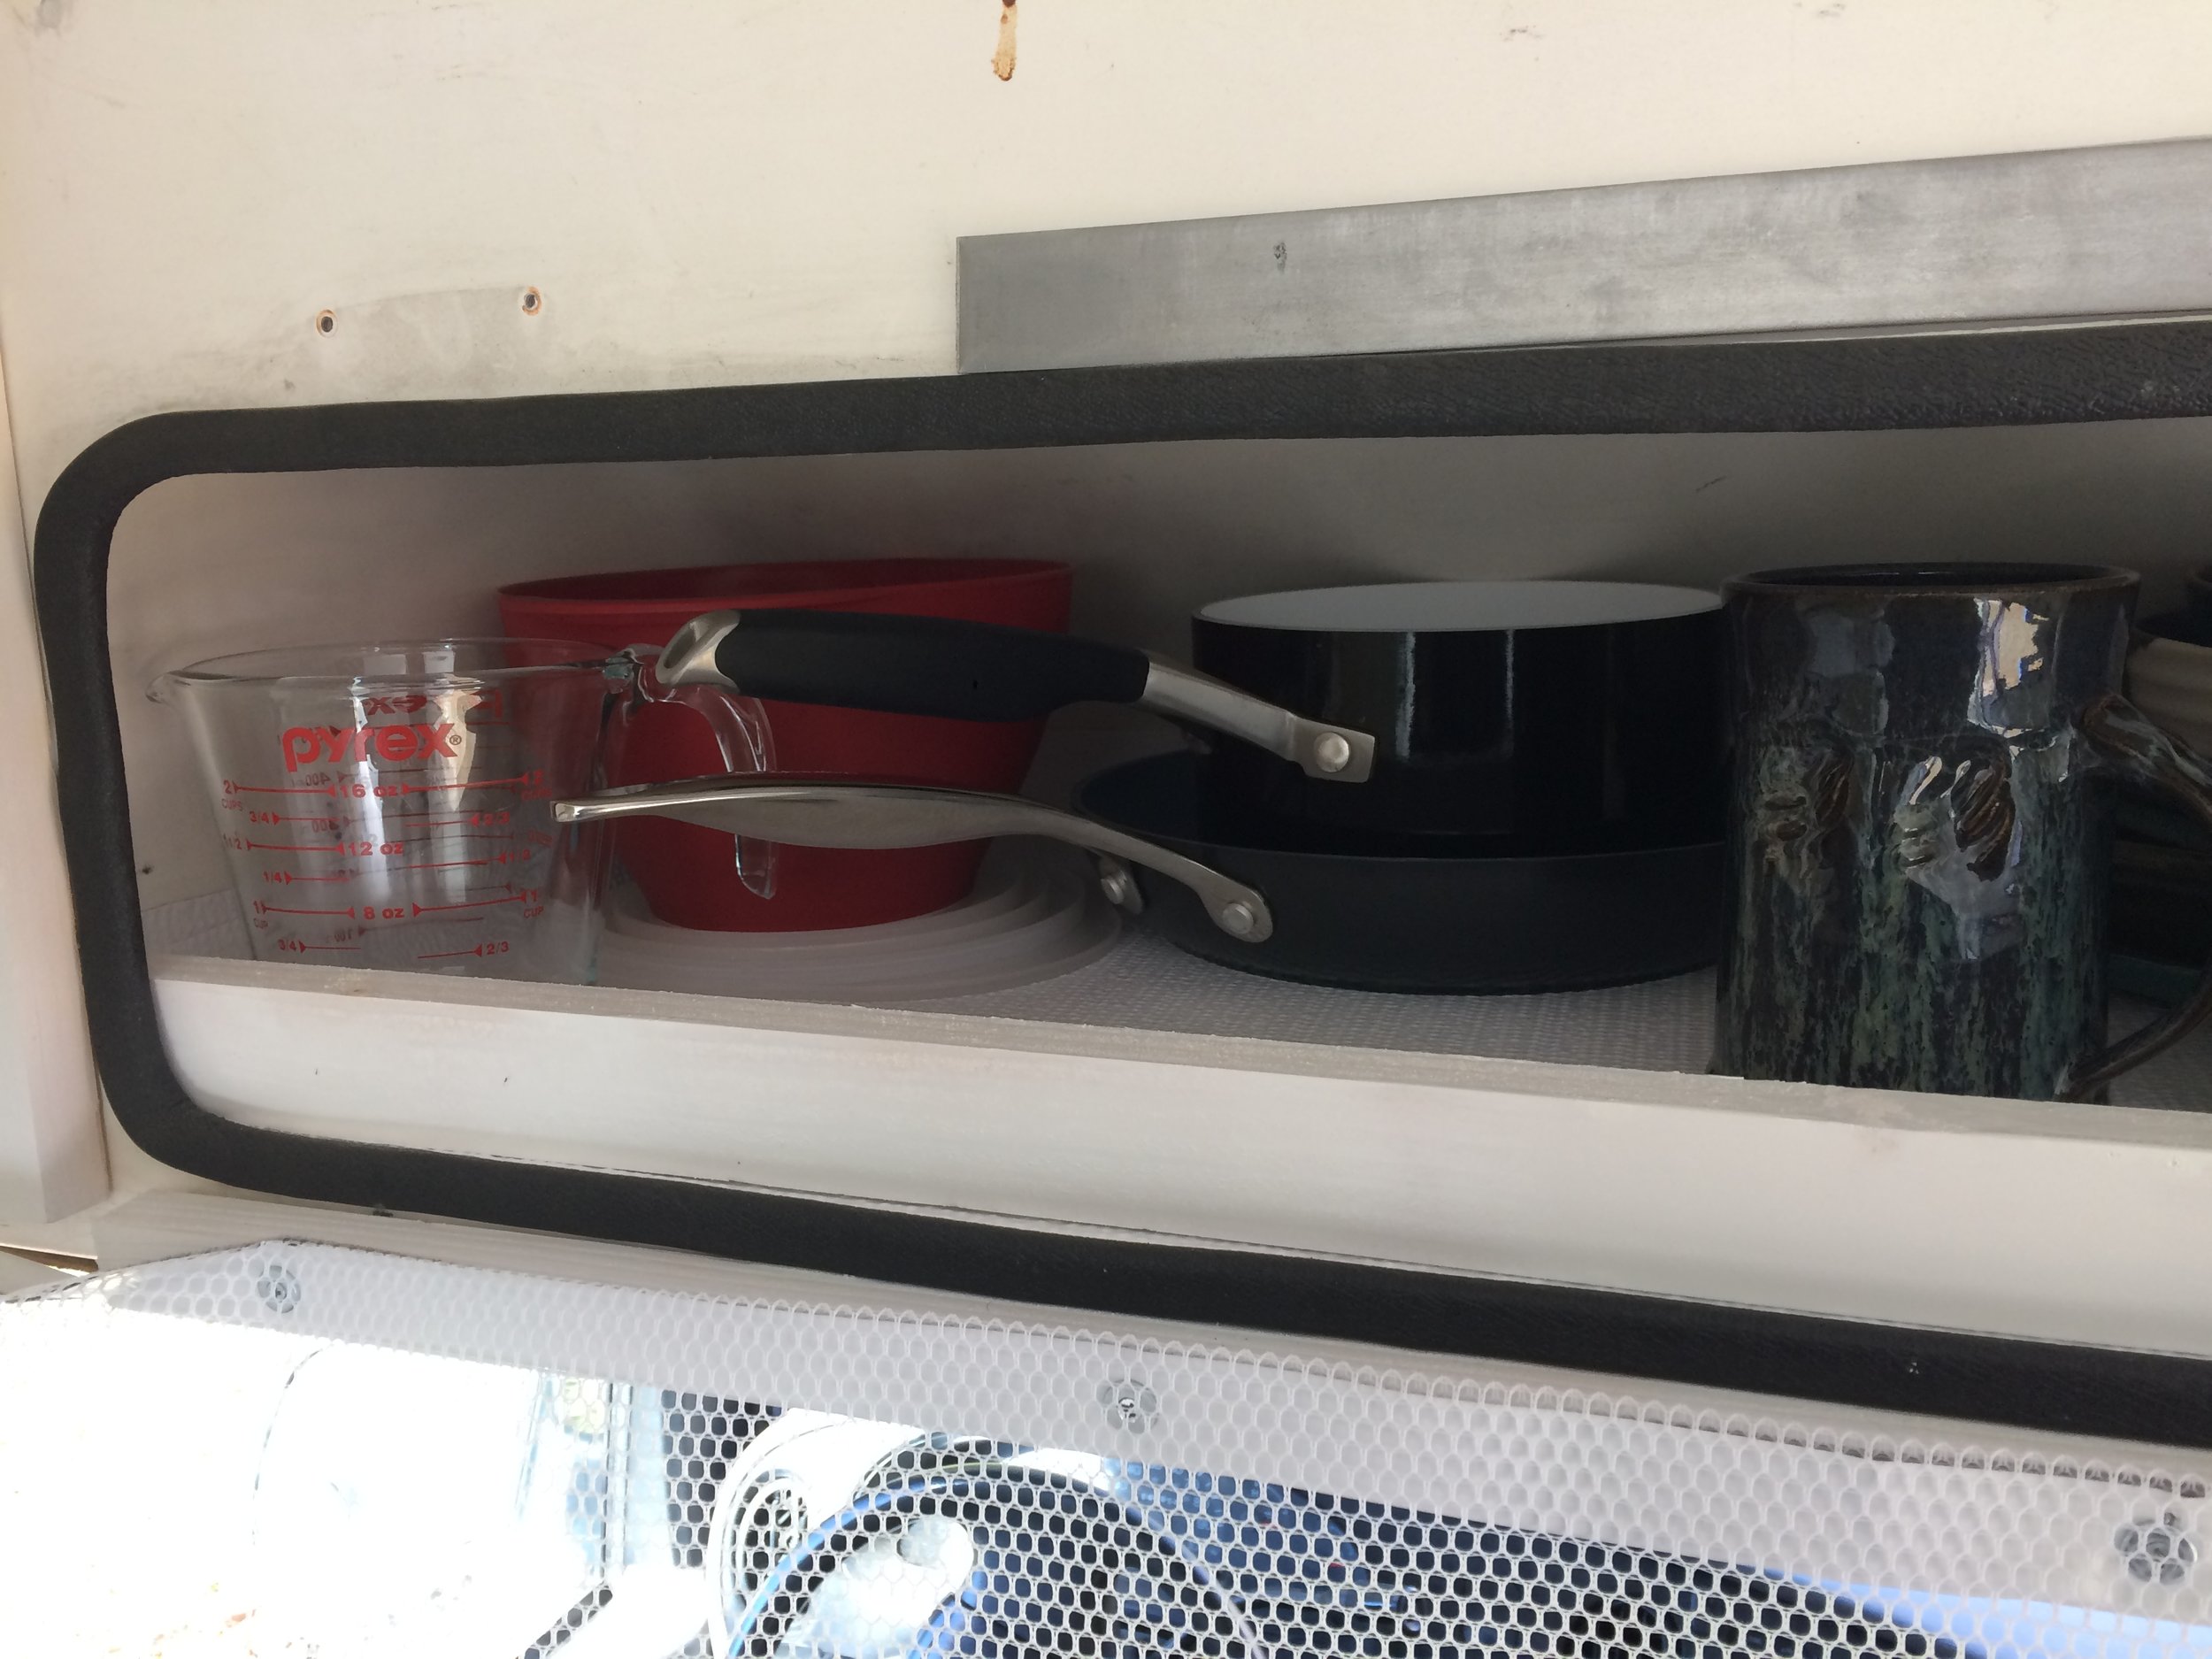
There is a sort of cubby above the seats made by the hightop/roof when it was installed. I decided to put my dishes and pots and pans up here, but I needed to pad it so things are quiet and secure when driving. First I made a sort of screen with some stiff mesh and White Gorilla tape on the edges. Then I cut a couple of pieces of 2x4, painted them, drilled countersunk holes for bolts and Iron Gripped those to each side. I Iron Gripped a painted piece of 1x2 along the bottom and a piece of metal along the top. I attached the mesh on the bottom by screwing it into the wood with some washers at the bottom. The sides are held by acorn nuts and the top by magnets like so:
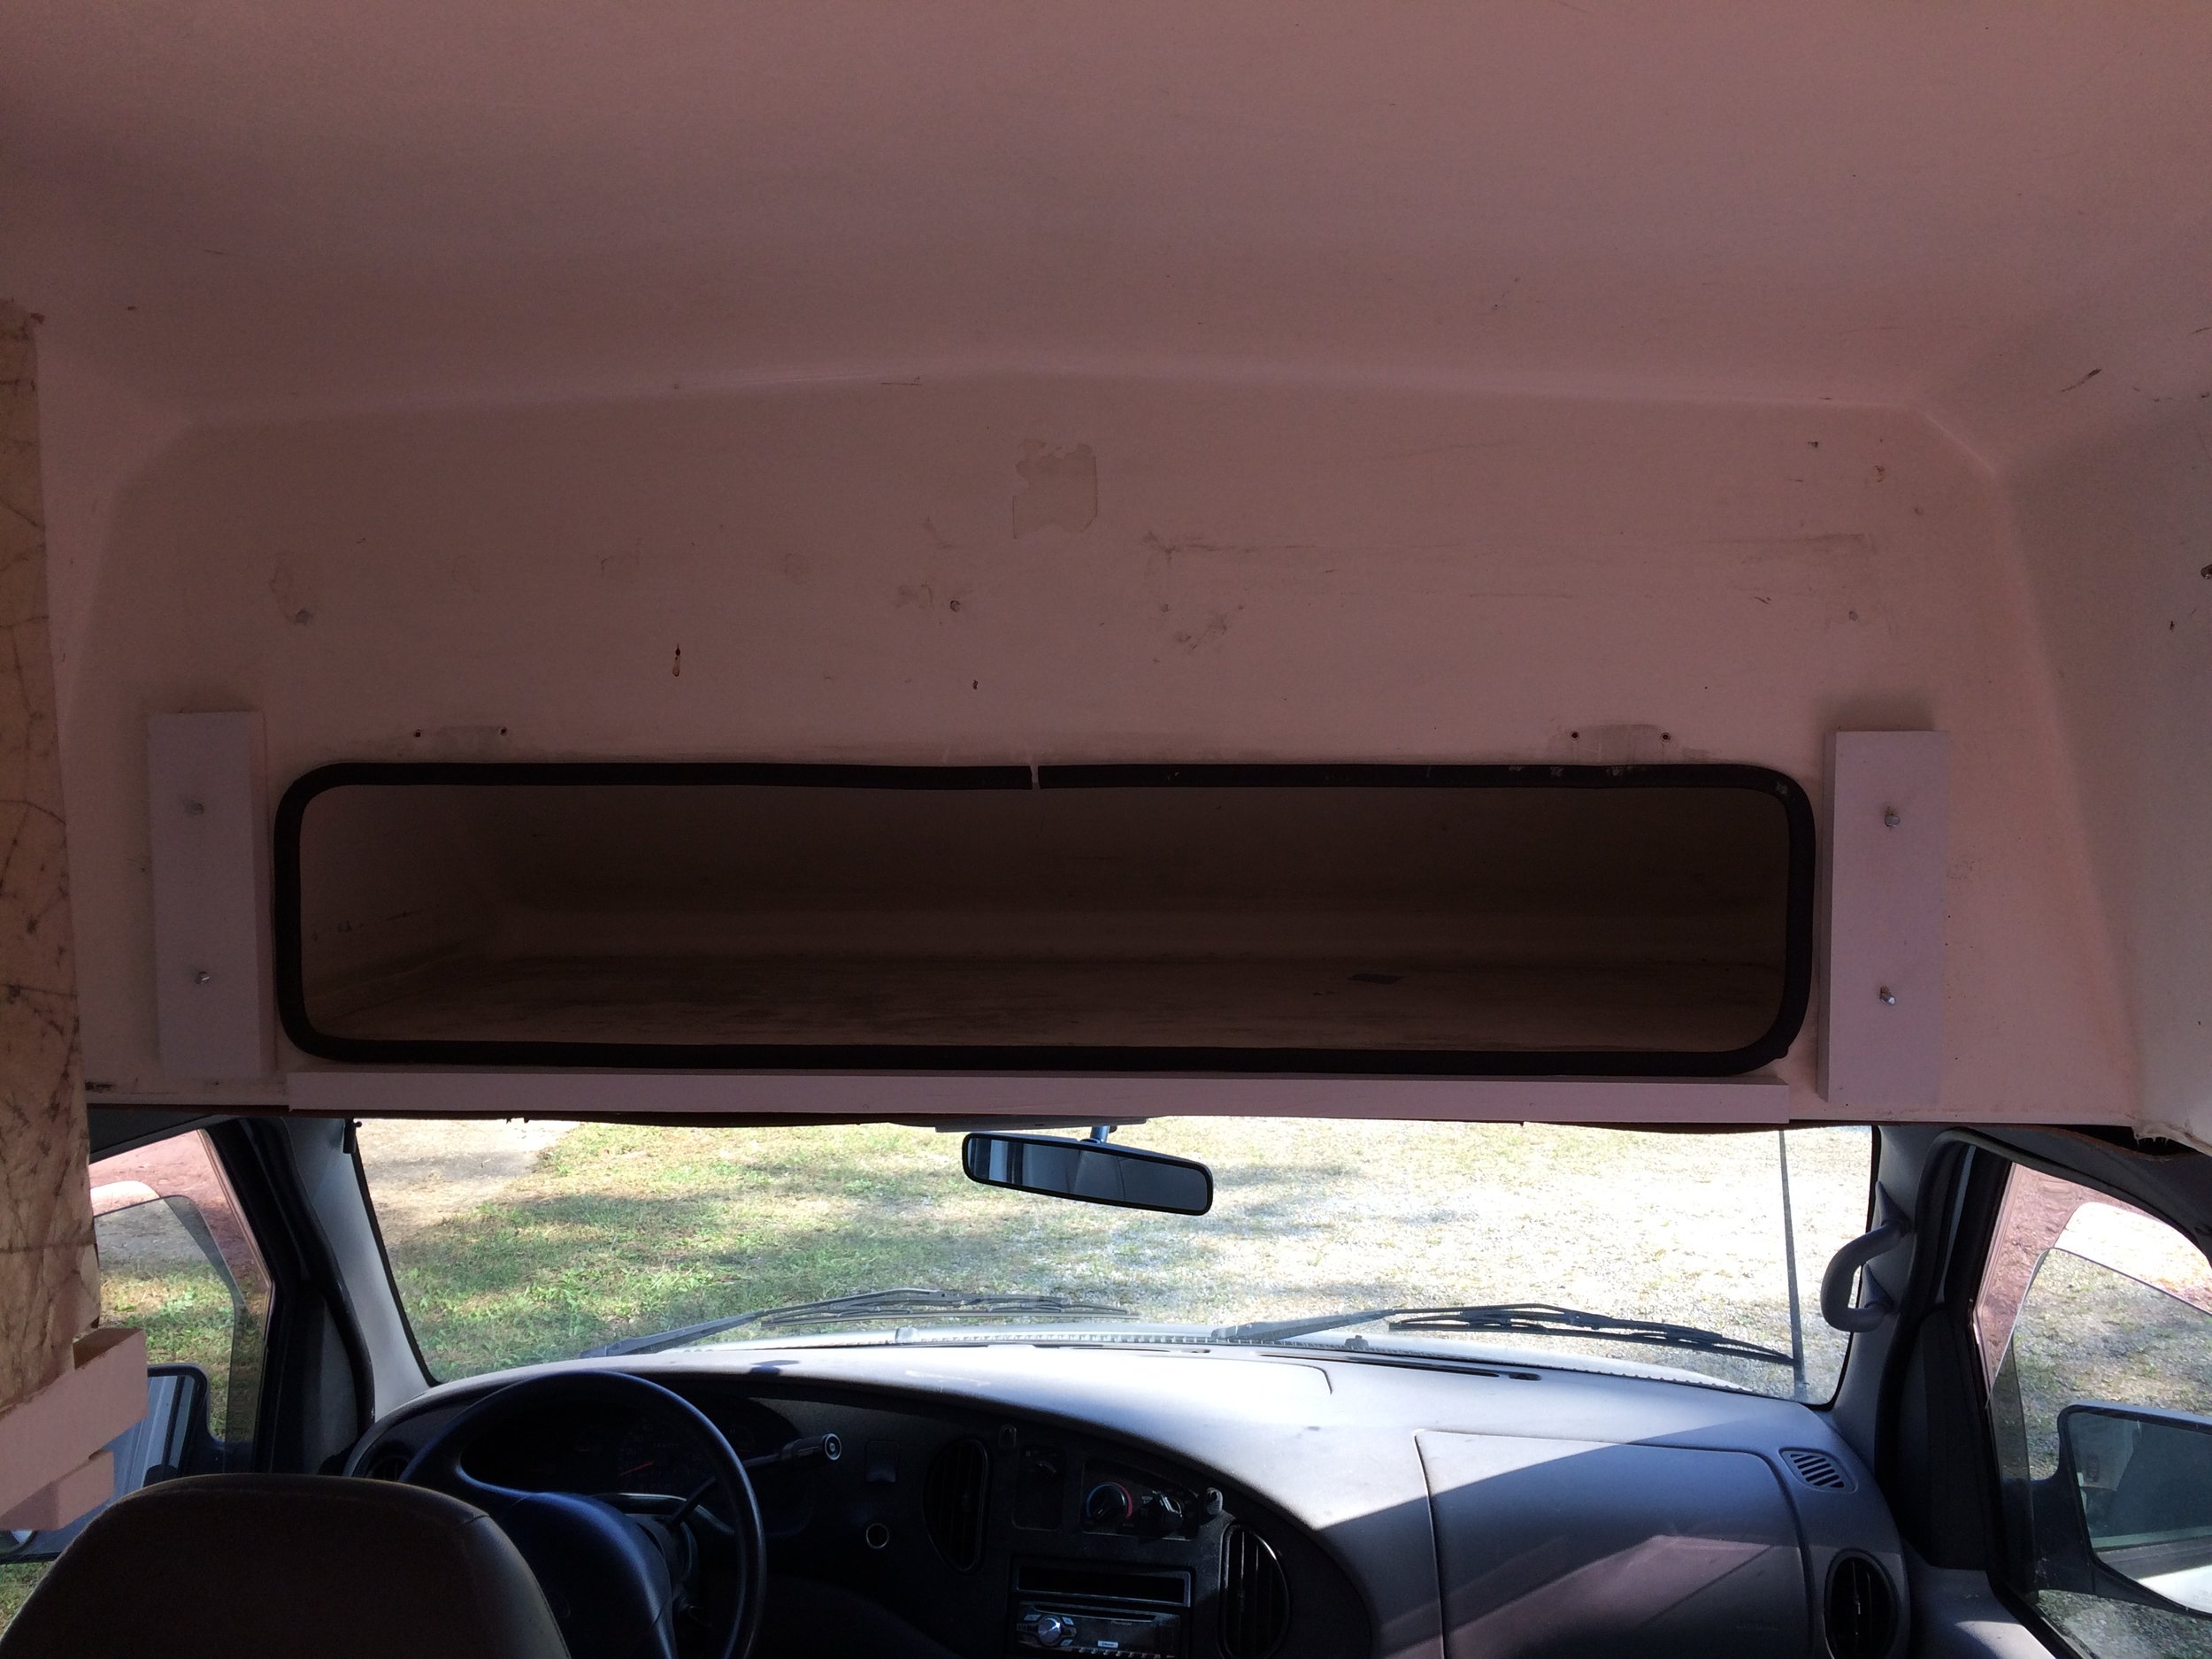
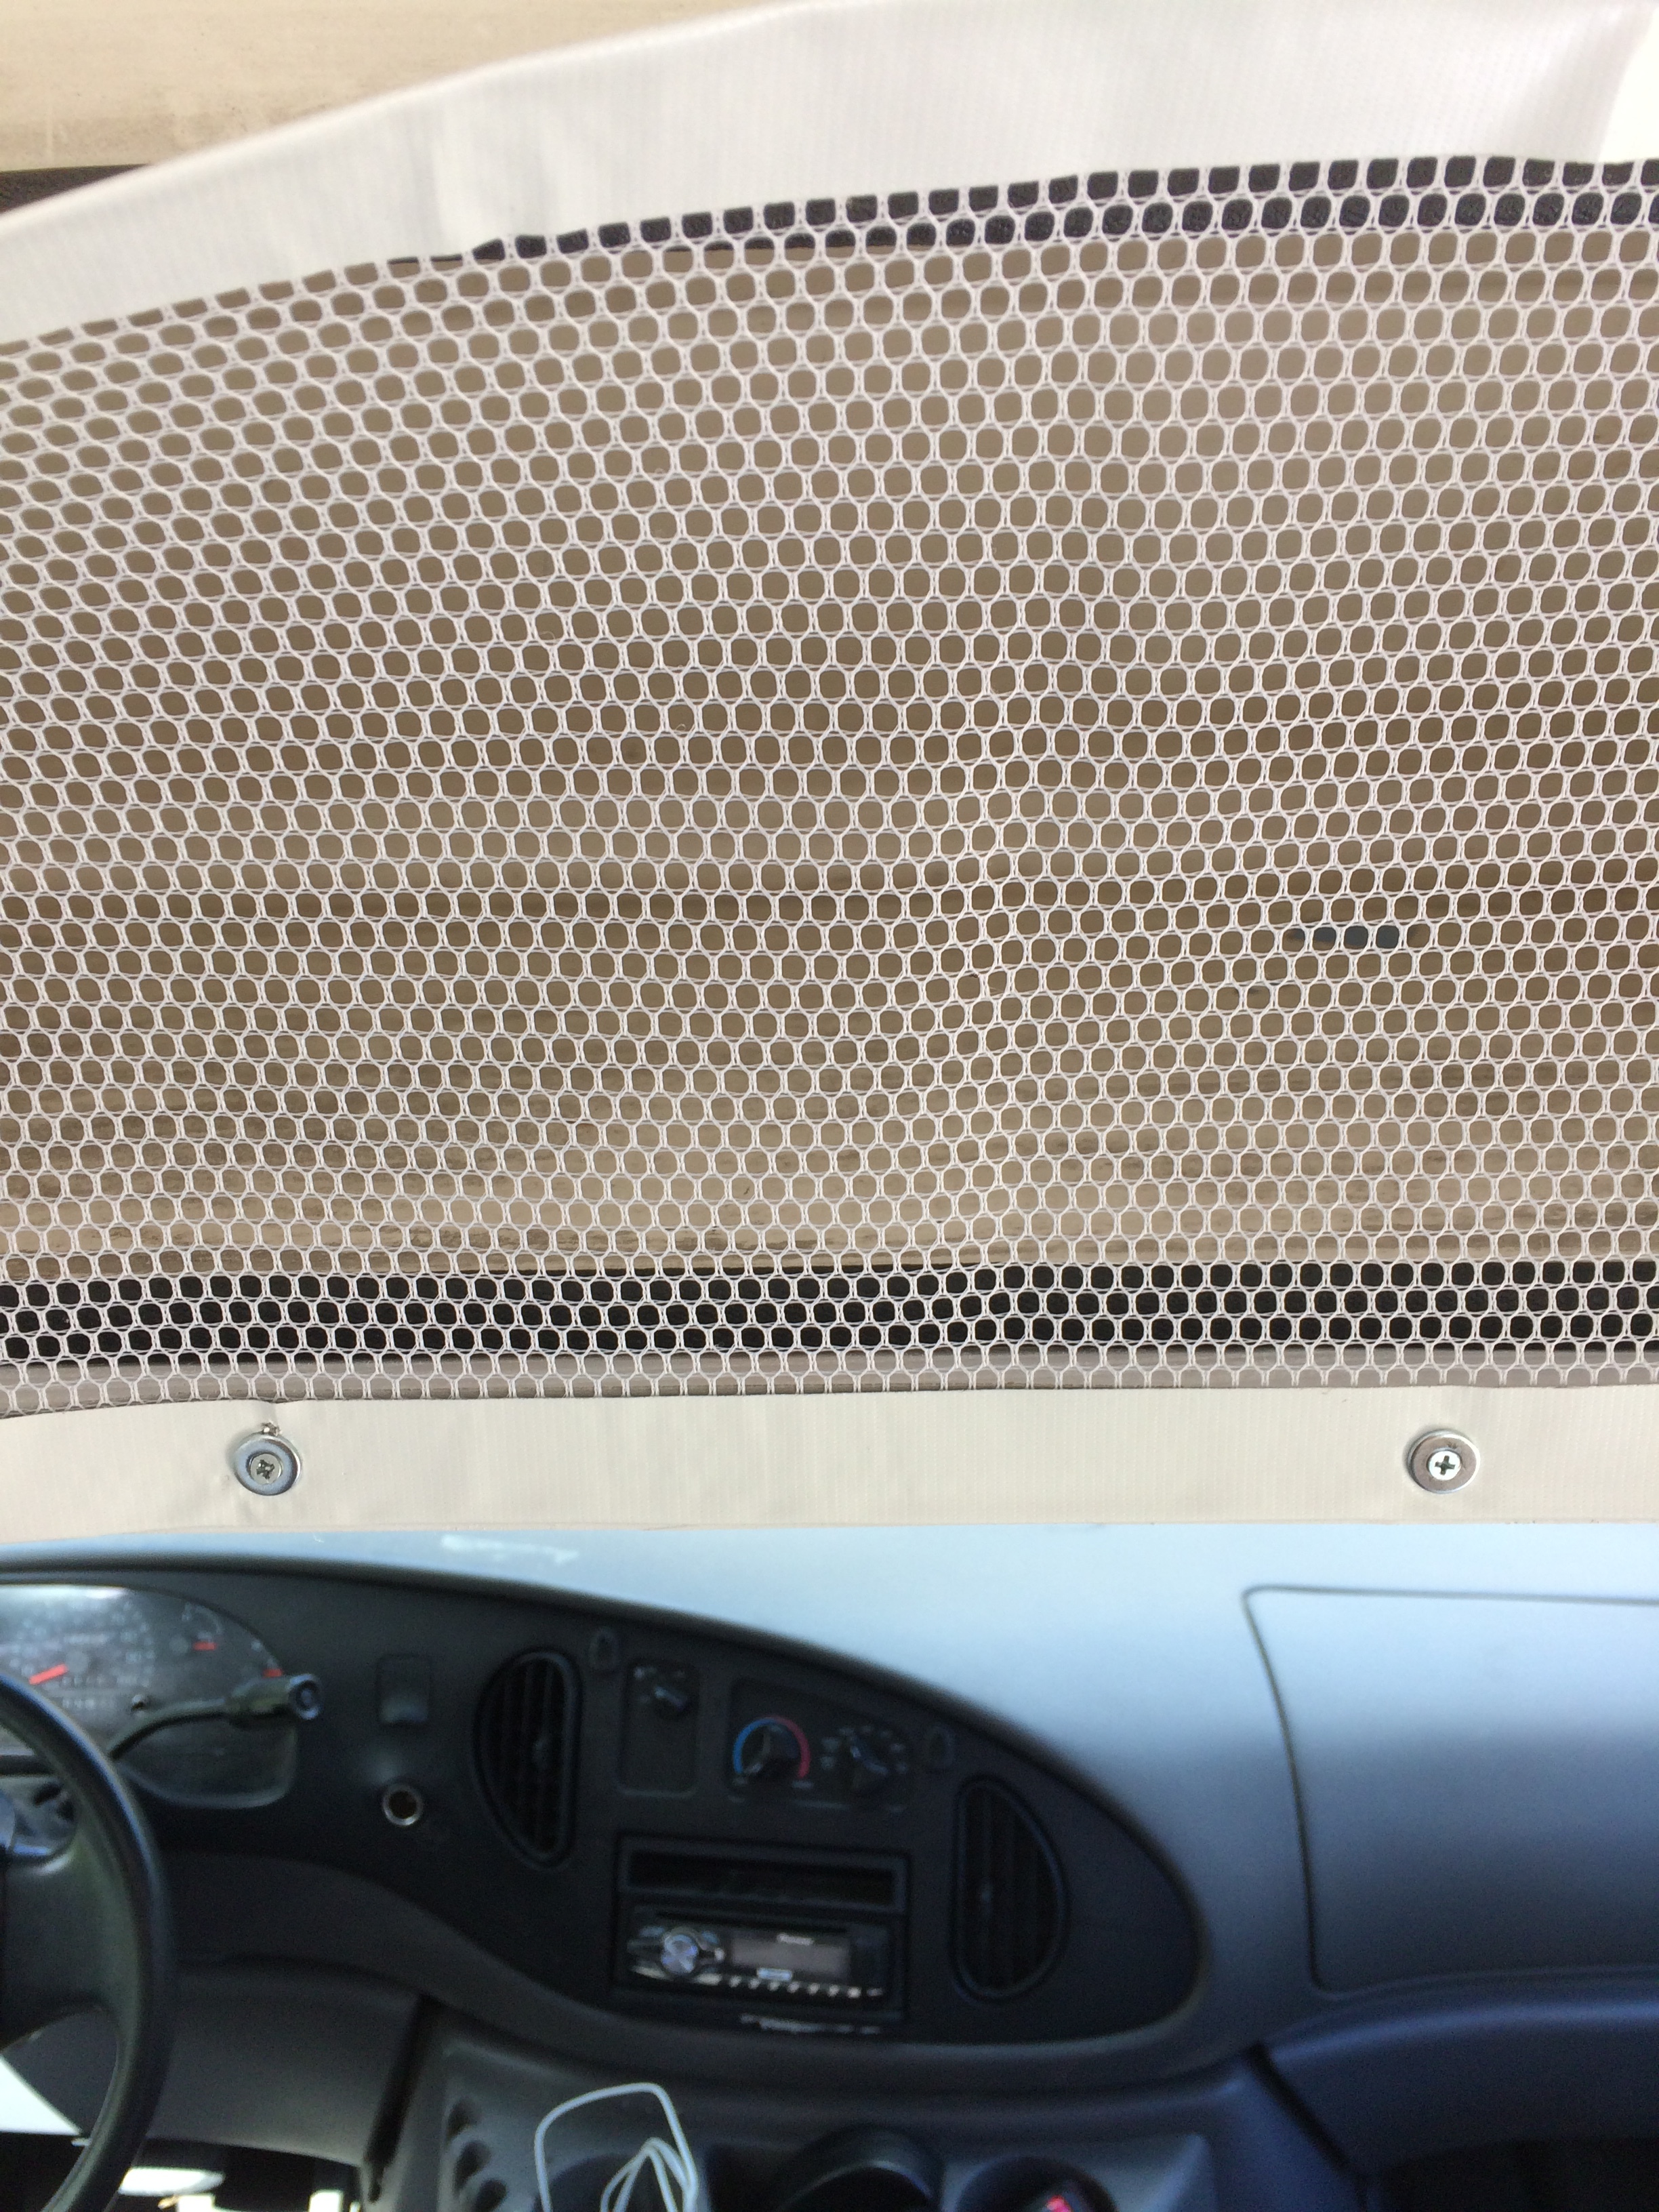
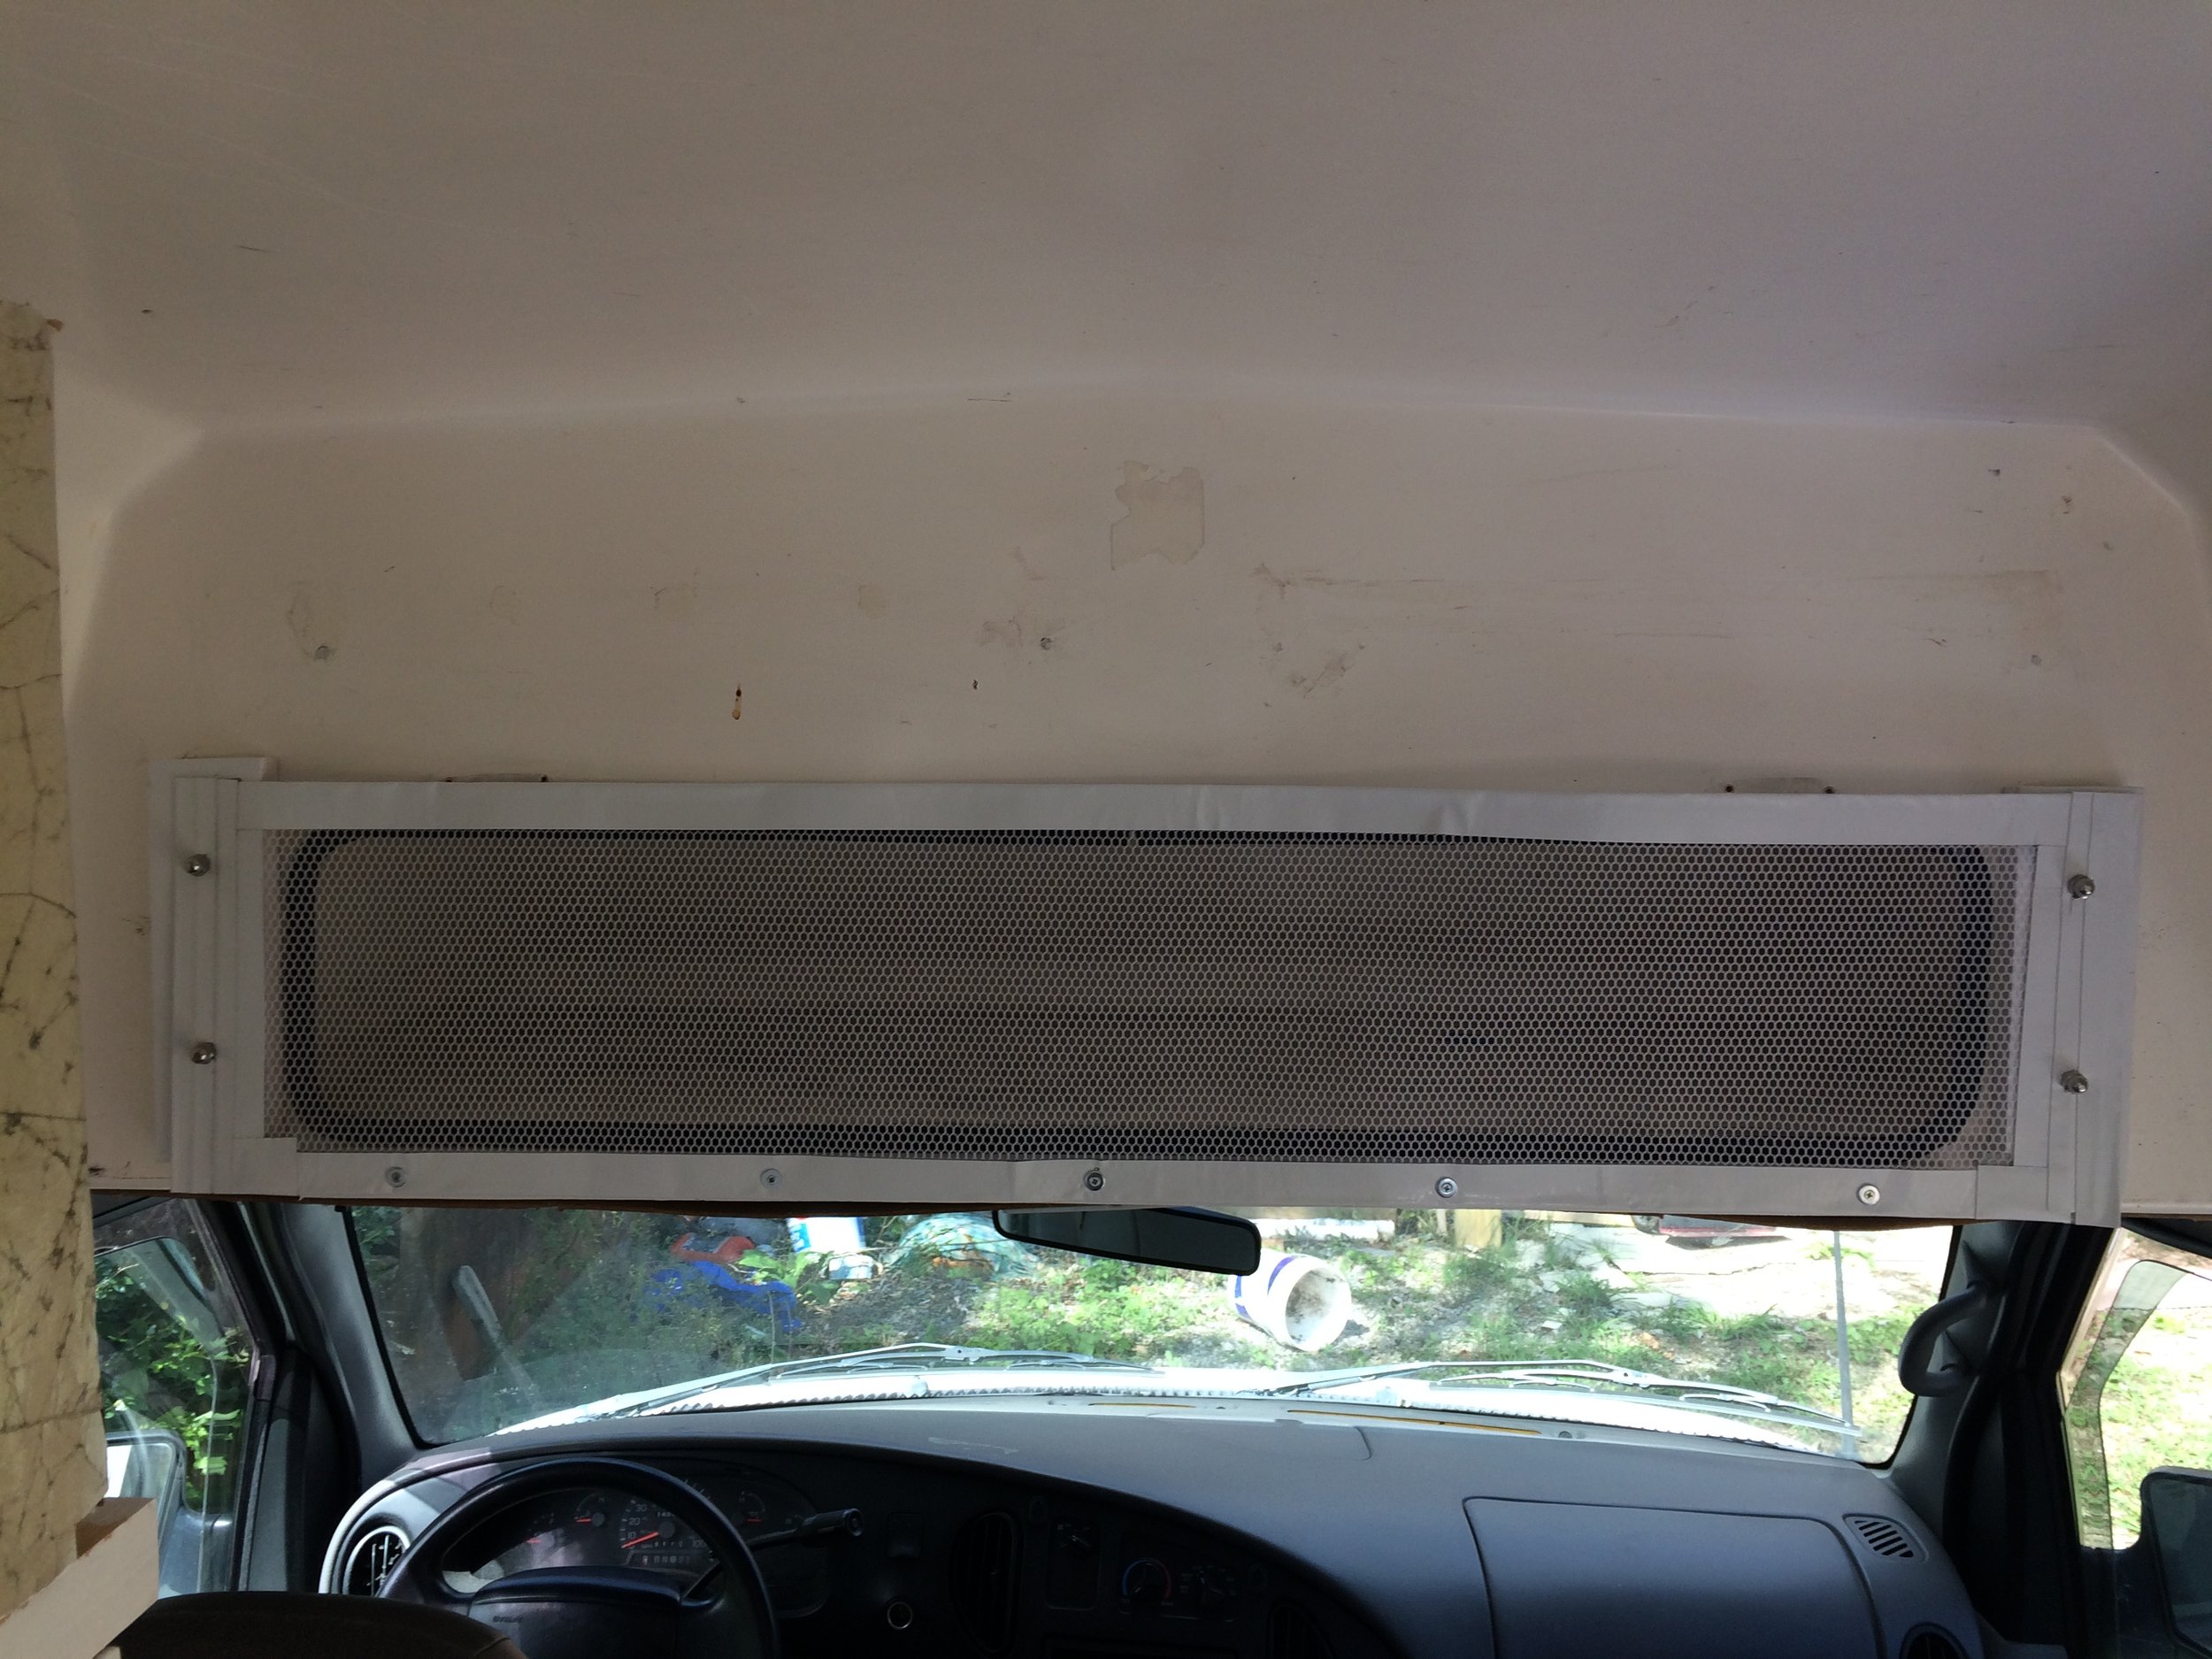
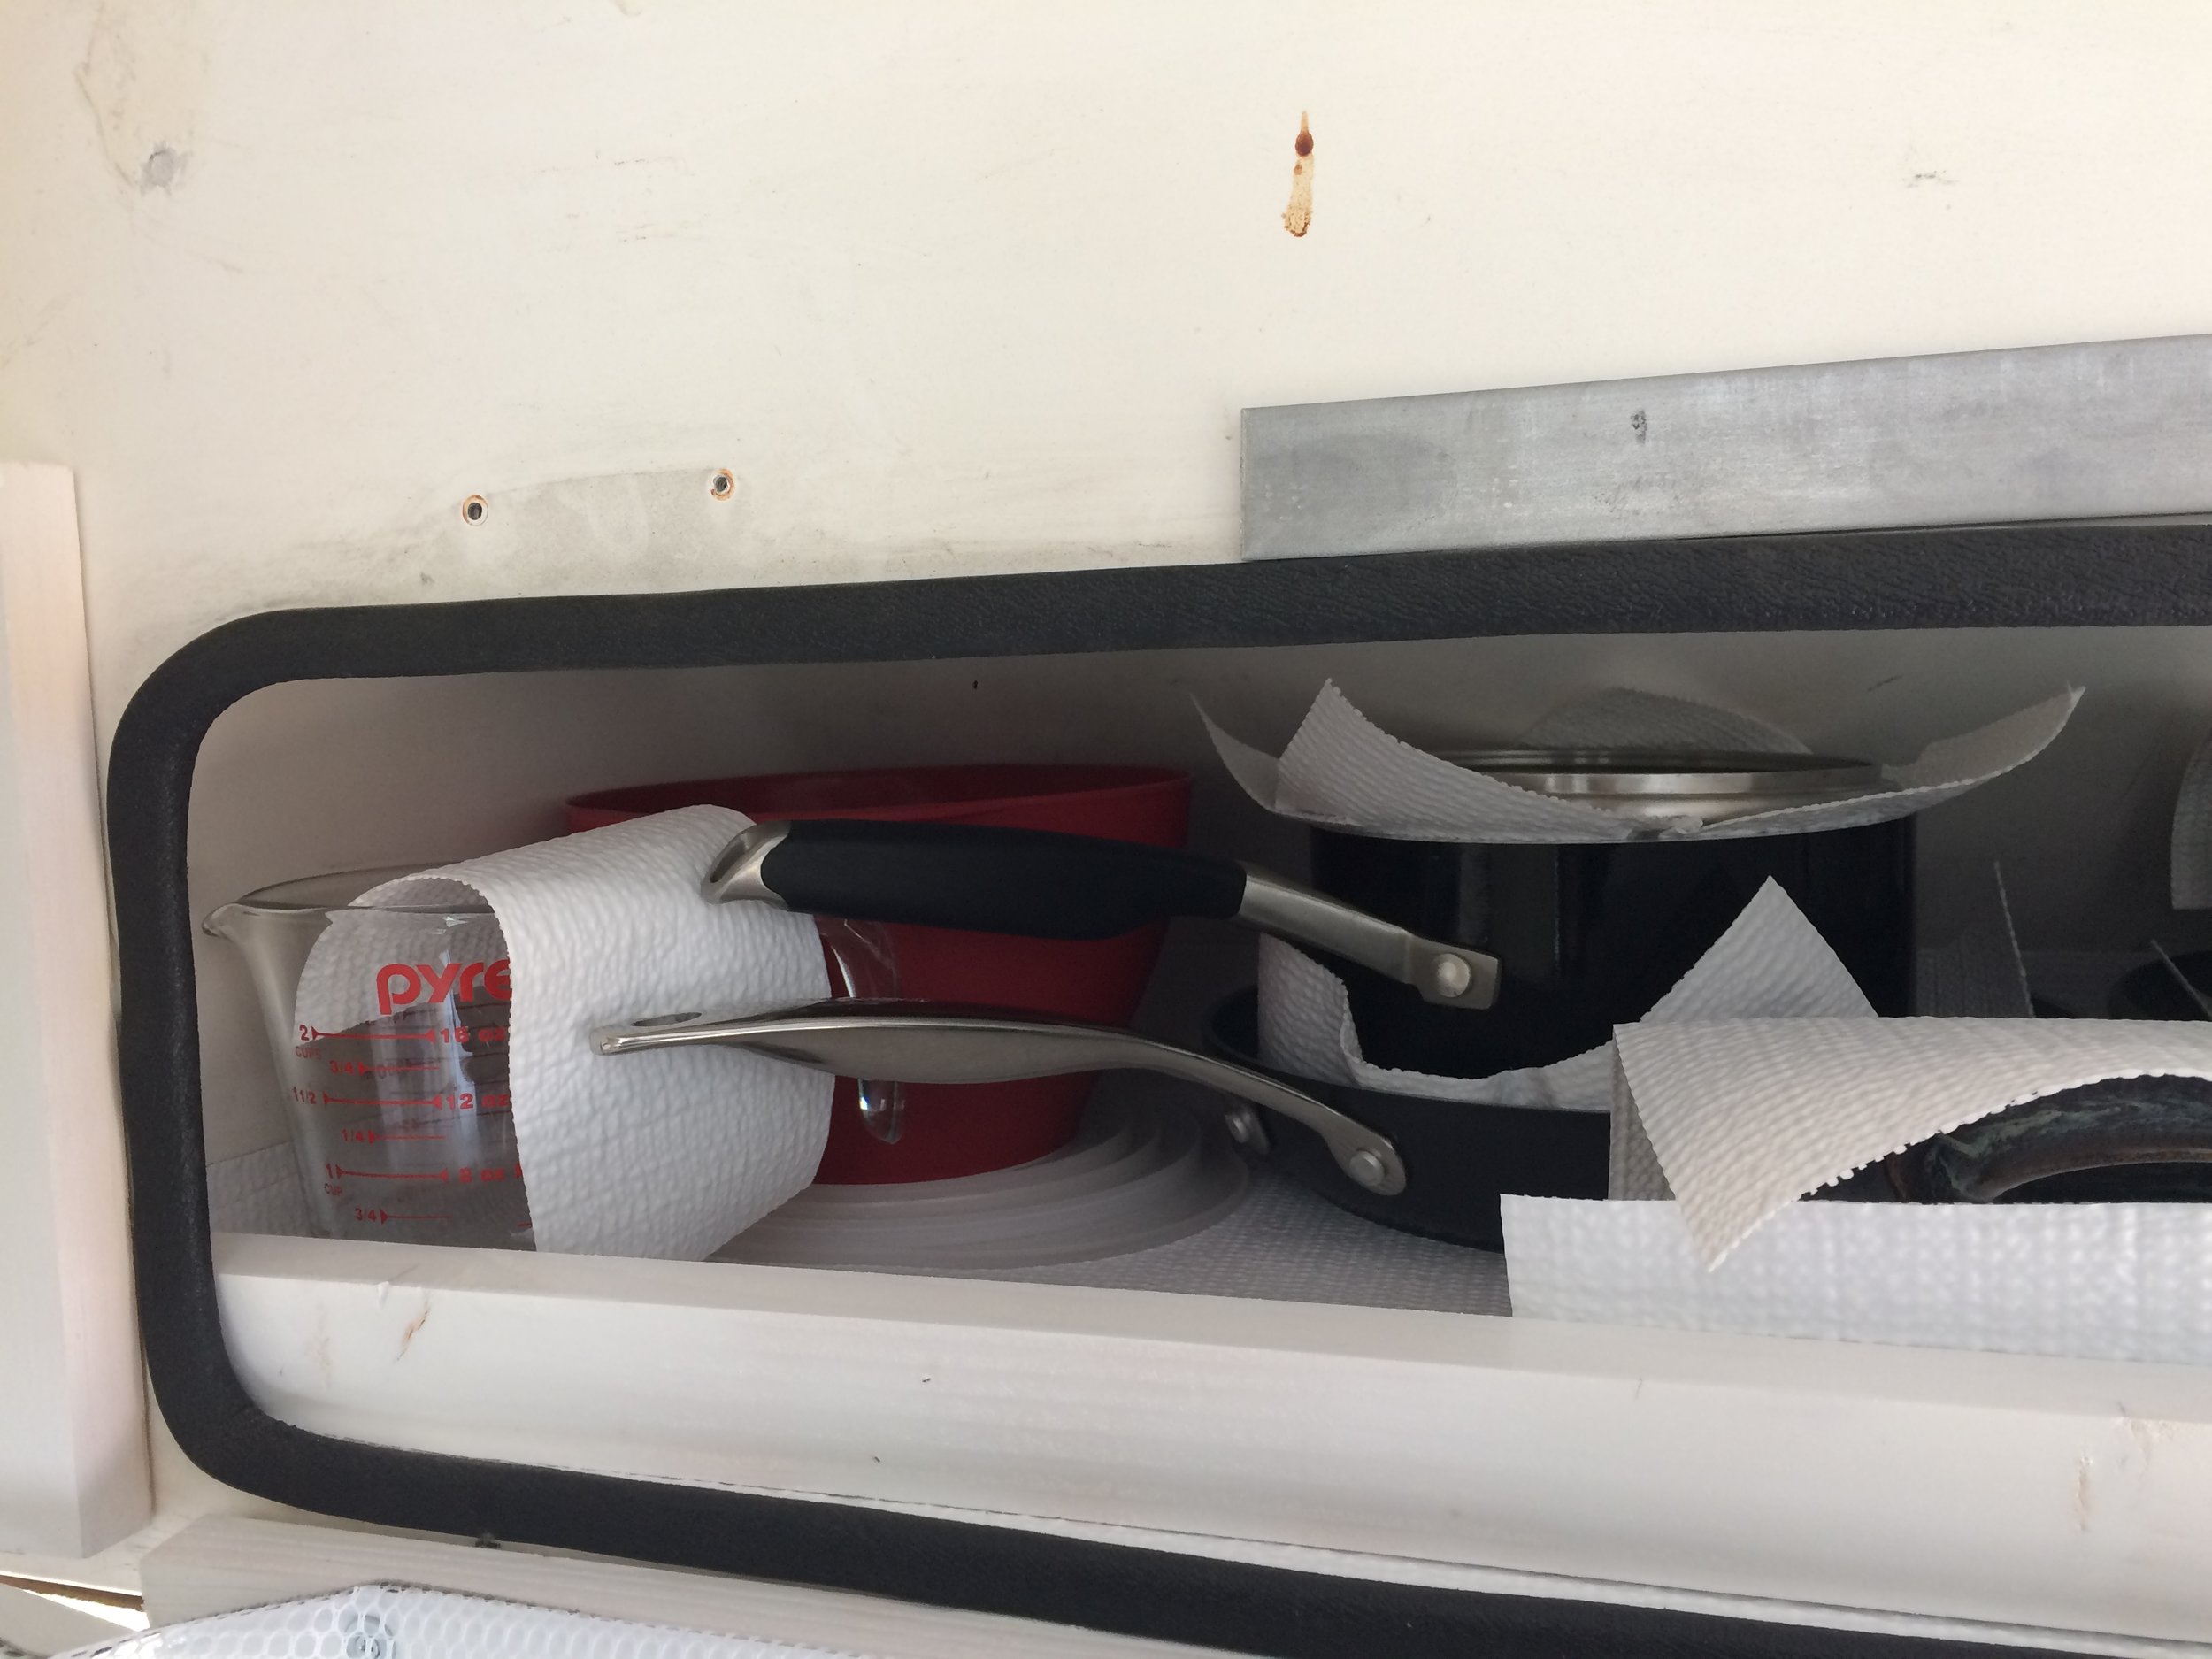
When I am parked for more than a day or so I usually just leave this area open the mesh doesn’t hang down far enough to interfere with anything. But with it held up with the magnets and acorn nuts even in a hard braking or swerving situation nothing would come out. It’s a comfortable mix (for me) of convenience and security.