
Floors
Once the floor was insulated and the walls were complete, it was time for the flooring. I did the walls first because I wanted to minimize the chances of gouging or otherwise marking the floor.
I chose to use this vinyl plank flooring from Lowes. I had installed some cheaper versions of this kind of flooring before in a normal sticks and bricks house environment. Thus I knew how to install it and how it wears etc. I installed this as a floating floor basically, knowing that I would use the pre-existing lip to wedge in some edging to hold it down, as well as bolting some furniture through it to hold it down in other places. The first couple of rows are the most difficult, but after that it’s not bad.


I had to leave a gap at the back of the van because of the pre-existing plastic “seal” at the rear which wasn’t remotely straight:
Because doors and windows are the places most likely to leak I wanted these edges to be sealed and covered with something water-resistant at least. I ended up sealing first with window/roof flashing and then cutting trim in several pieces and painting it with oil based water resistant paint.


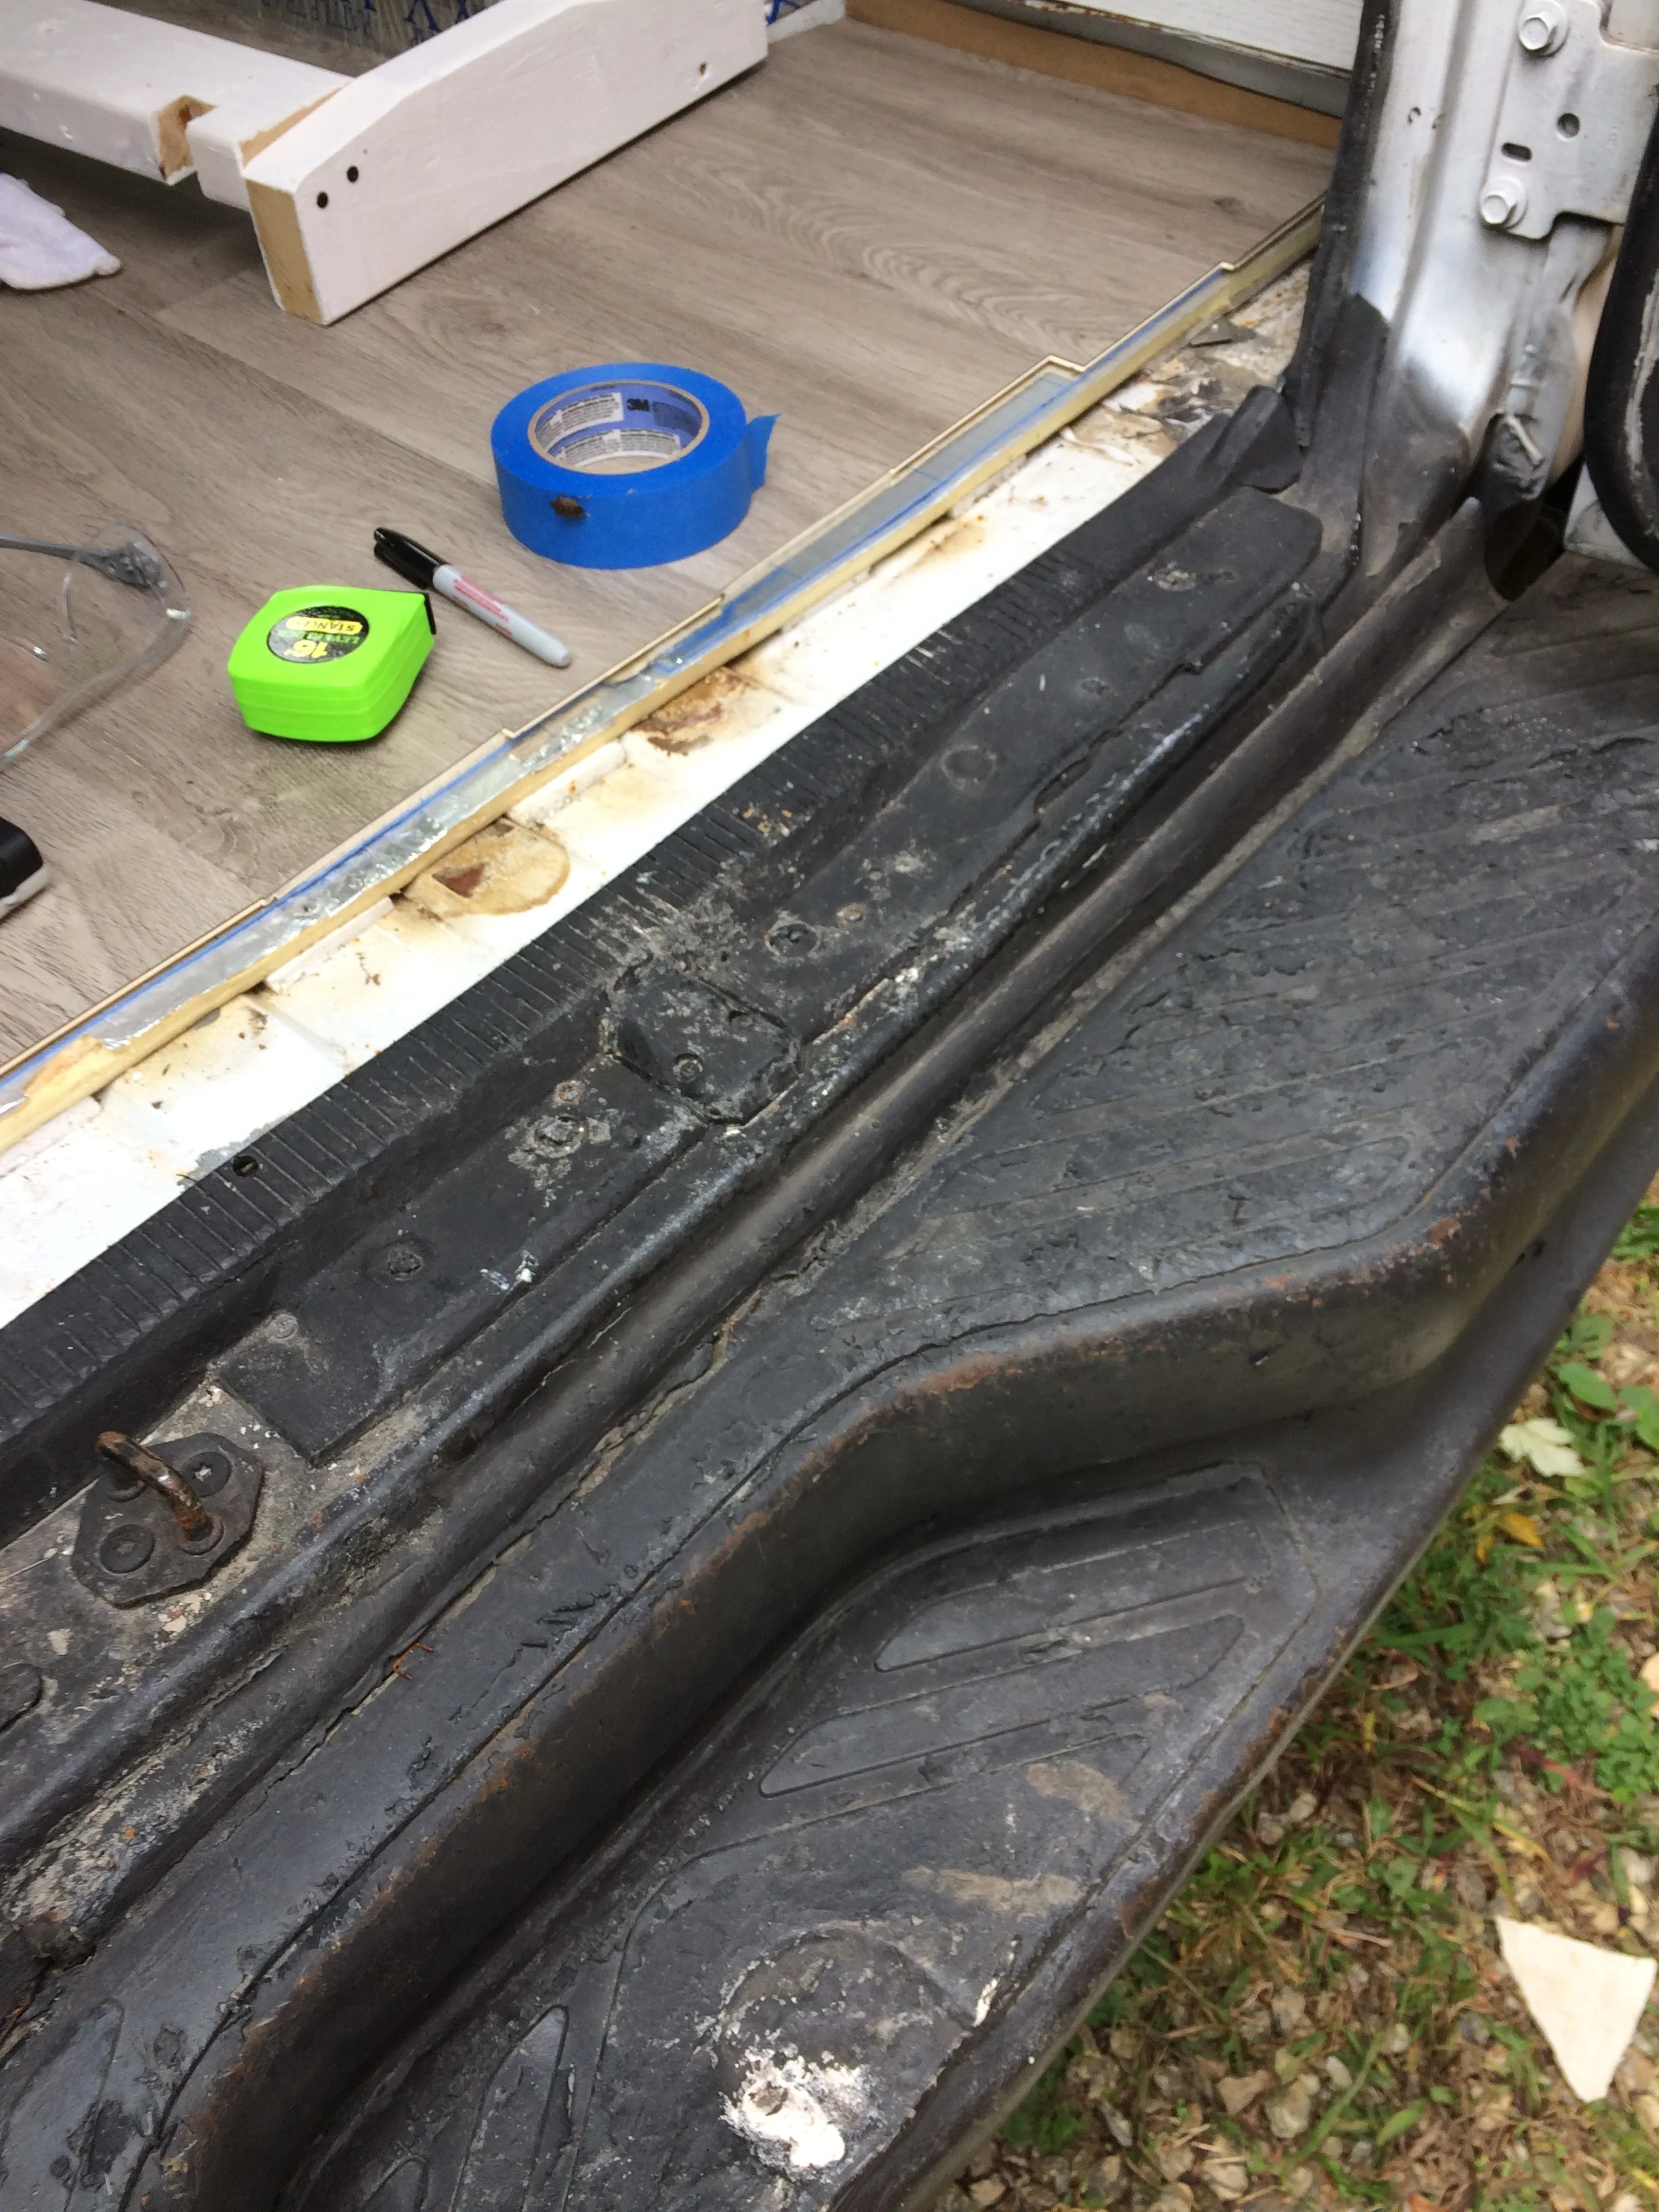
The edge at the side doors required a different approach. I still sealed the edge with flashing, but I also needed a transition to the factory plastic flooring under the front seats. I considered removing this as well but a number of wires lie underneath it for the seats/airbags. In the end I decided to leave it and do a transition. I also had to work around a cabinet leg since one of the cabinets overhangs most of one door.

I ended up purchasing a couple of indoor/outdoor mats. I wanted something fairly flexible like carpet, but harder wearing, these mats worked well.

After evening the floor with a 1x2, I used 3M Super 90 to mount the carpet on the steps and a silicone adhesive on the plastic flooring.


So far I am pleased with the flooring choices I have made. It’s doesn’t show grit, hasn’t had any trouble with humidity or the constant rain and accompanying water getting tracked inside and it cleans easily.