Insulation
All that bare metal! There are plenty of opinions about insulation out there. Should you or shouldn’t you bother with insulation? If you do insulate, what parts of the van? What do you use to insulate?
This is what I chose to do: I insulated very nearly everything and I used mostly Polyiso to do it. I used the Lowes brand because Lowes was closest to me at the time! In total I used 4.5 sheets in the van.
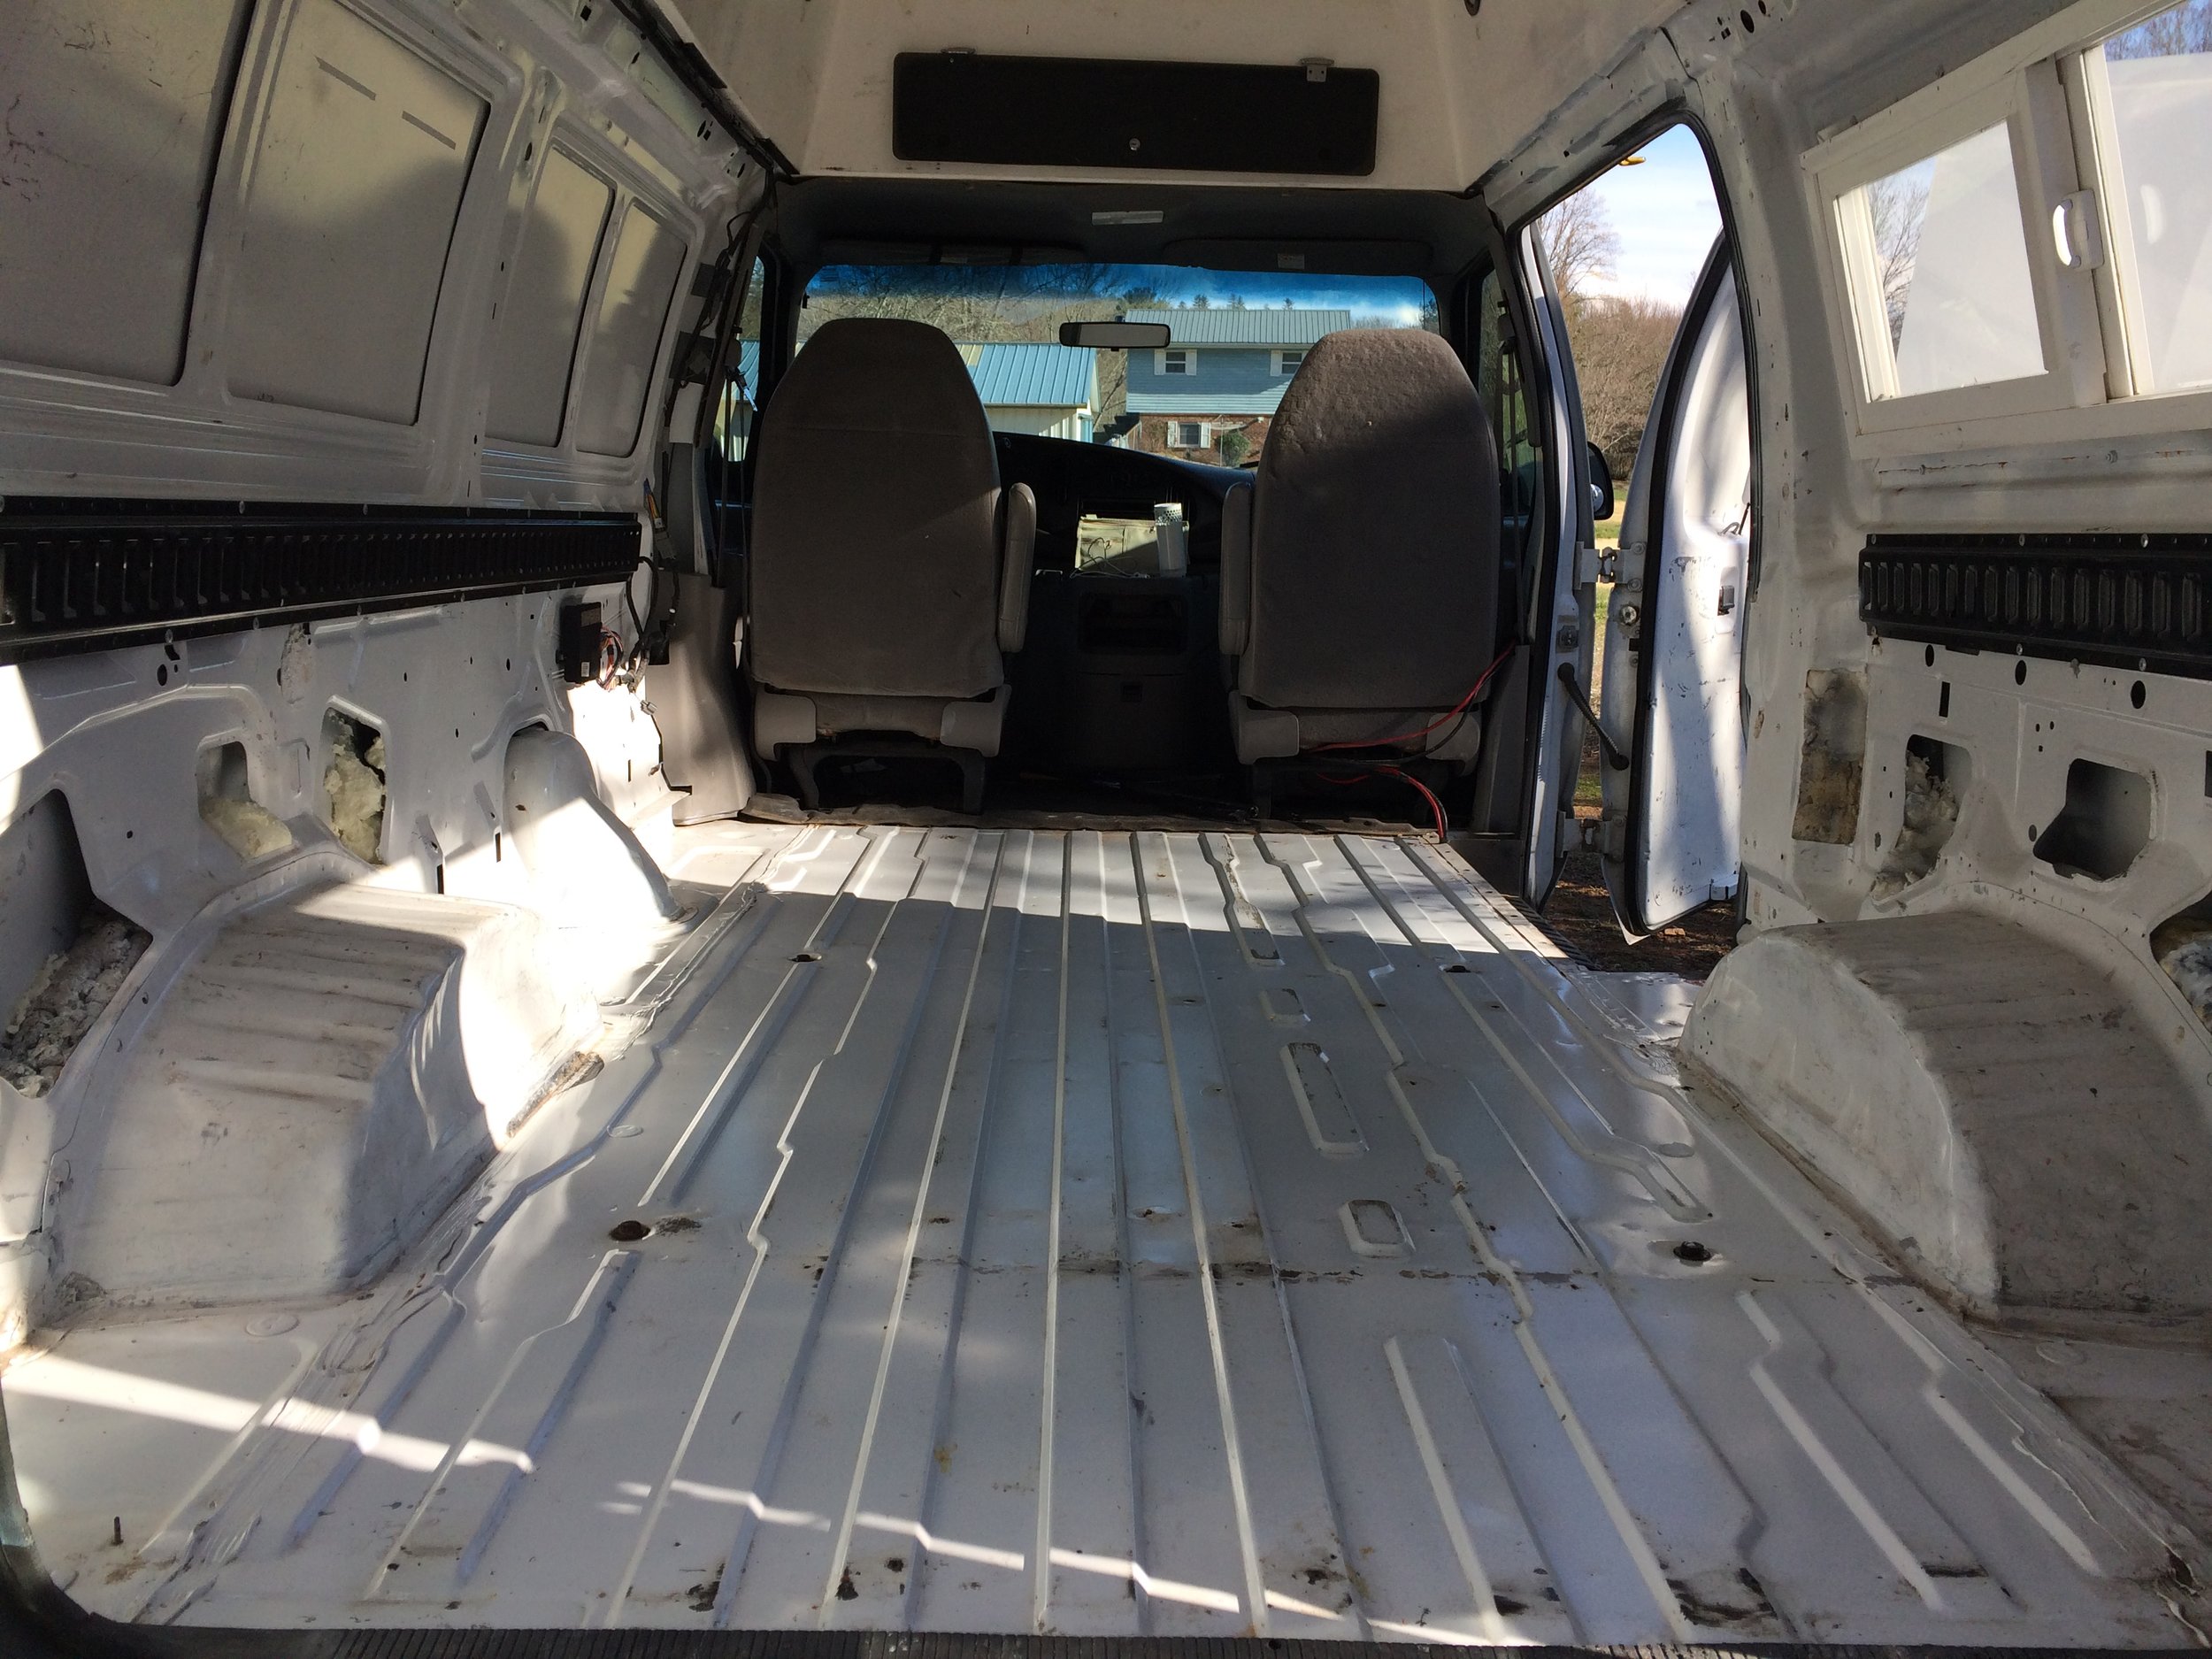
Notice in the picture above, the ridges in the floor, pickup trucks (and some SUV’s) have these as well. I wanted to even out the floor with insulation so that when I put down flooring later I wouldn’t have flexing or other issues with installing the floor, level is better!
I cut strips of foam (not Polyiso which was to thick to fill the grooves) and used spray mount (I used a lot of 3M Super 90 in my build, I highly recommend it!) to put it down in the grooves.

The grooves weren’t all the same size (of course) so I cut them individually first, numbered them and then spray mounted them all in one go in-between rainstorms. You can see in the above photo a few places where there had been the beginnings of rust which I sanded and treated with a rust converter) Next came the sheets of Polyiso:

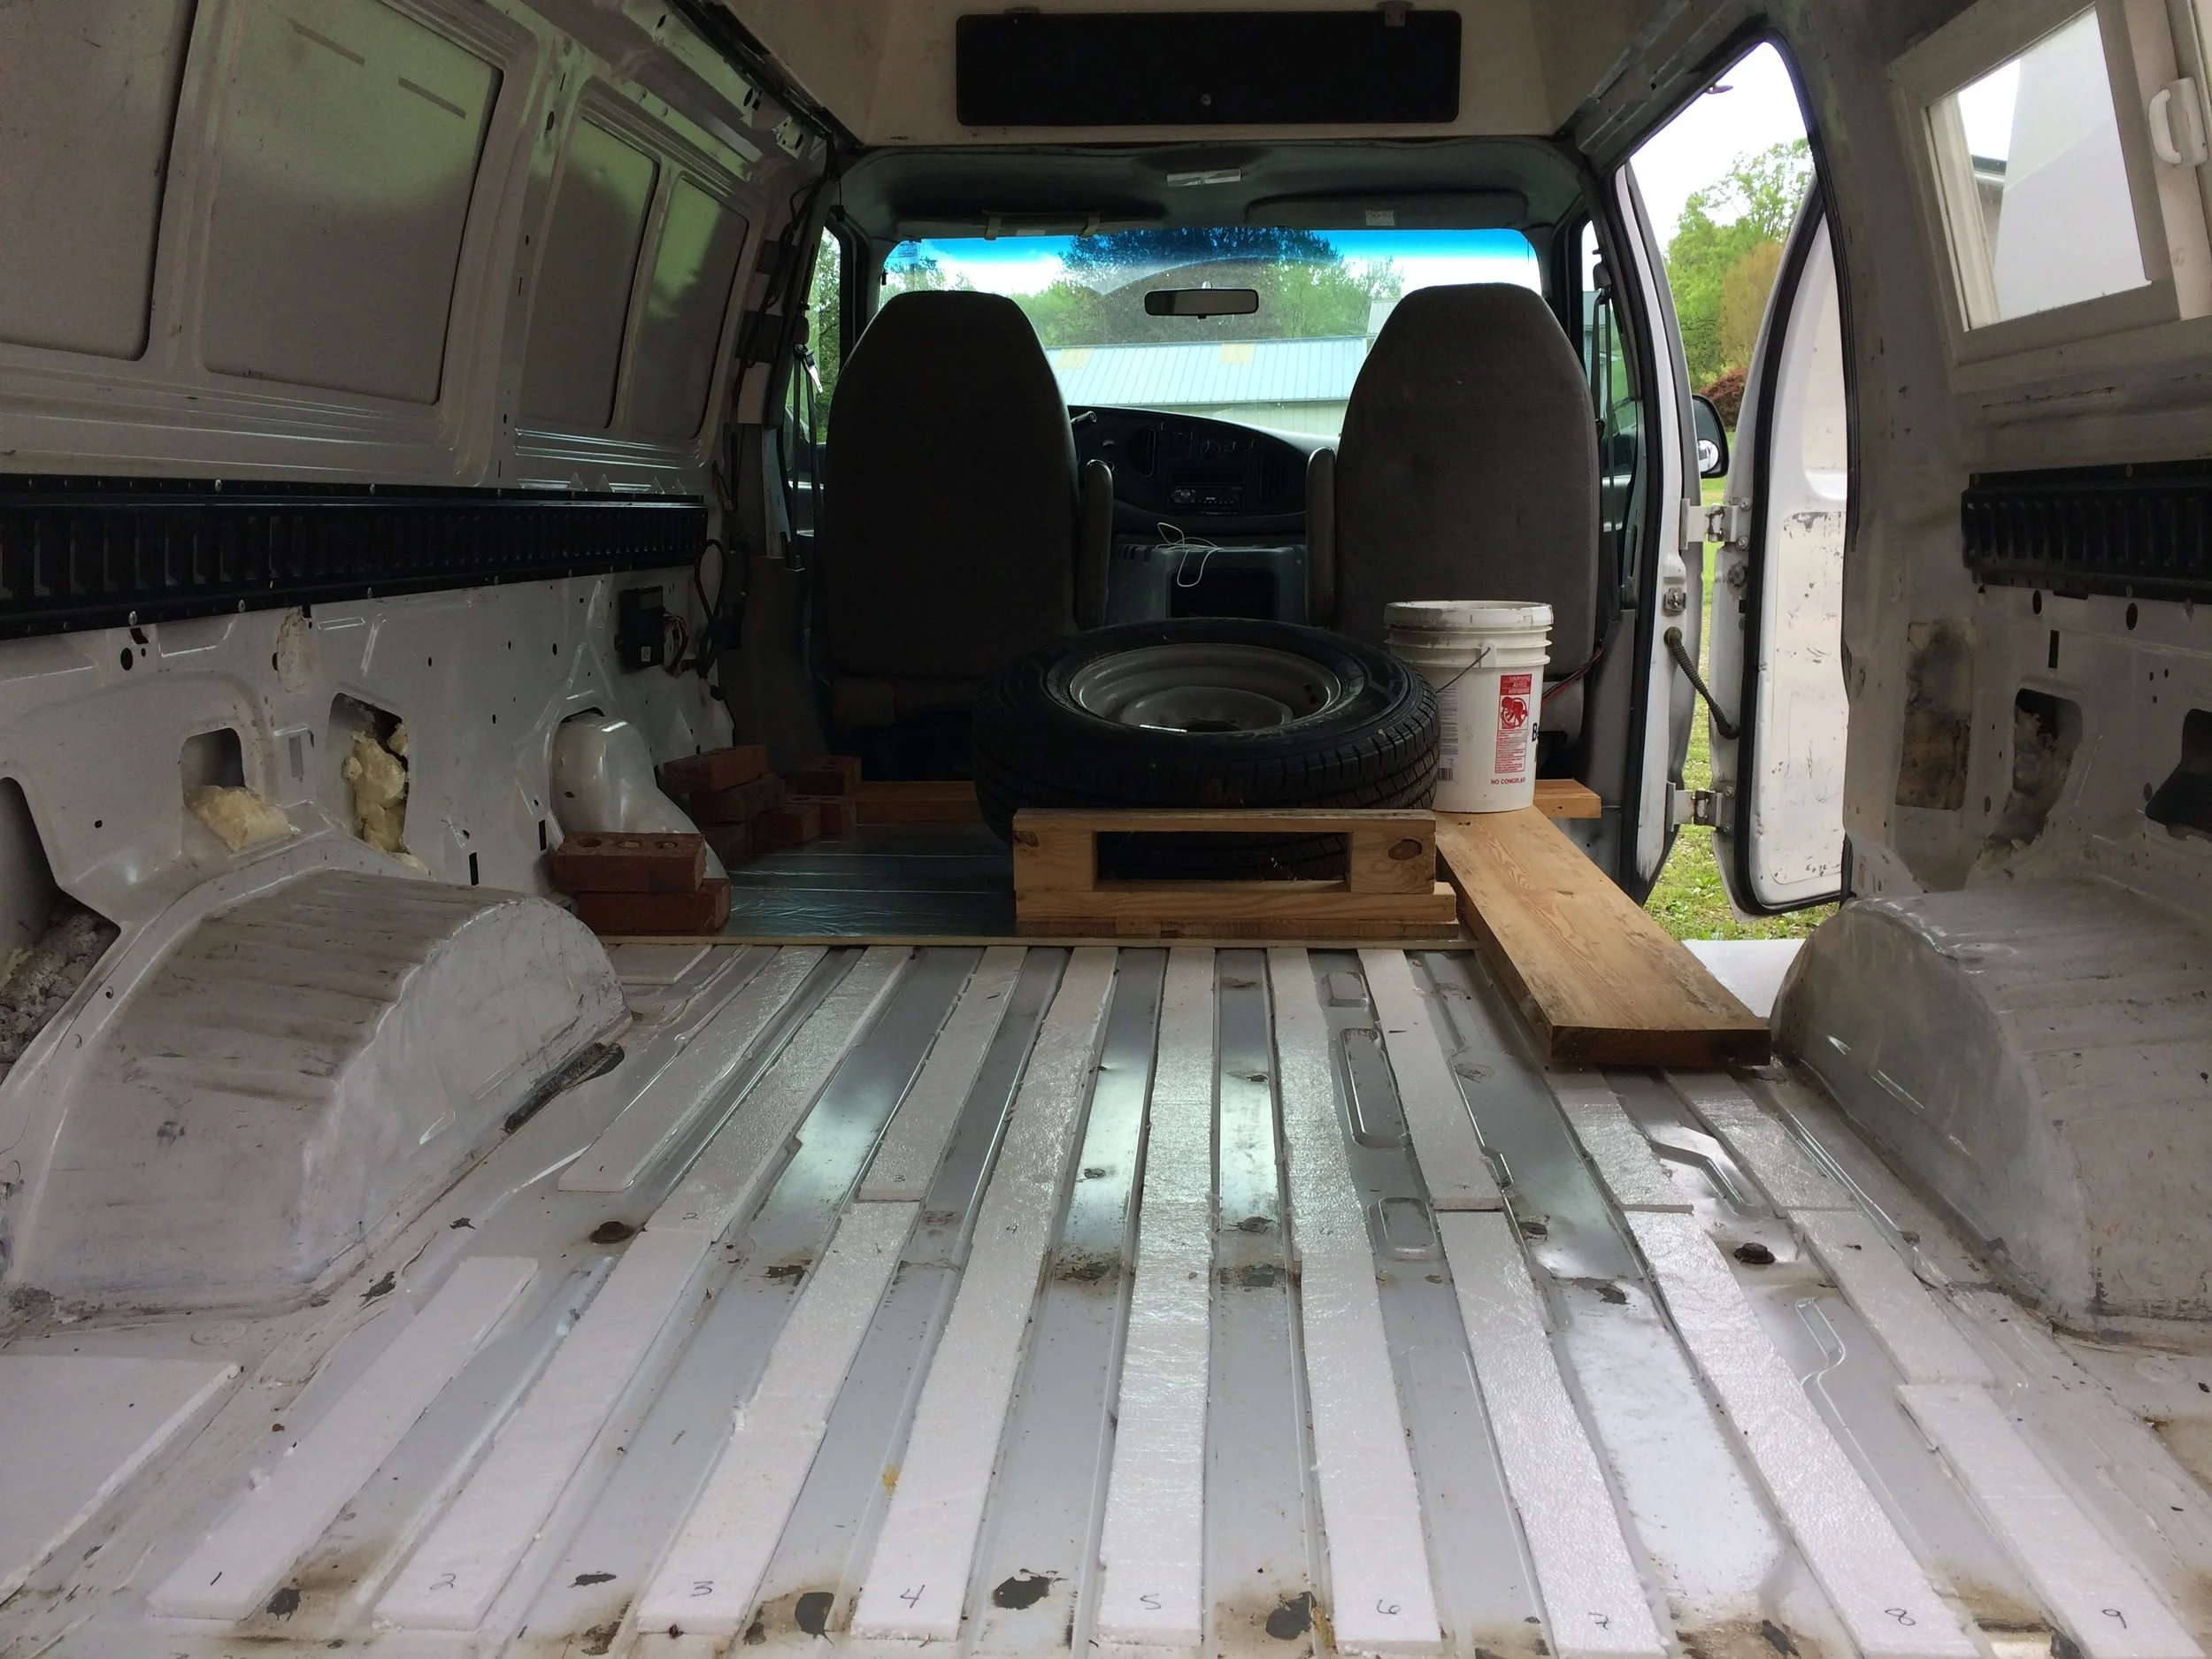
You can see that I used whatever heavy items were available to me to give the Polyiso sheets good contact with the floor ridges while adhesive was drying.

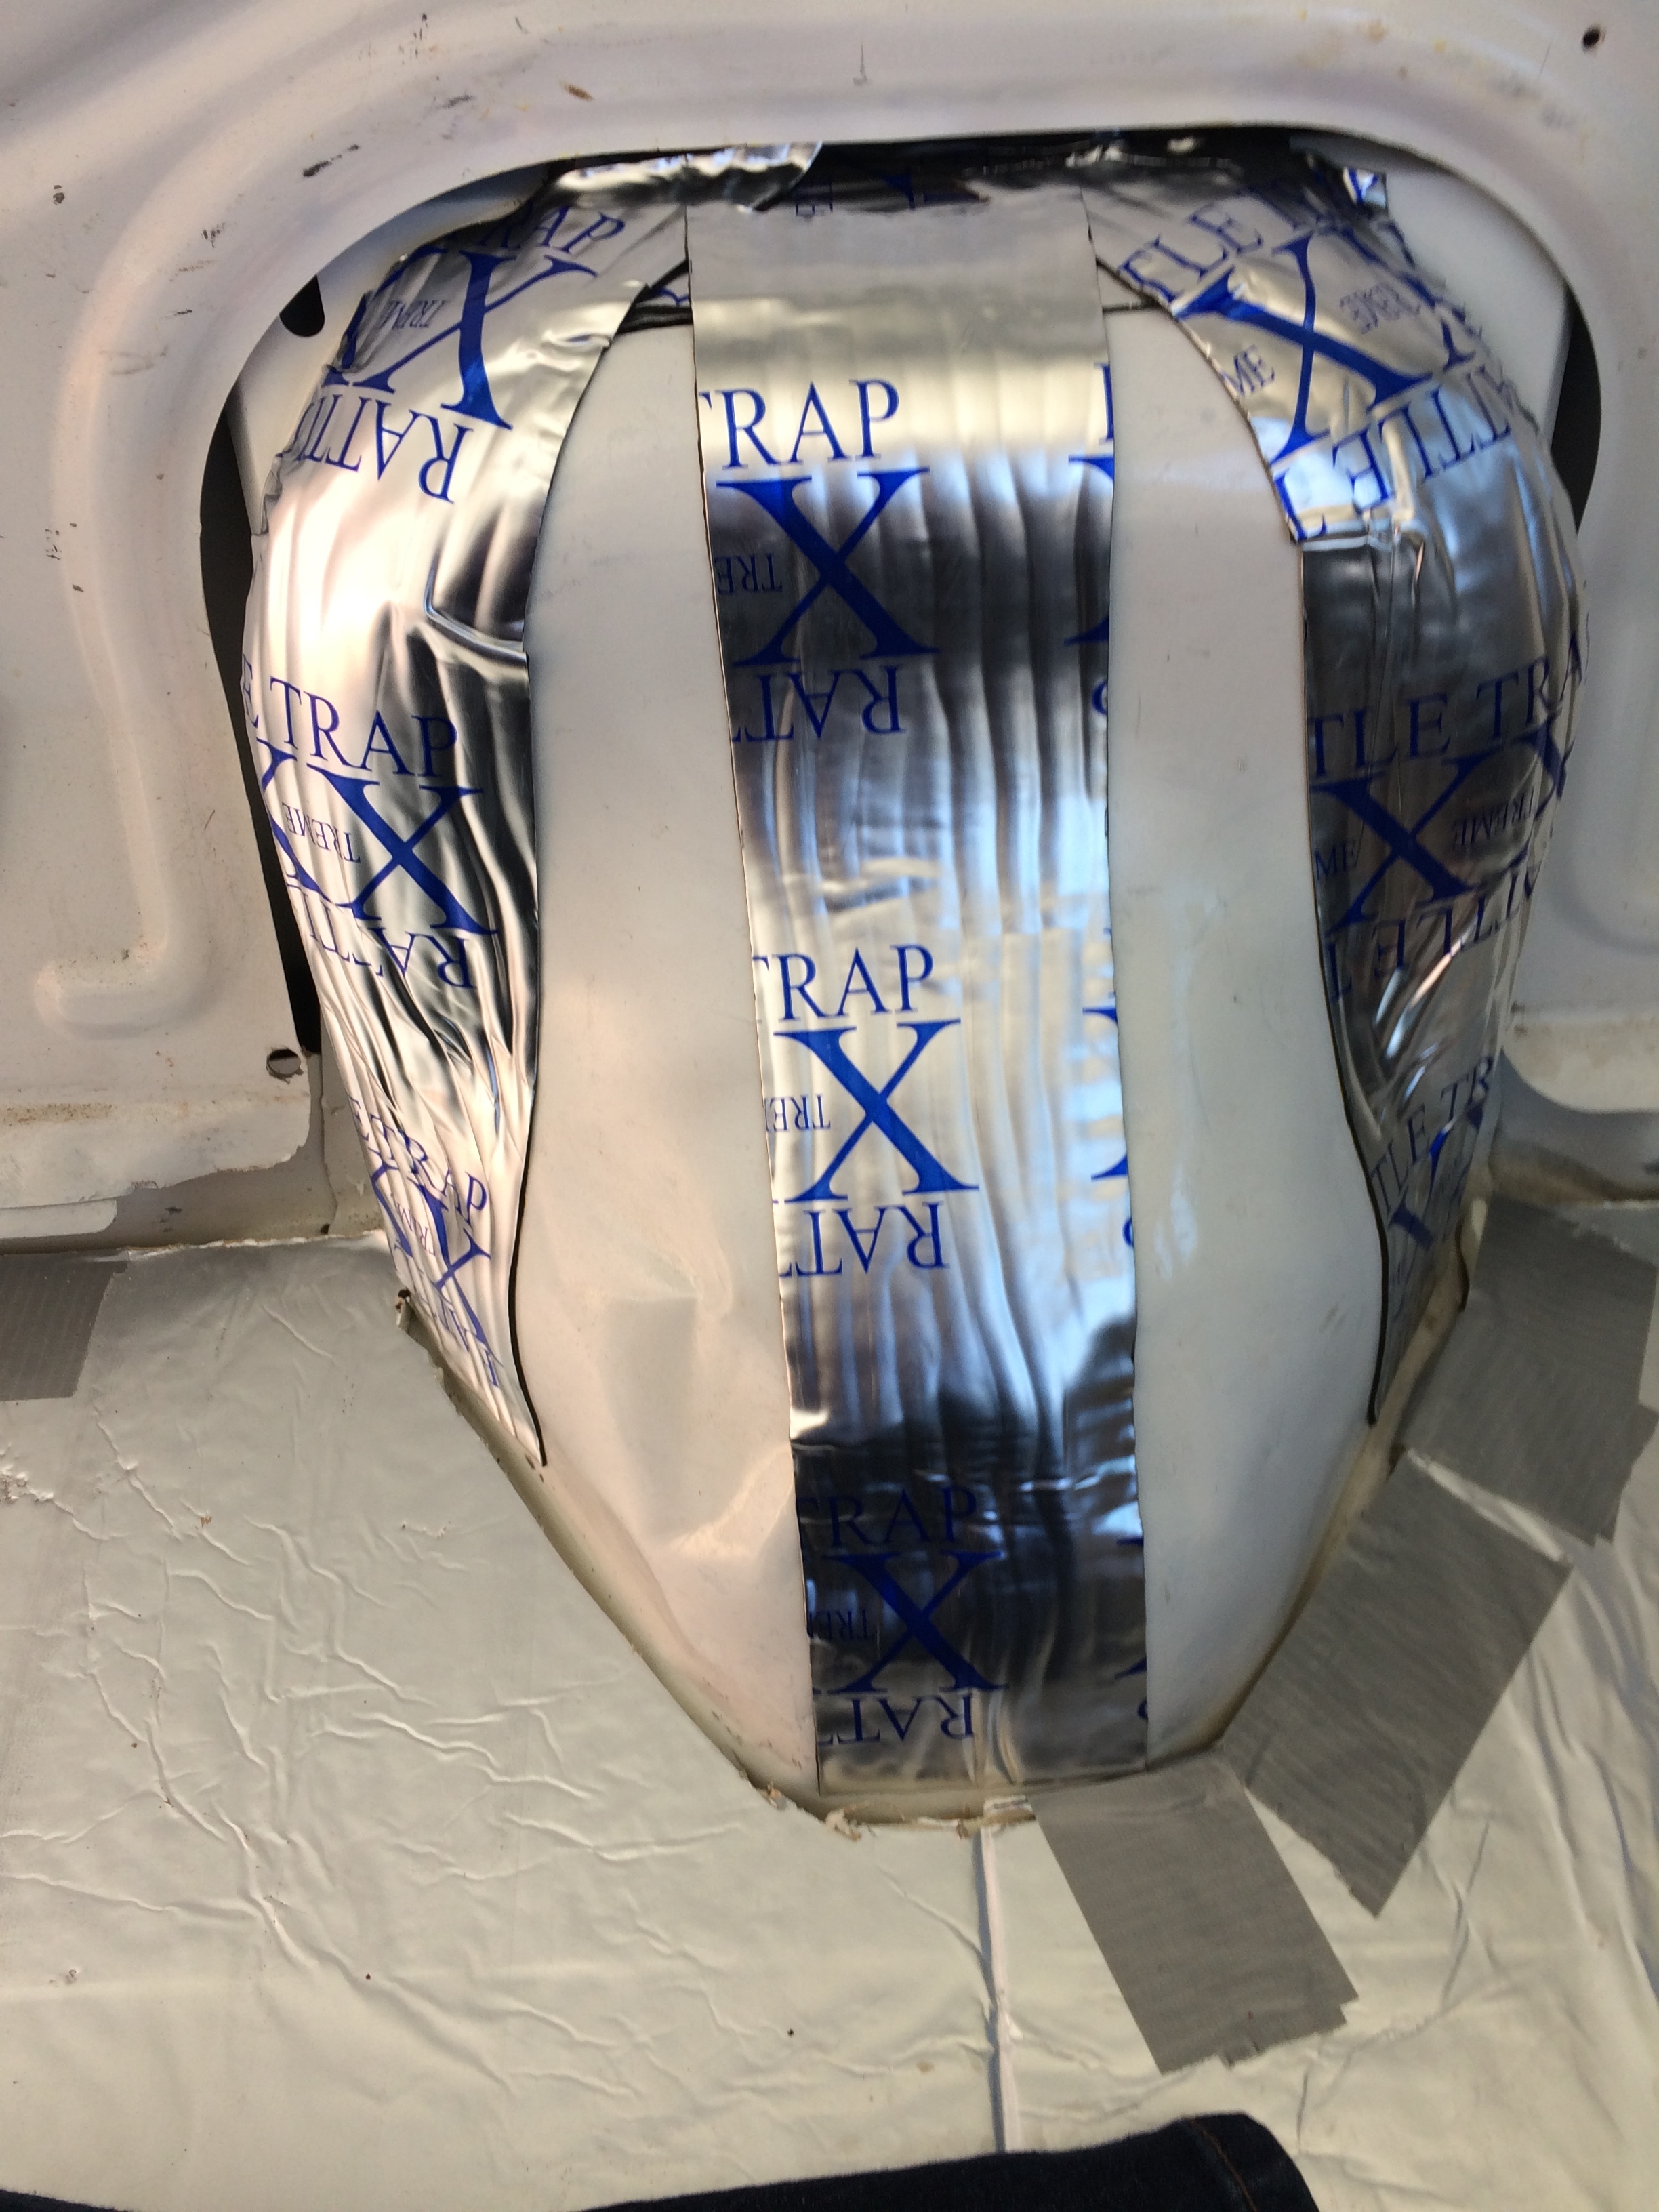
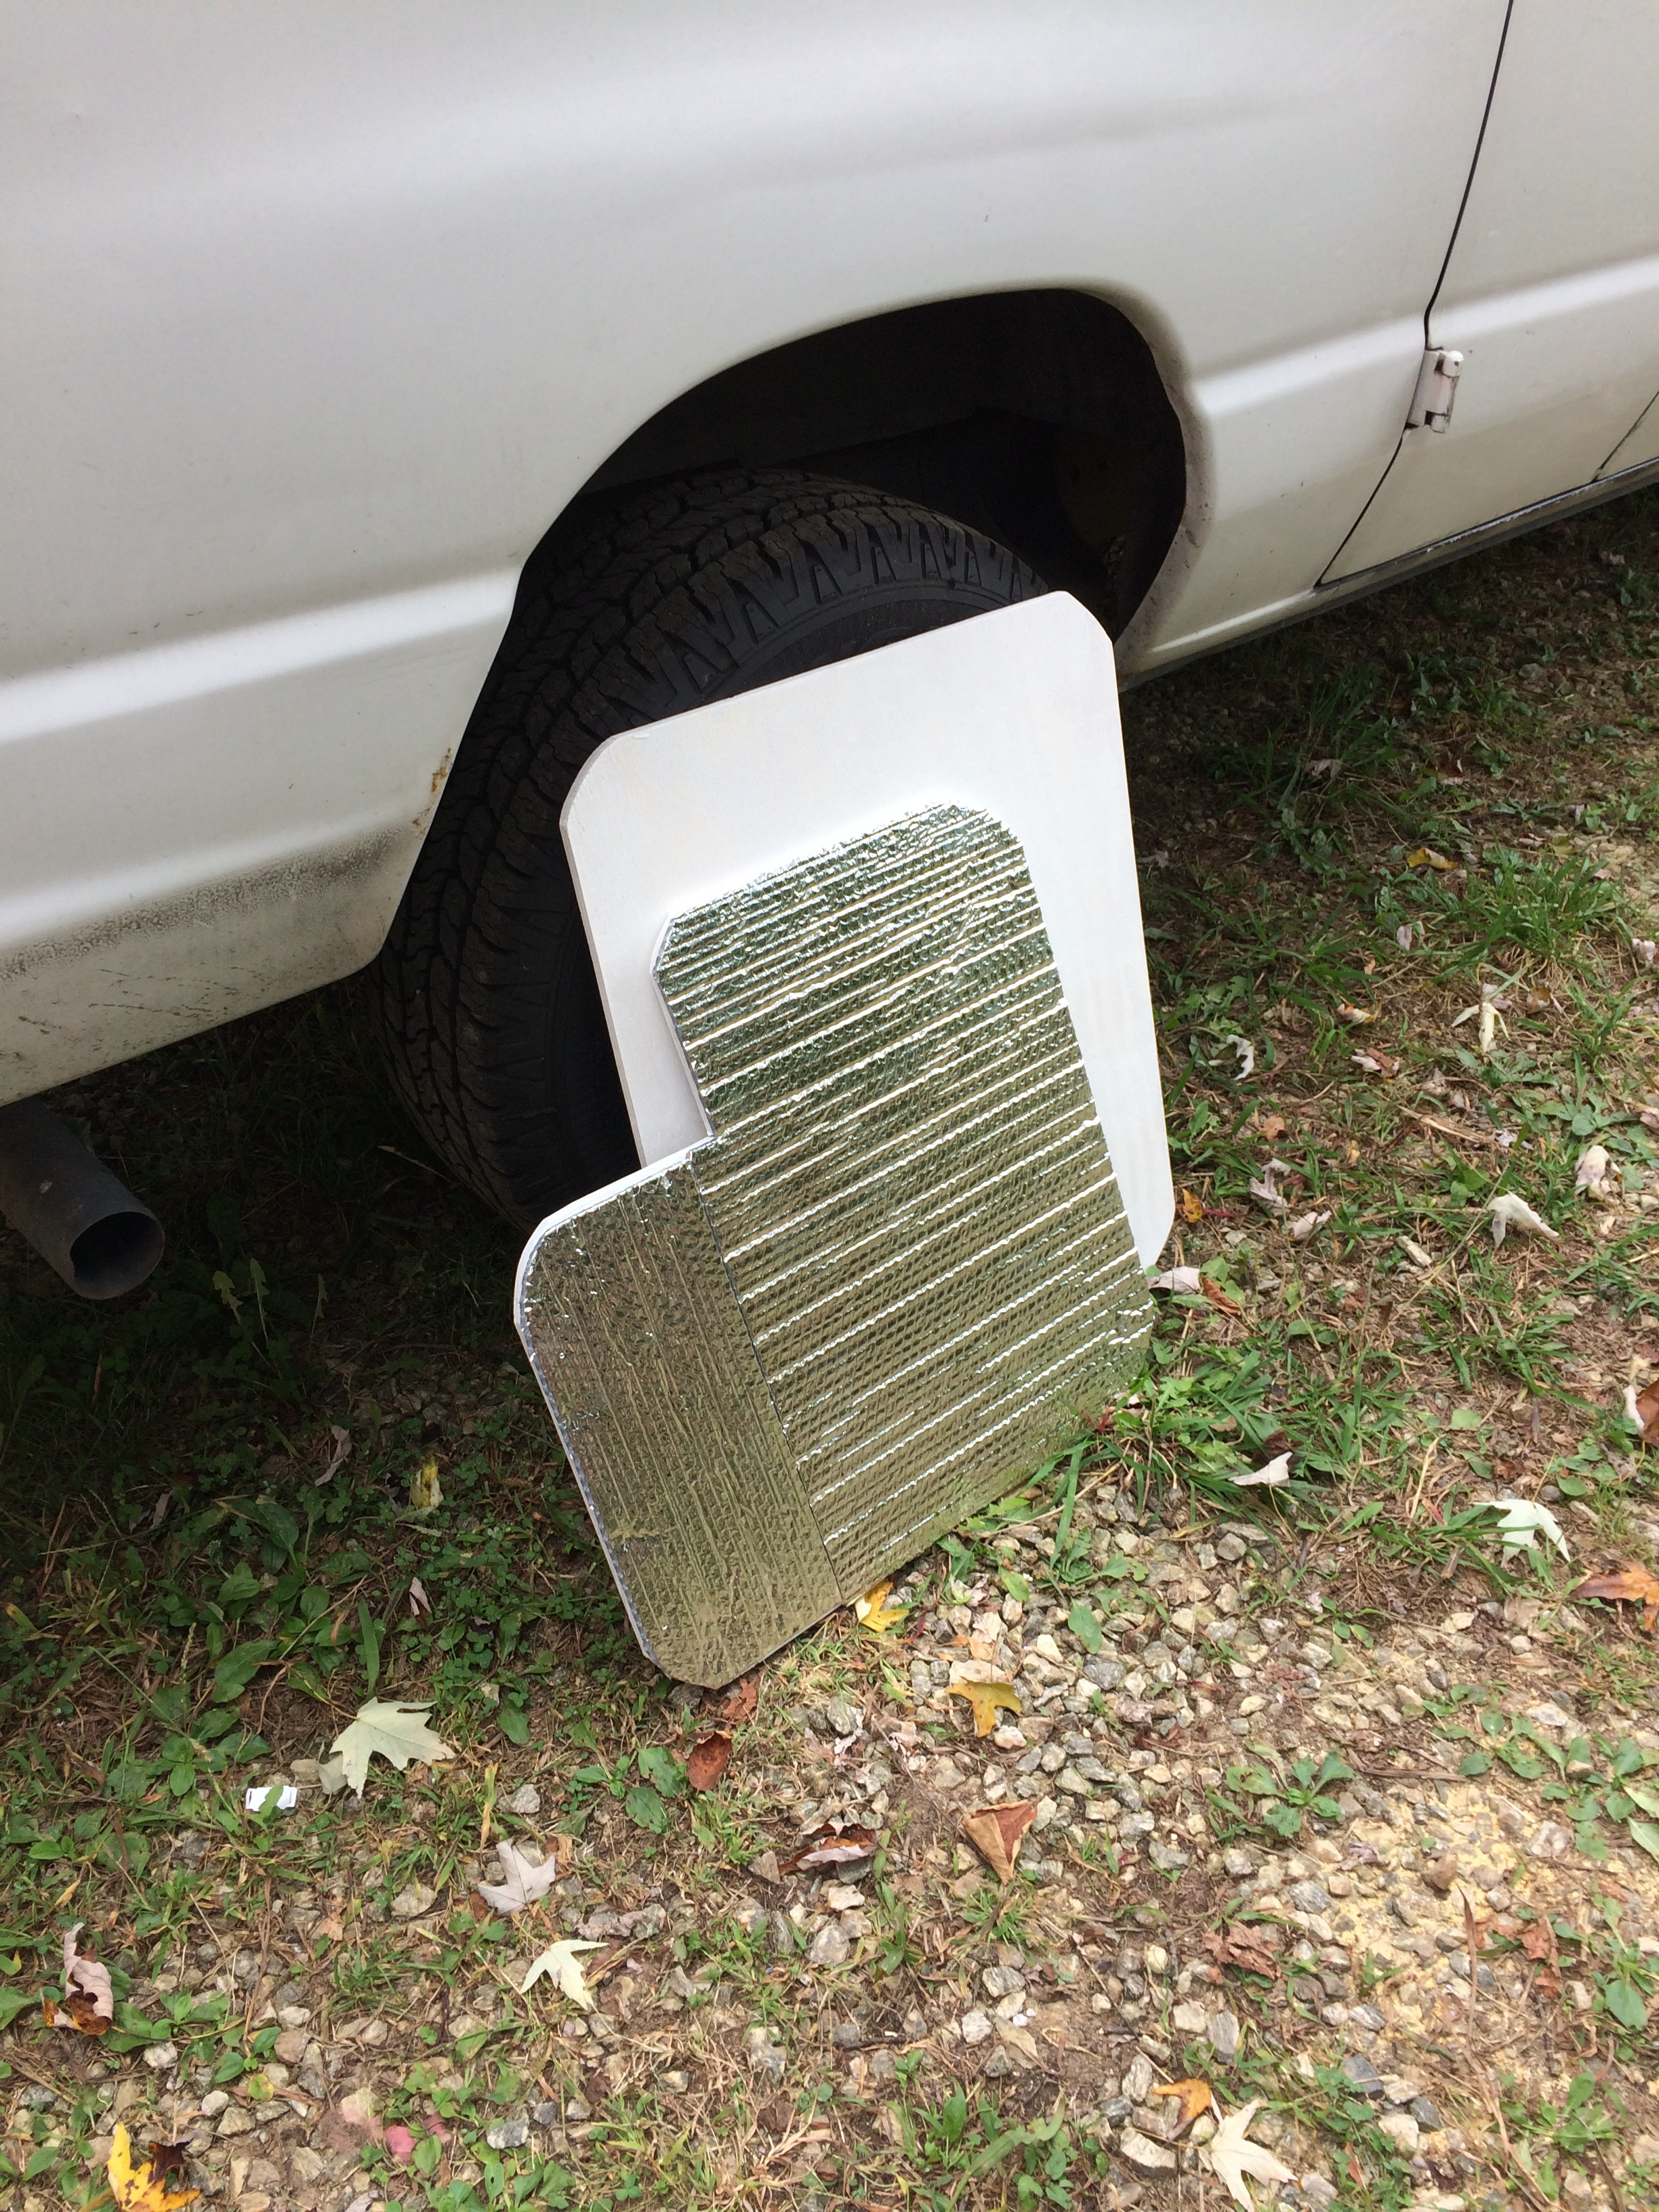
I covered the wheel-wells and the gas tank inlet with FatMat Rattle-Trap:

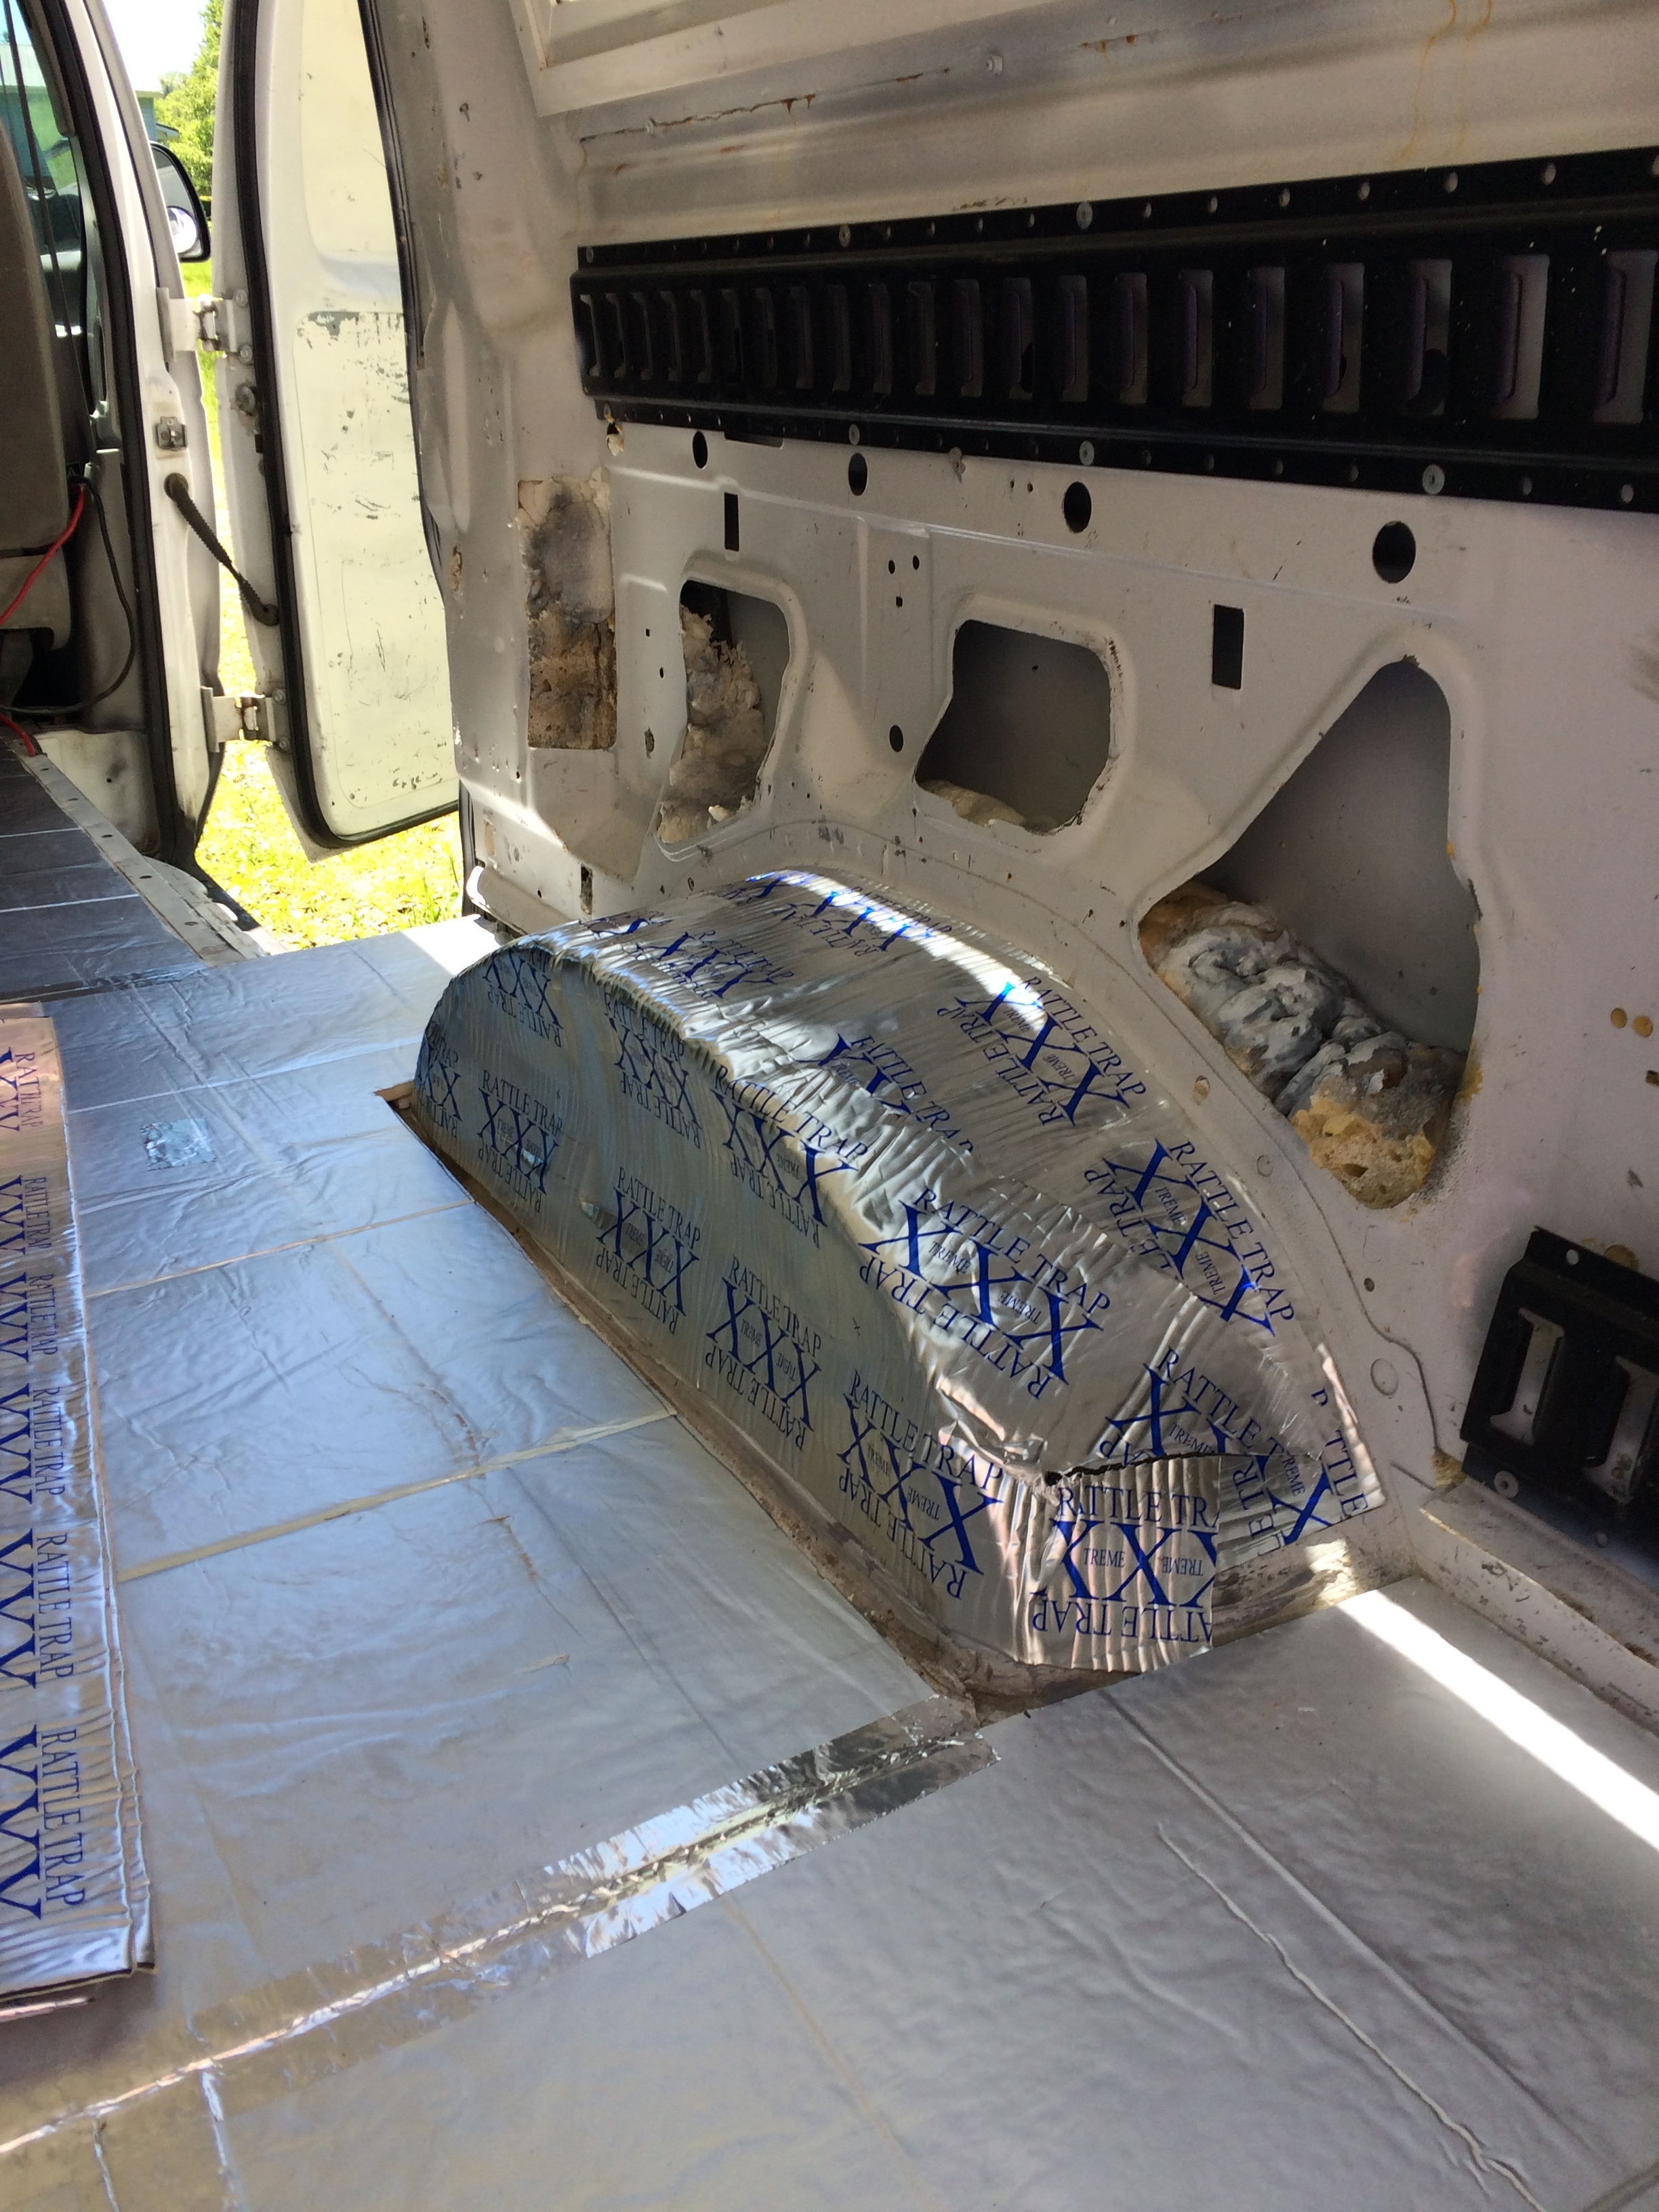
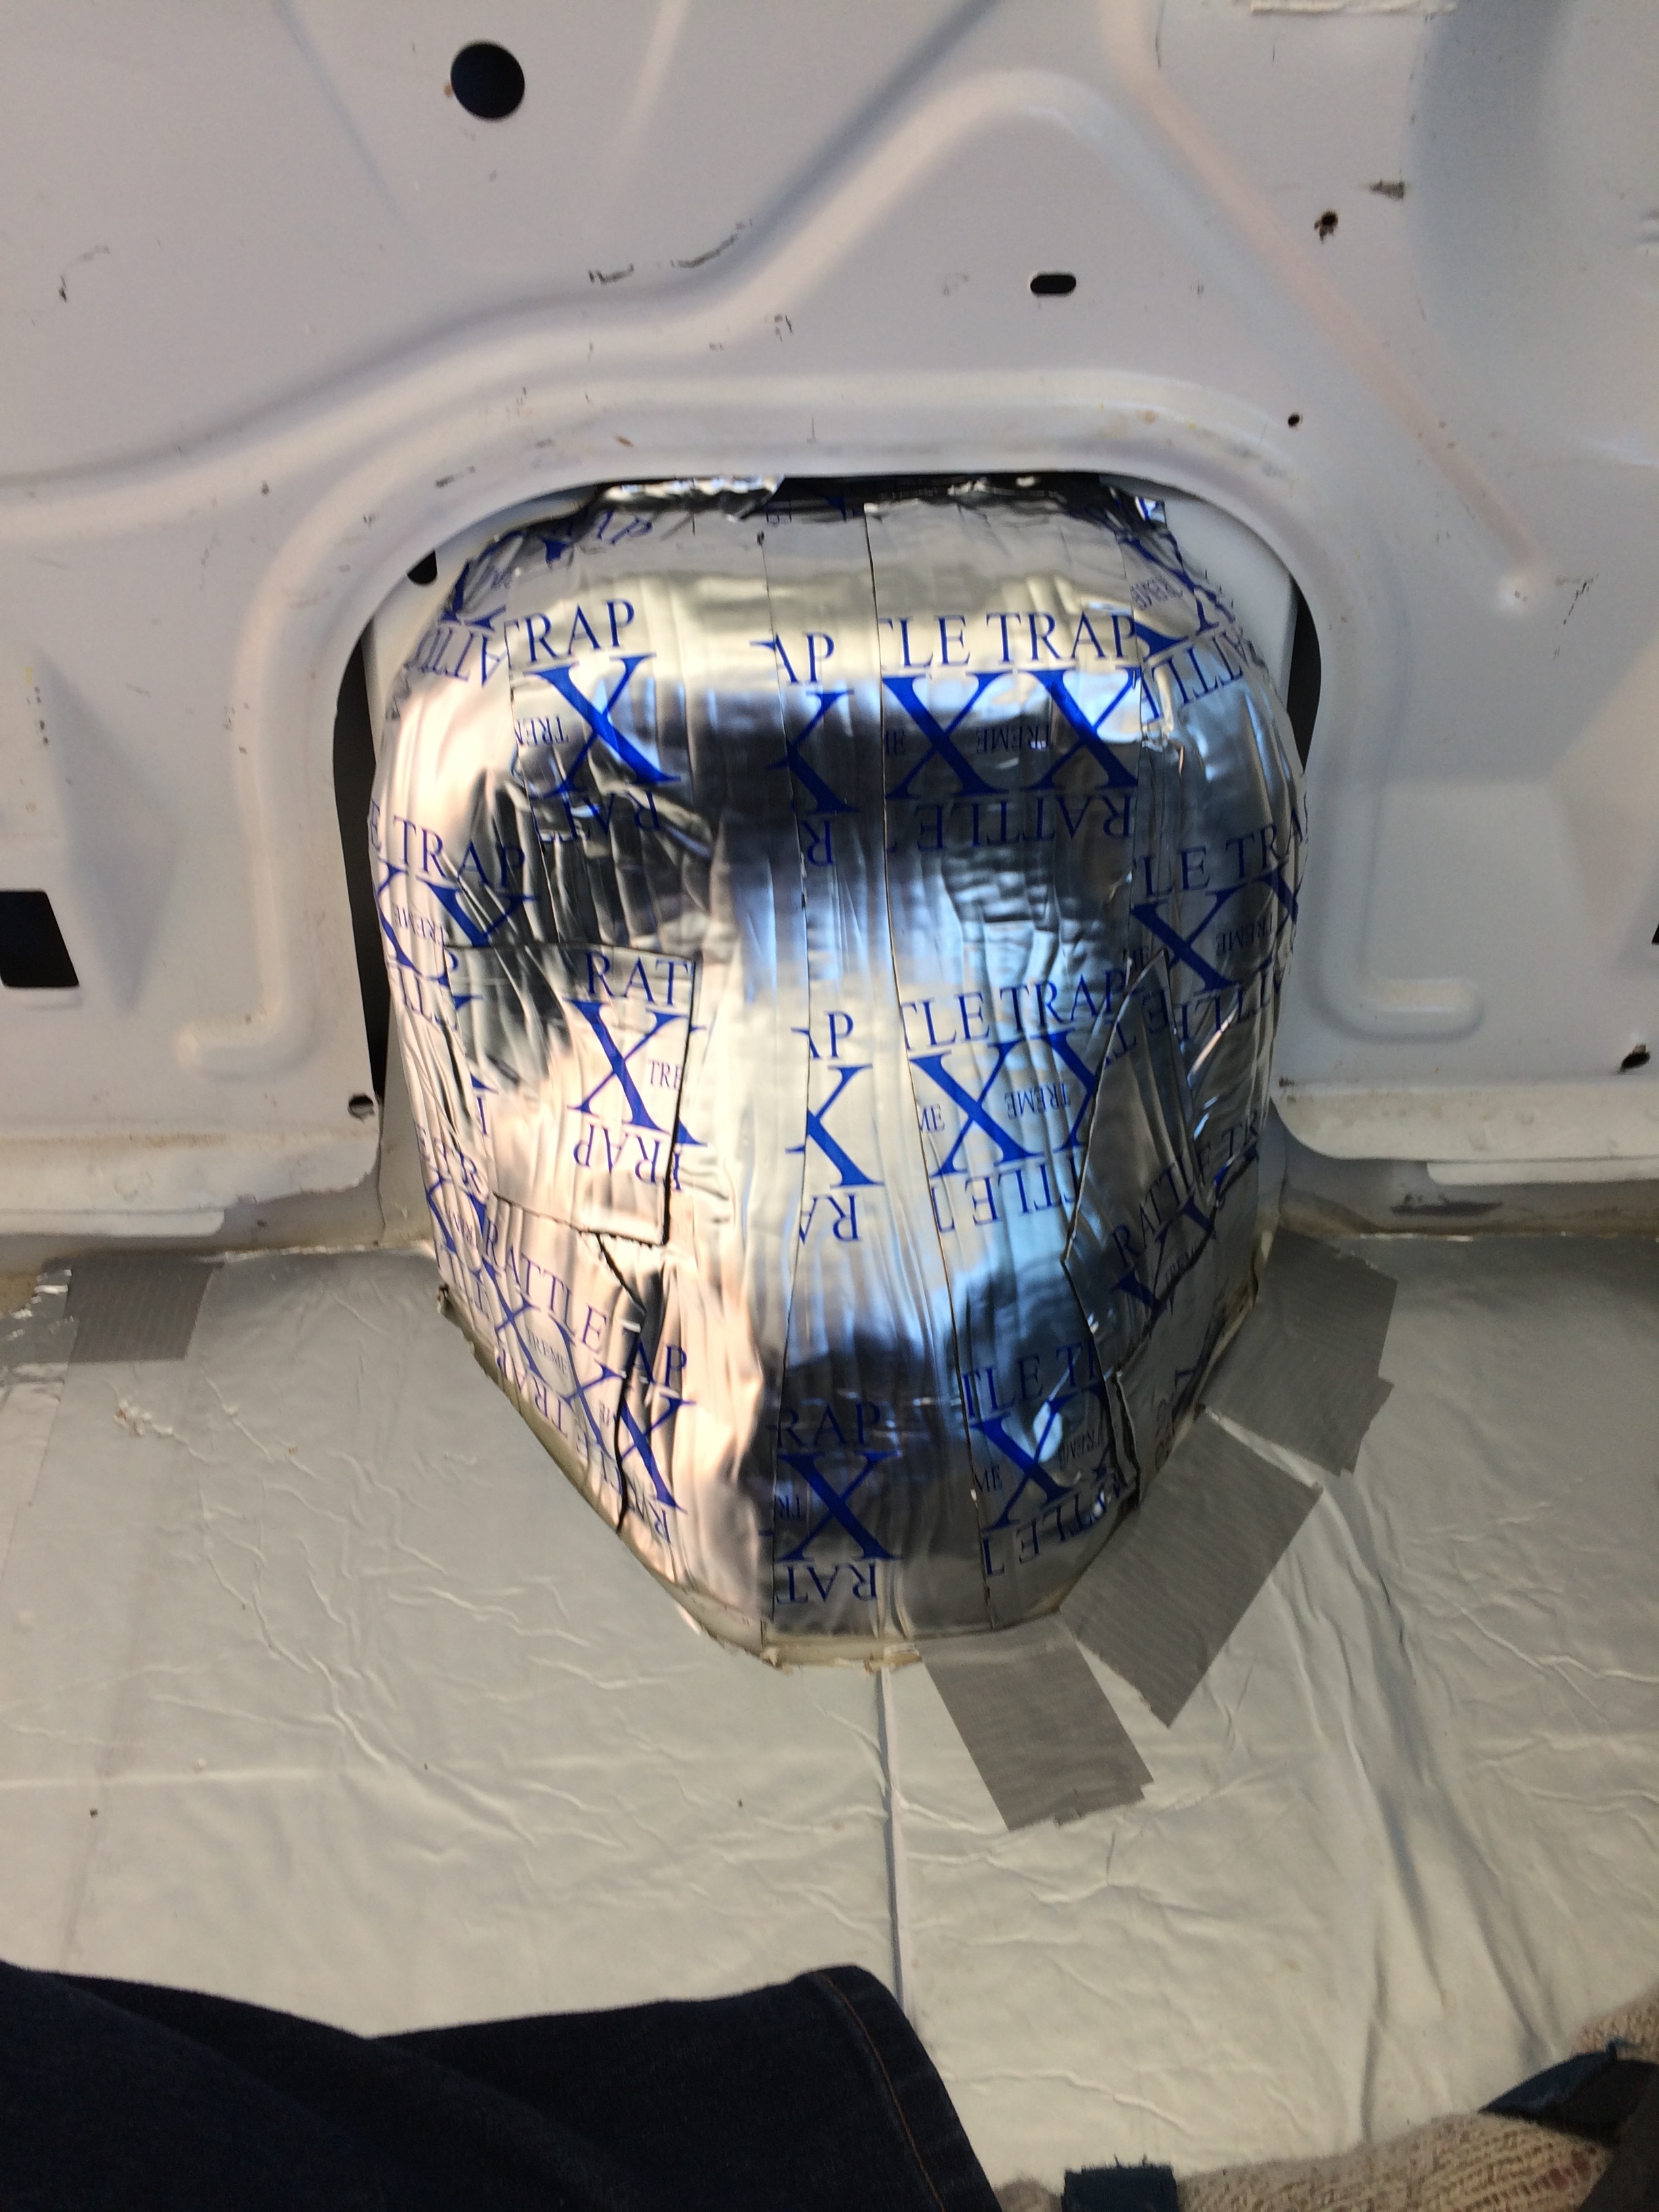
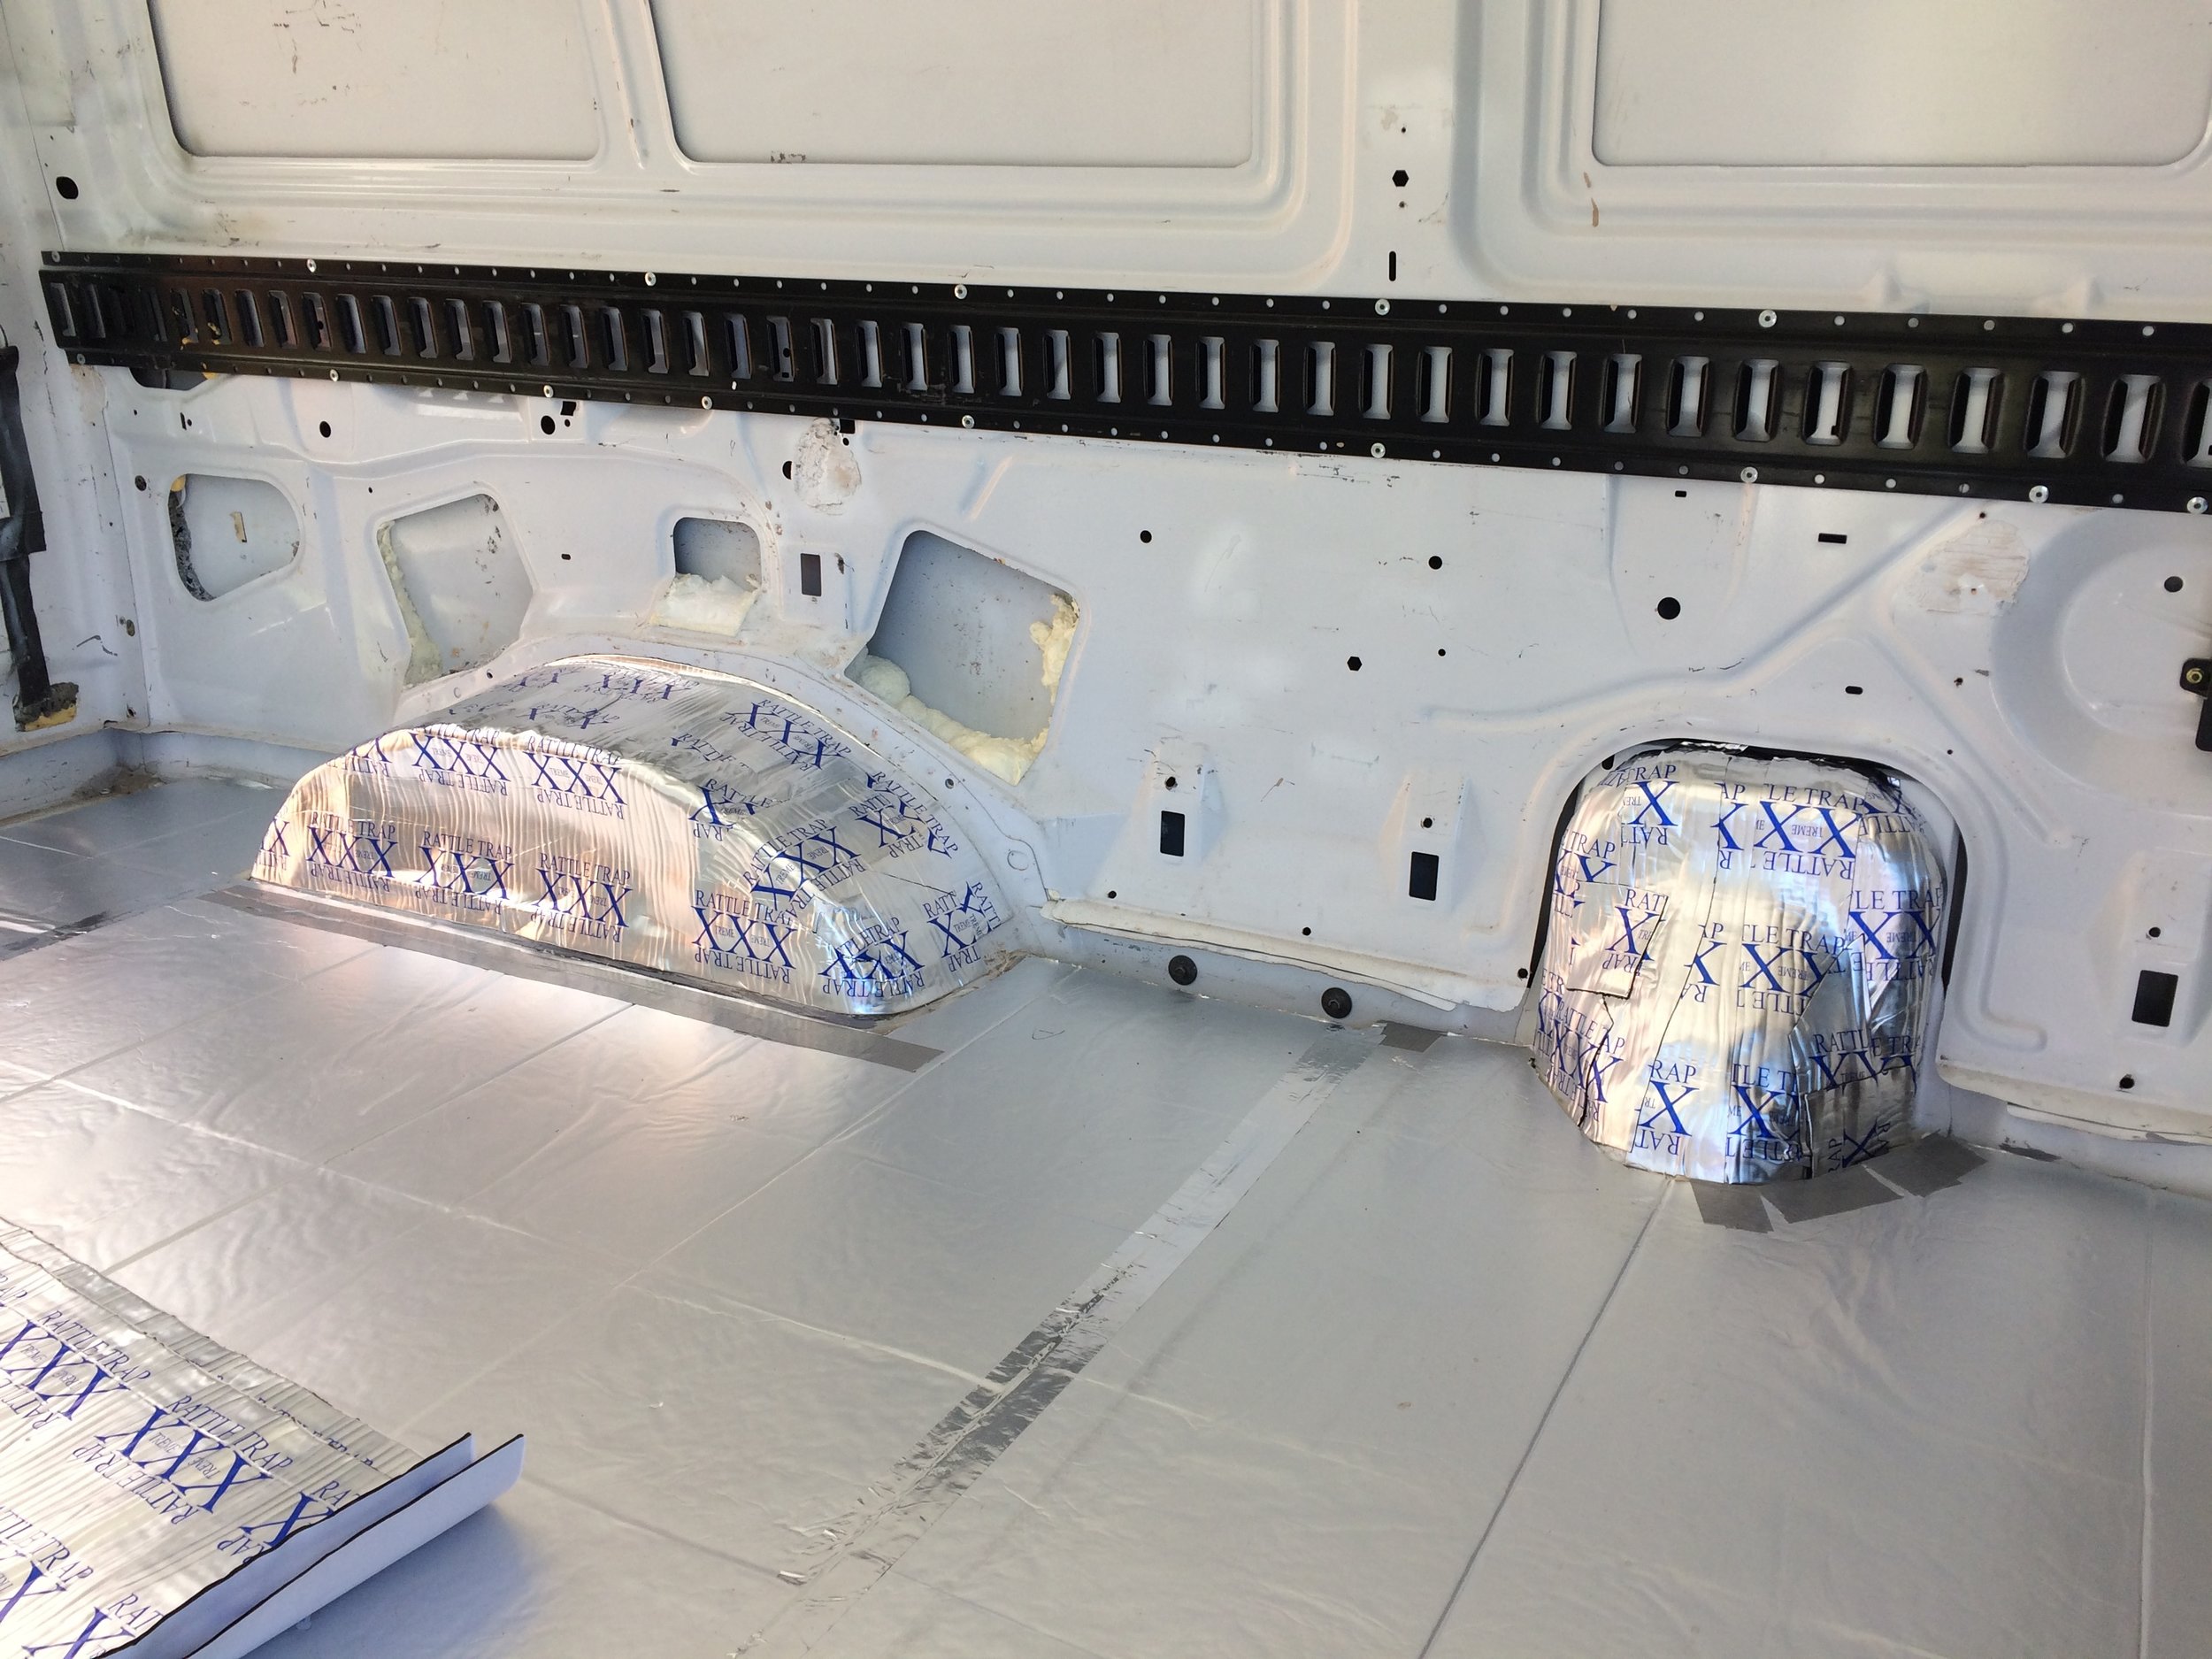
In some of these pictures you can see some spray foam particularly around the wheel-wells and doors. That spray foam came with the van, I didn’t put any in myself. It’s messy, can deform even metal panels and isn’t enough R-value to be worth the trouble for me. In some places I had to cut out that spray foam in order to get to other things or to smooth a surface I needed to mount something to and that stuff is a pain to get rid of/clean up, I am not a fan!
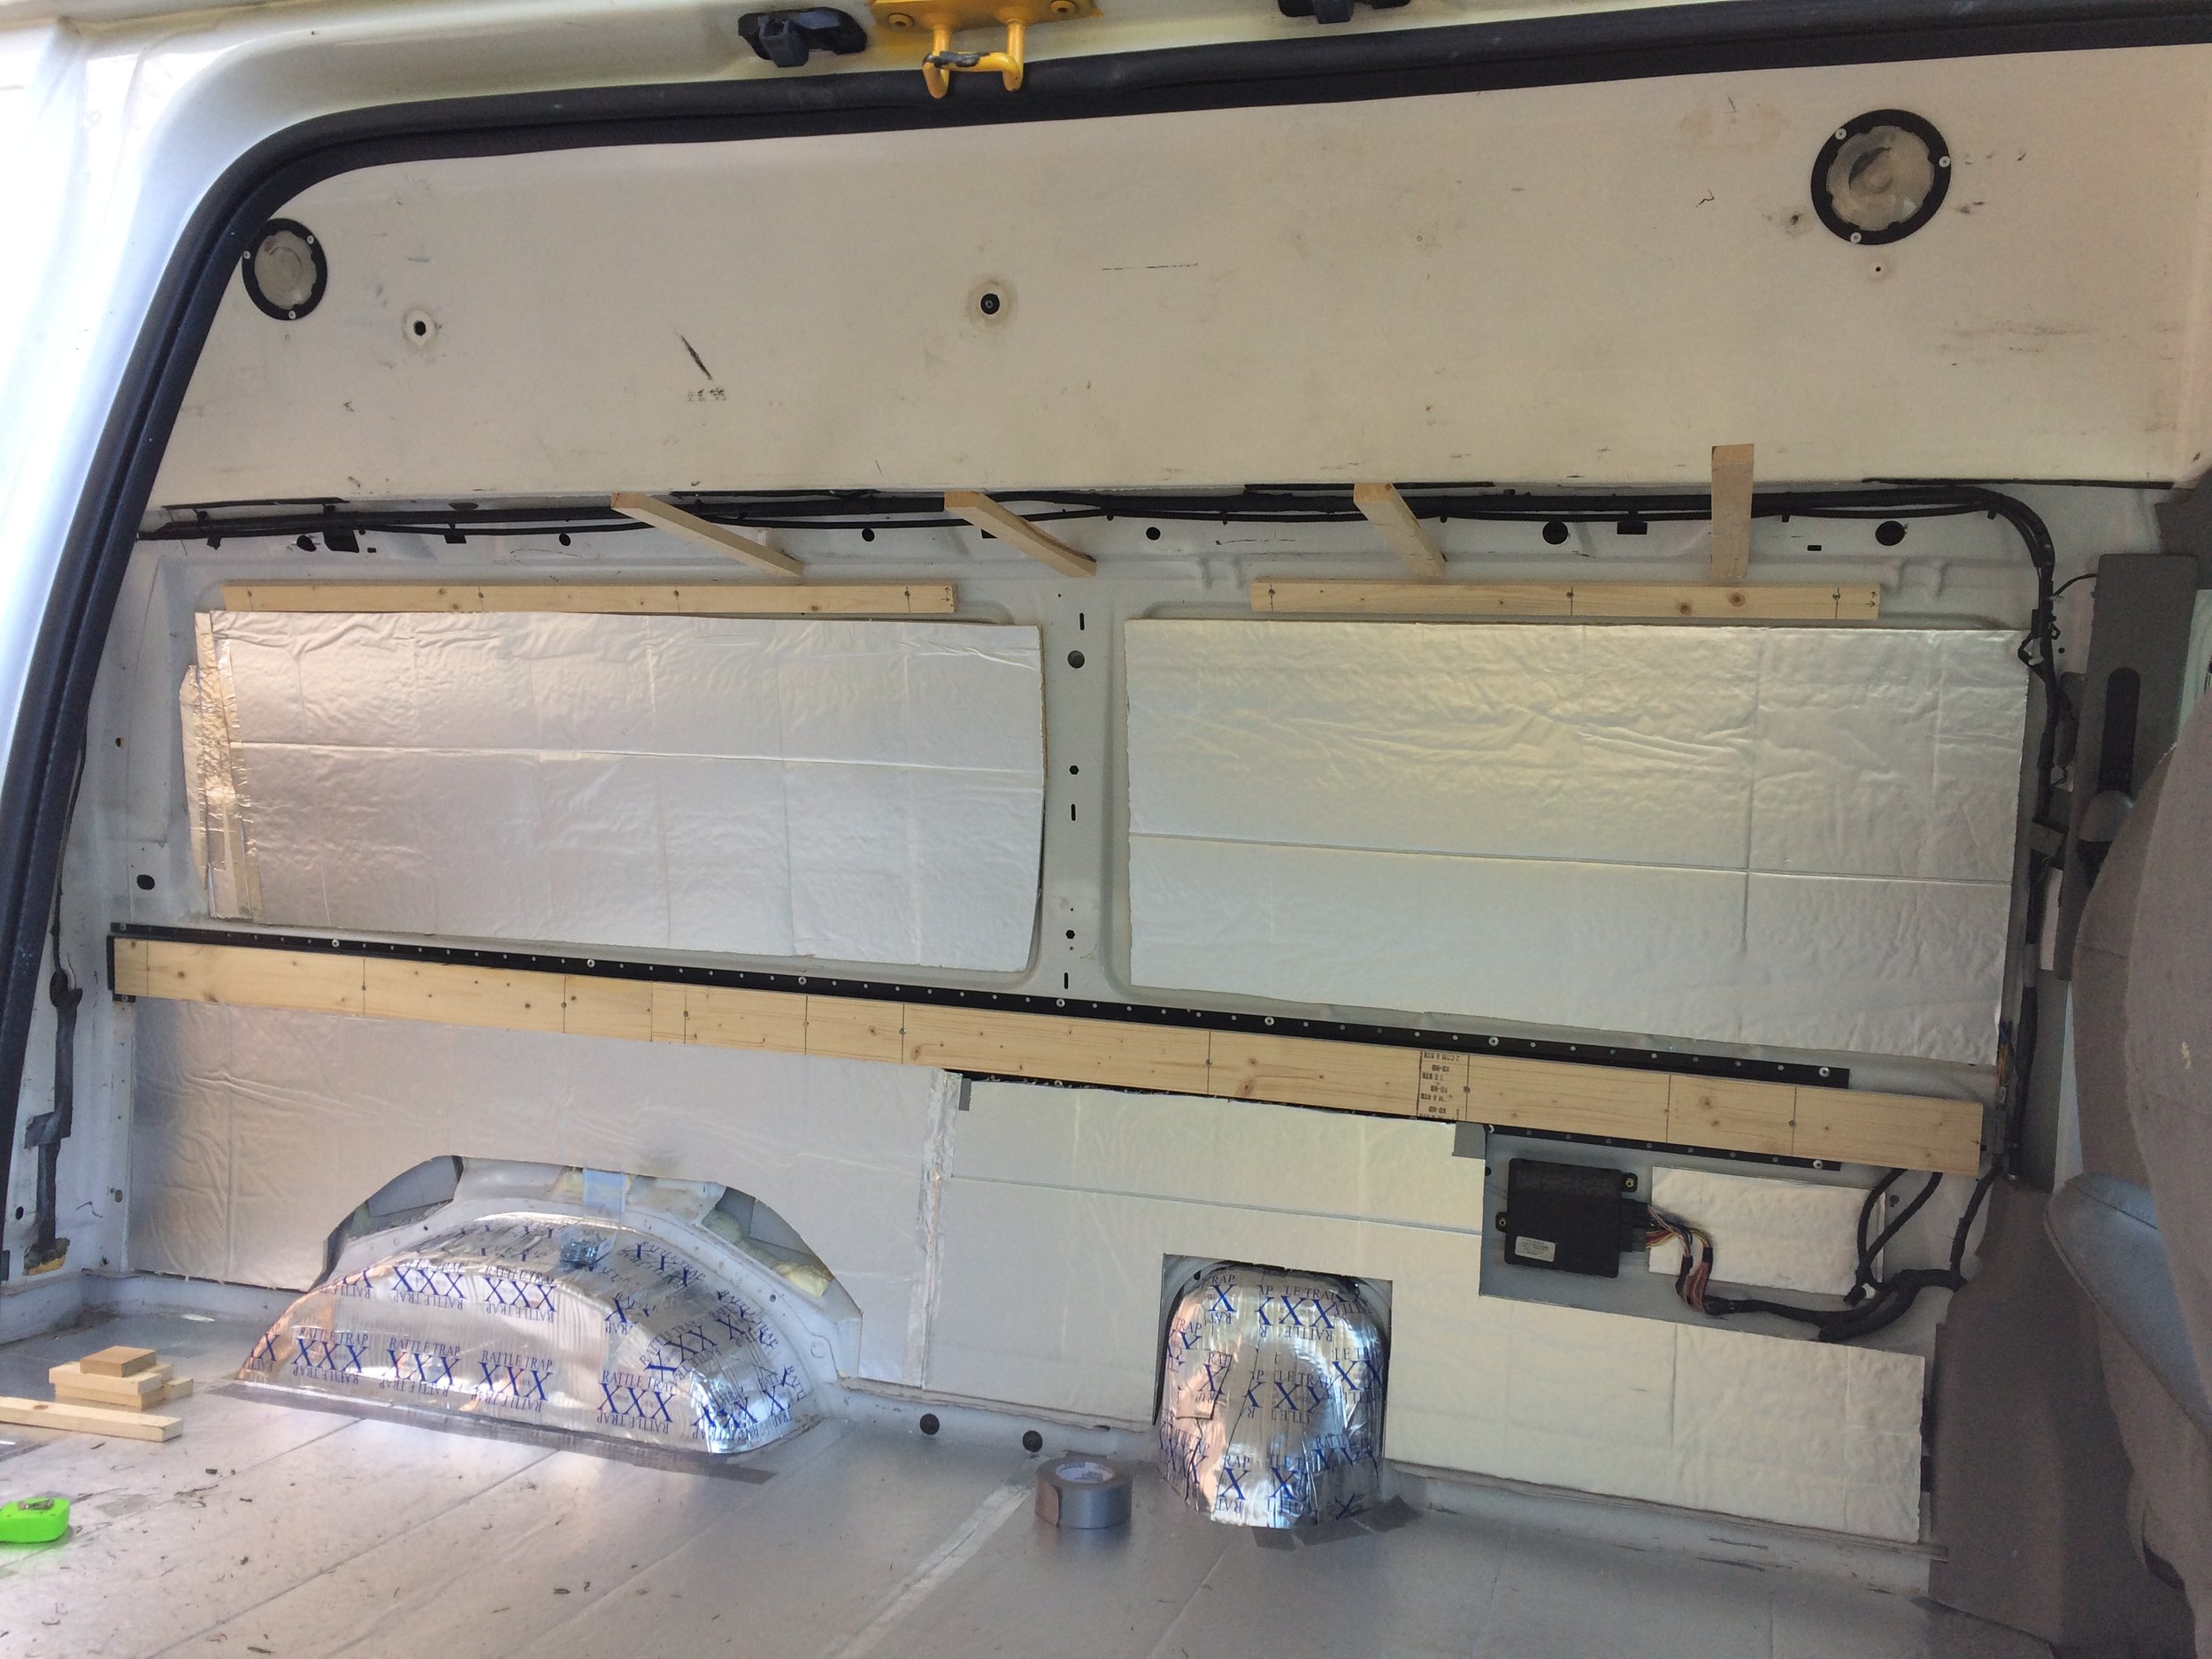
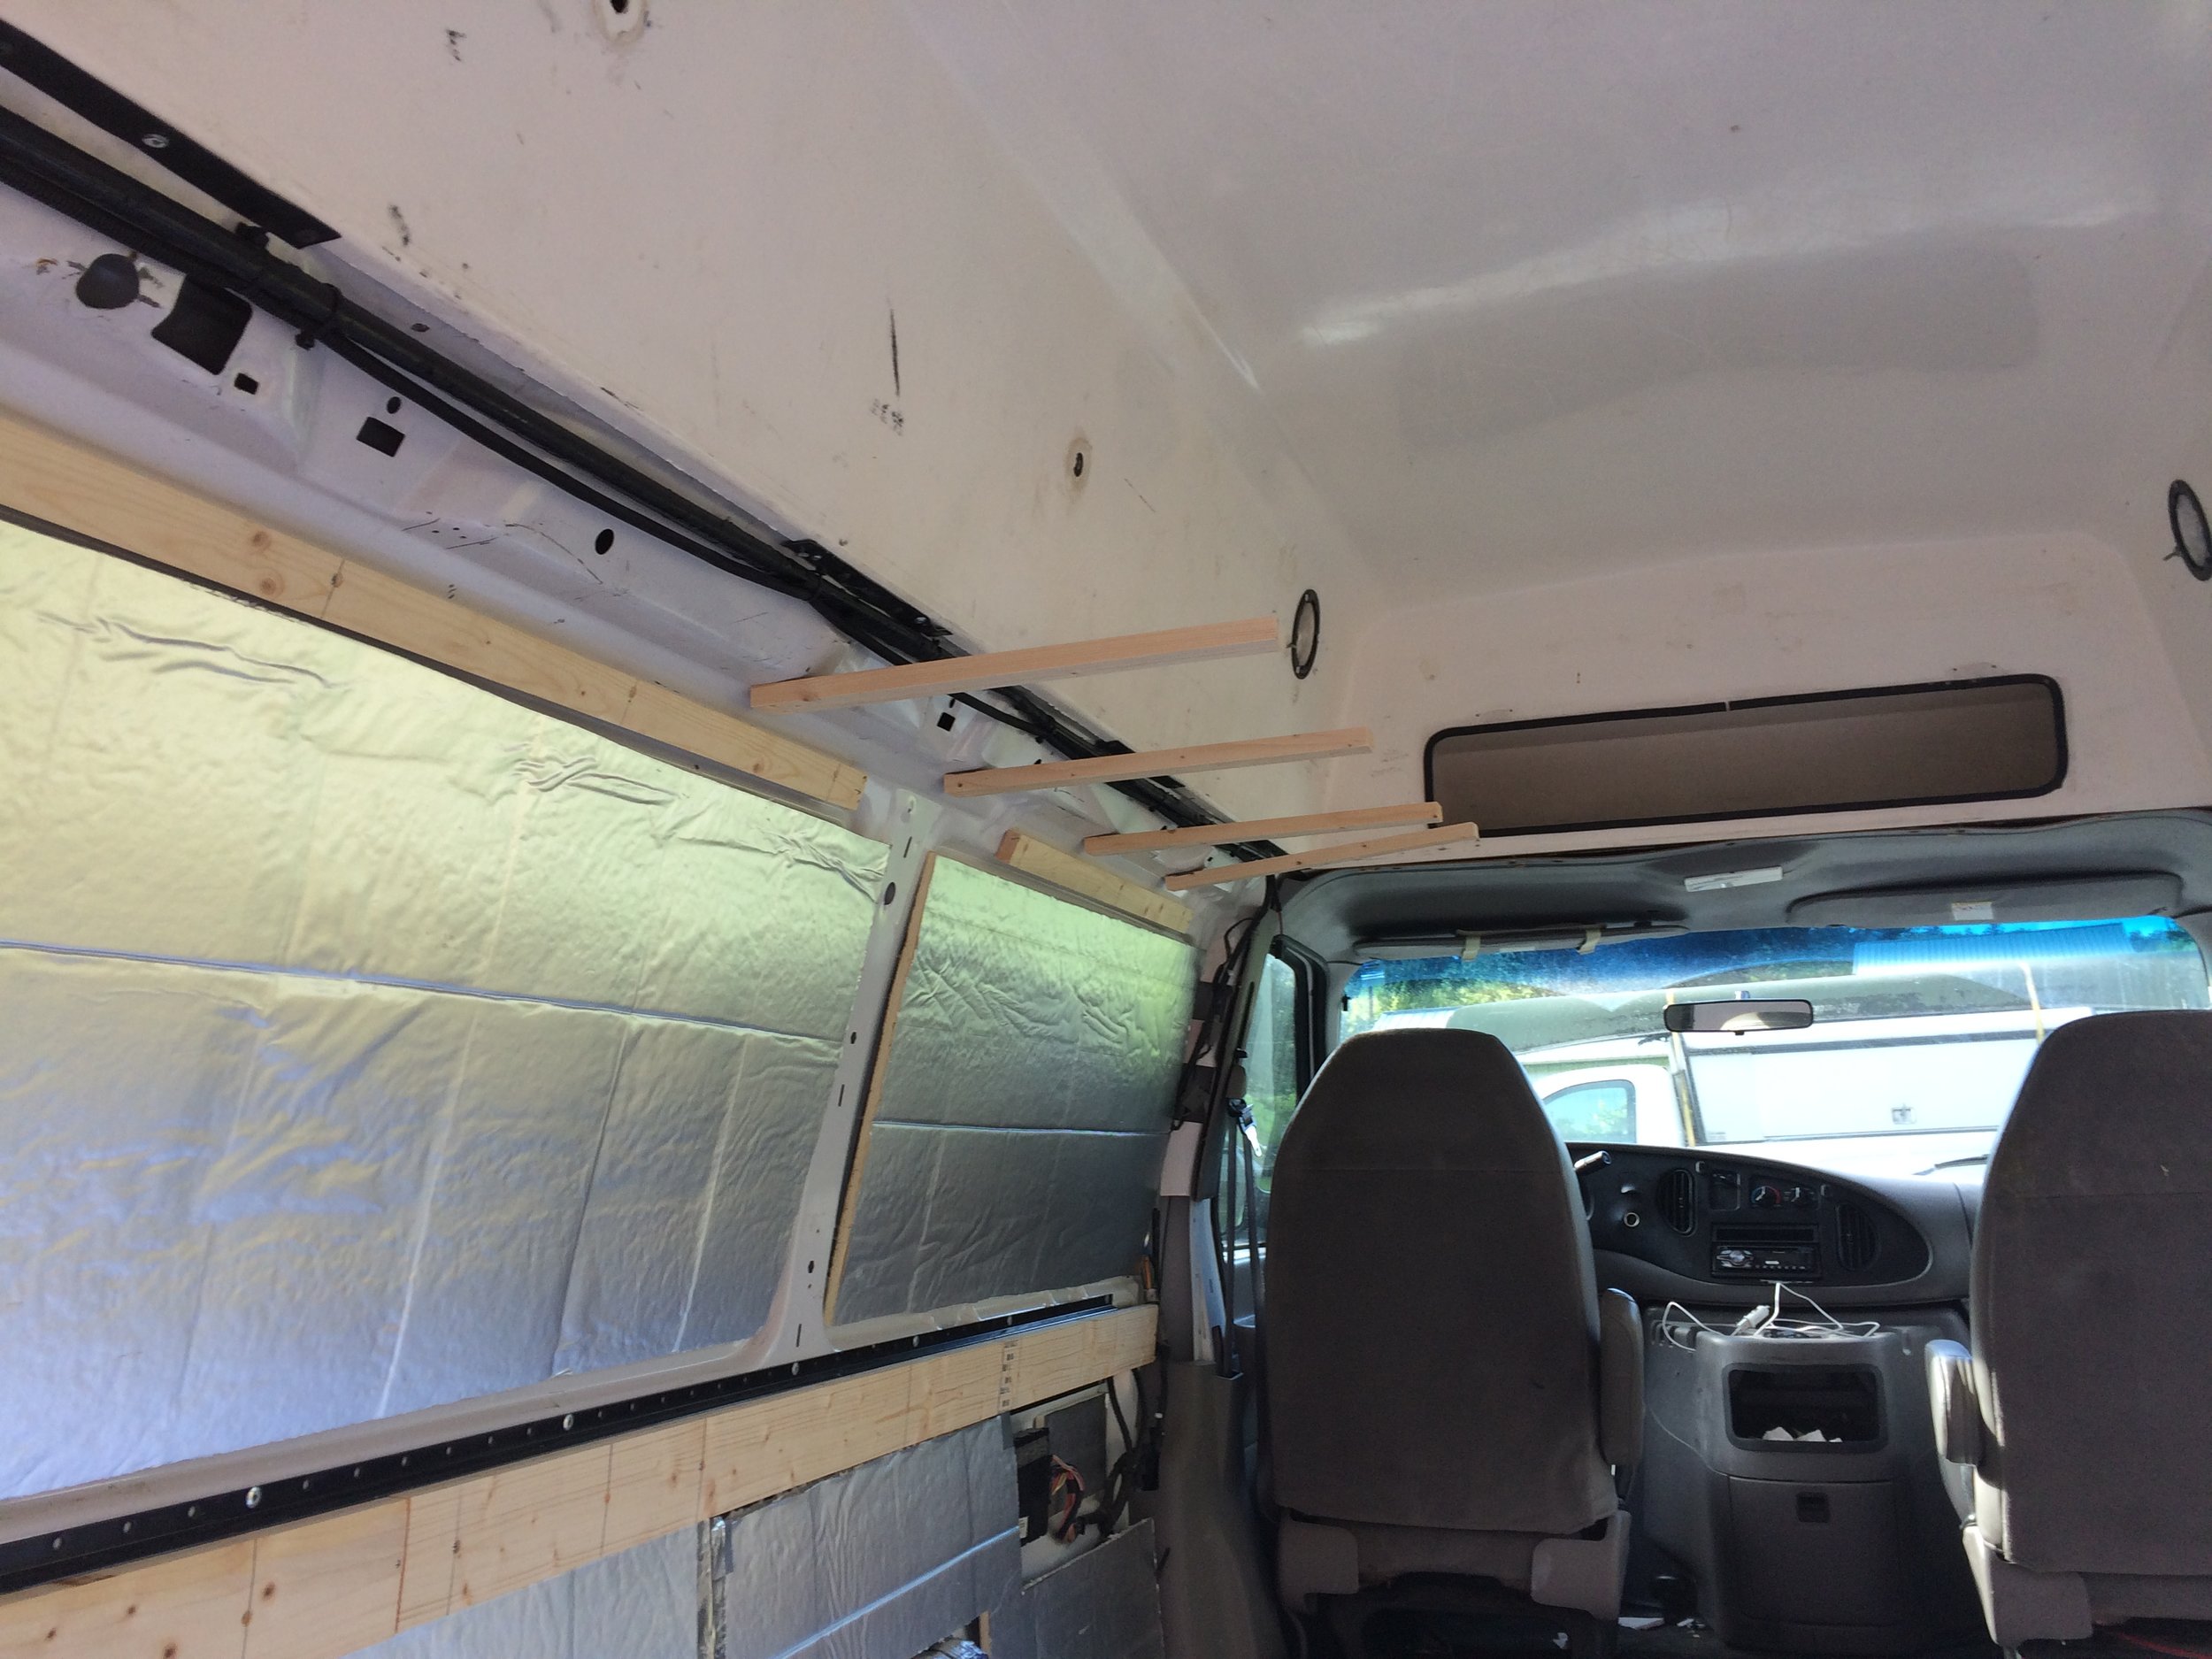
Next came insulating the walls, you can see they have places where the factory would cut out for windows if this had been a passenger van instead of a cargo van, I filled these “valley’s” with Polyiso cut to size/shape first before putting the larger pieces in over the top. At this juncture I also attached 2x4’s and 1x2’s directly to the metal van walls with self tapping sheet metal screws in places where I wanted to be able to screw things directly to the walls. Because I was building out the van by myself, some creative bracing was necessary so that I wouldn’t have to stand there and hold each piece for 10-15 minutes

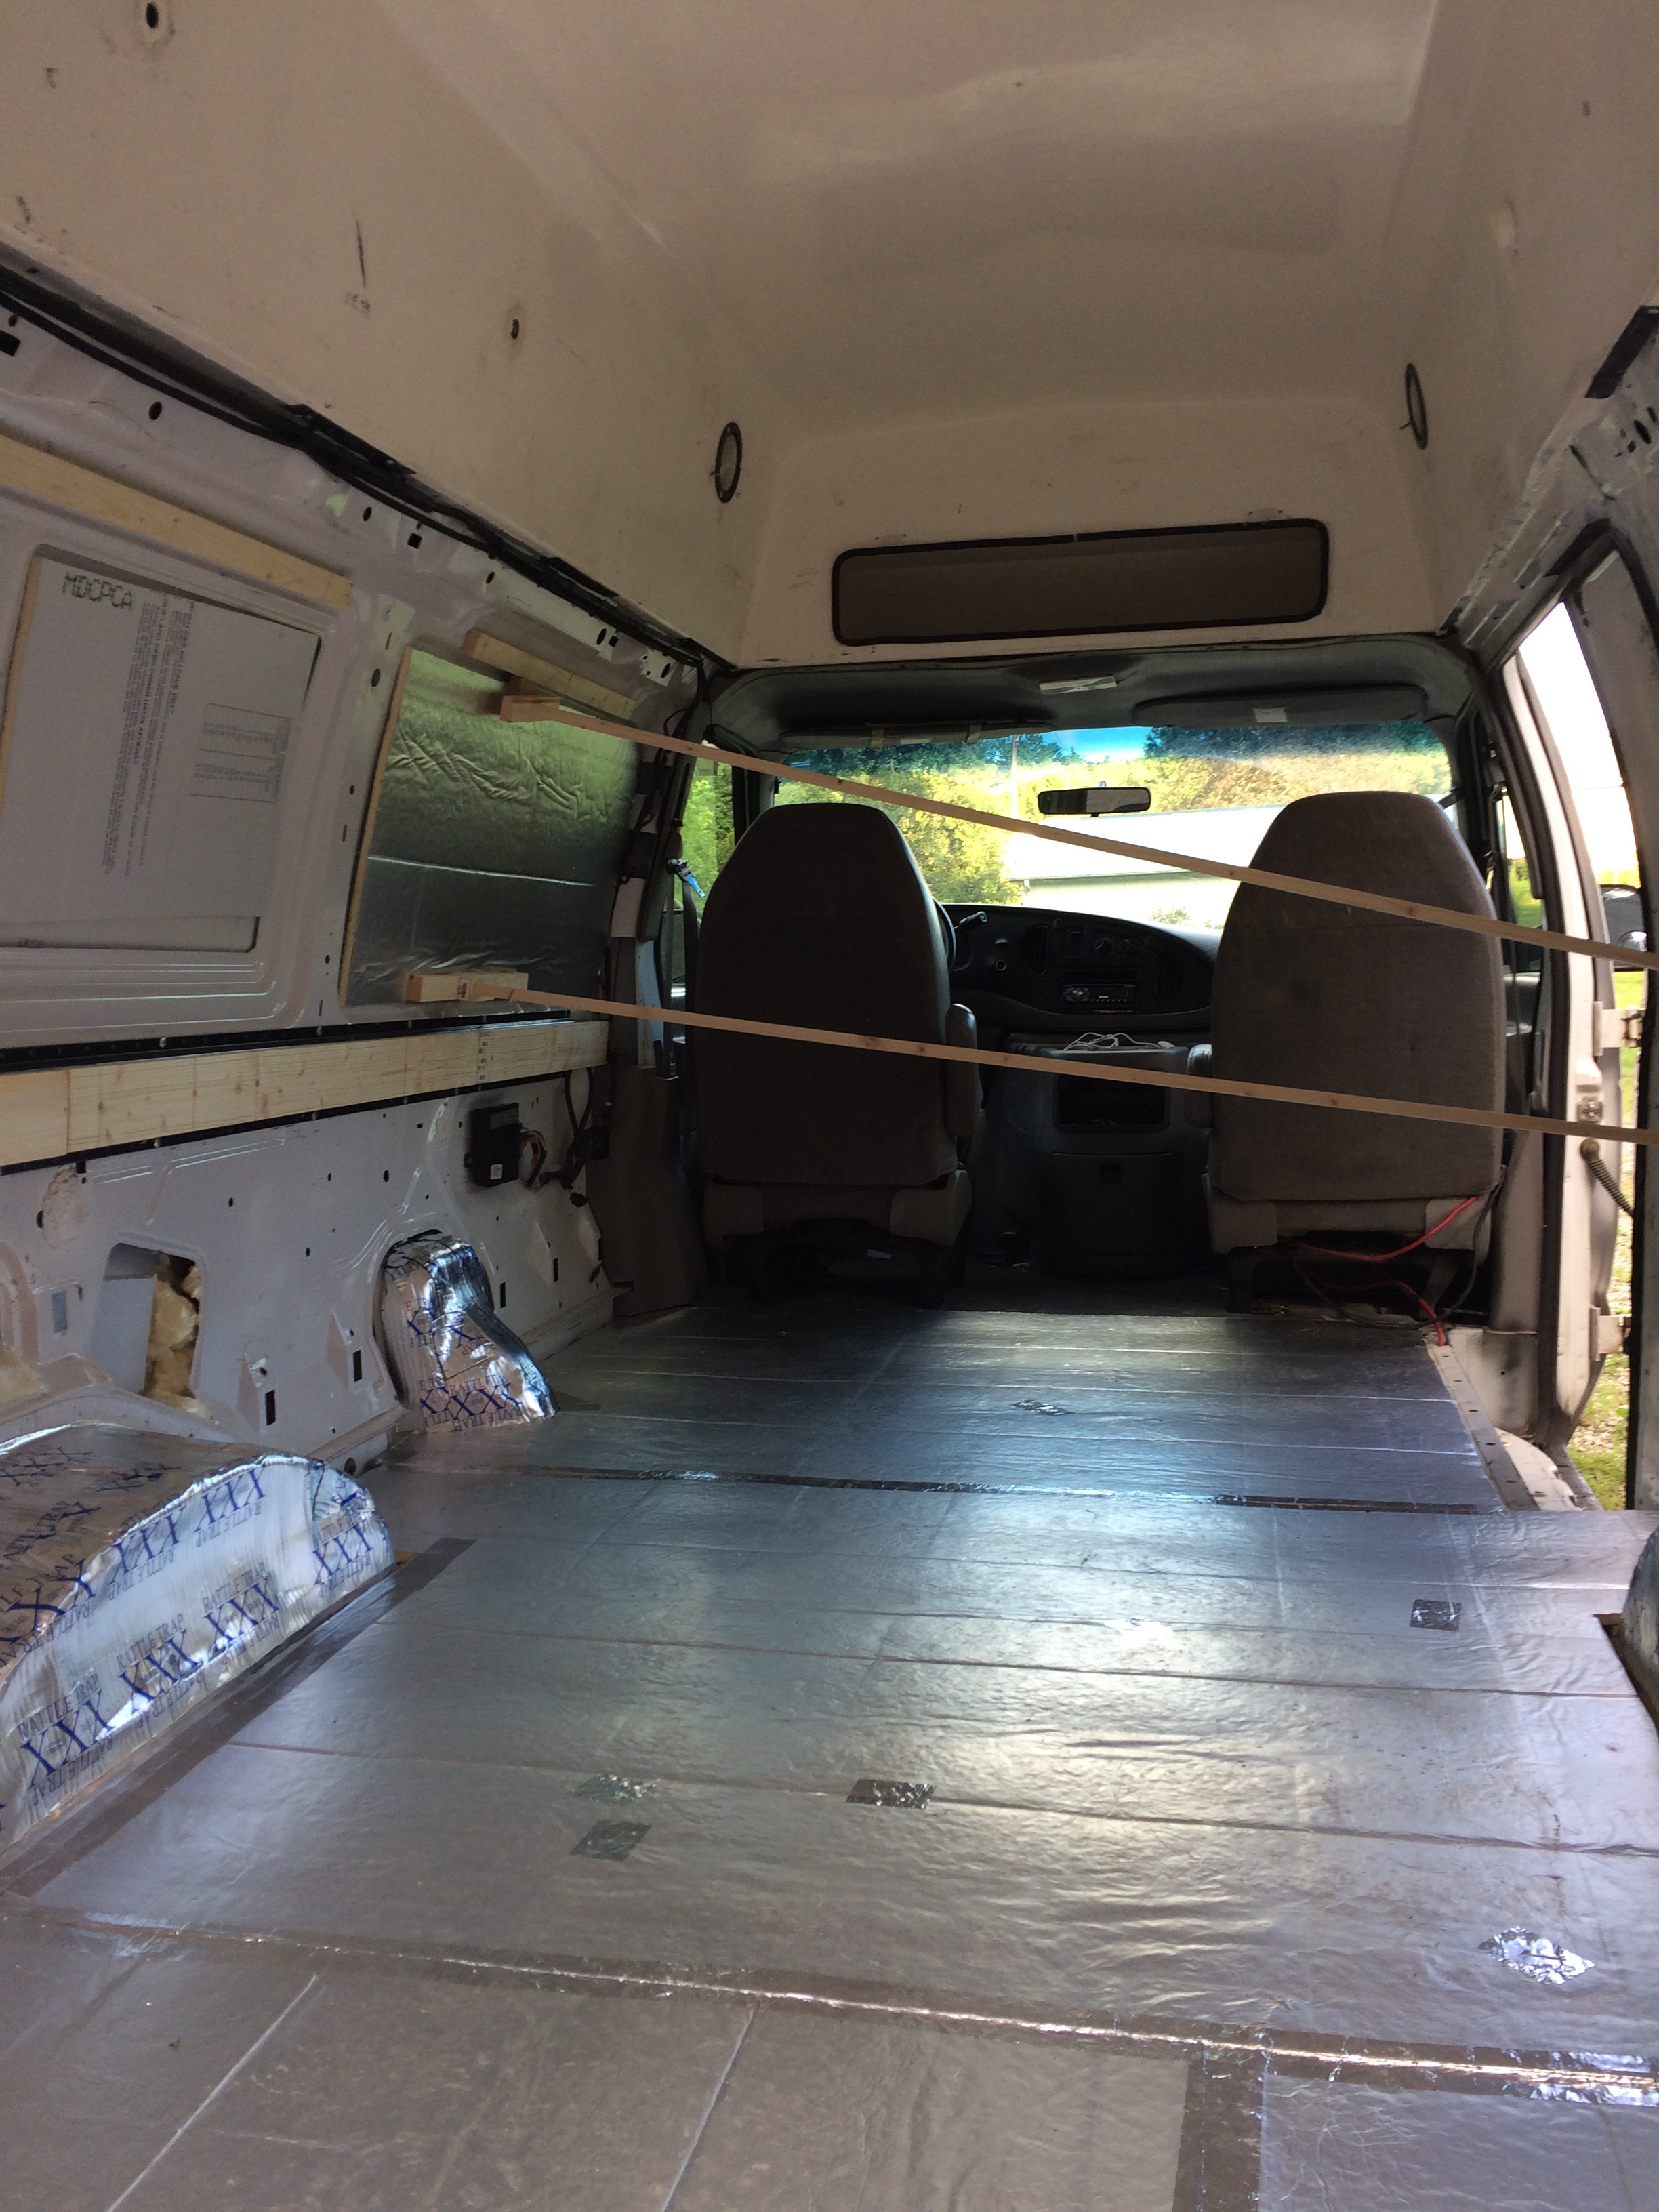
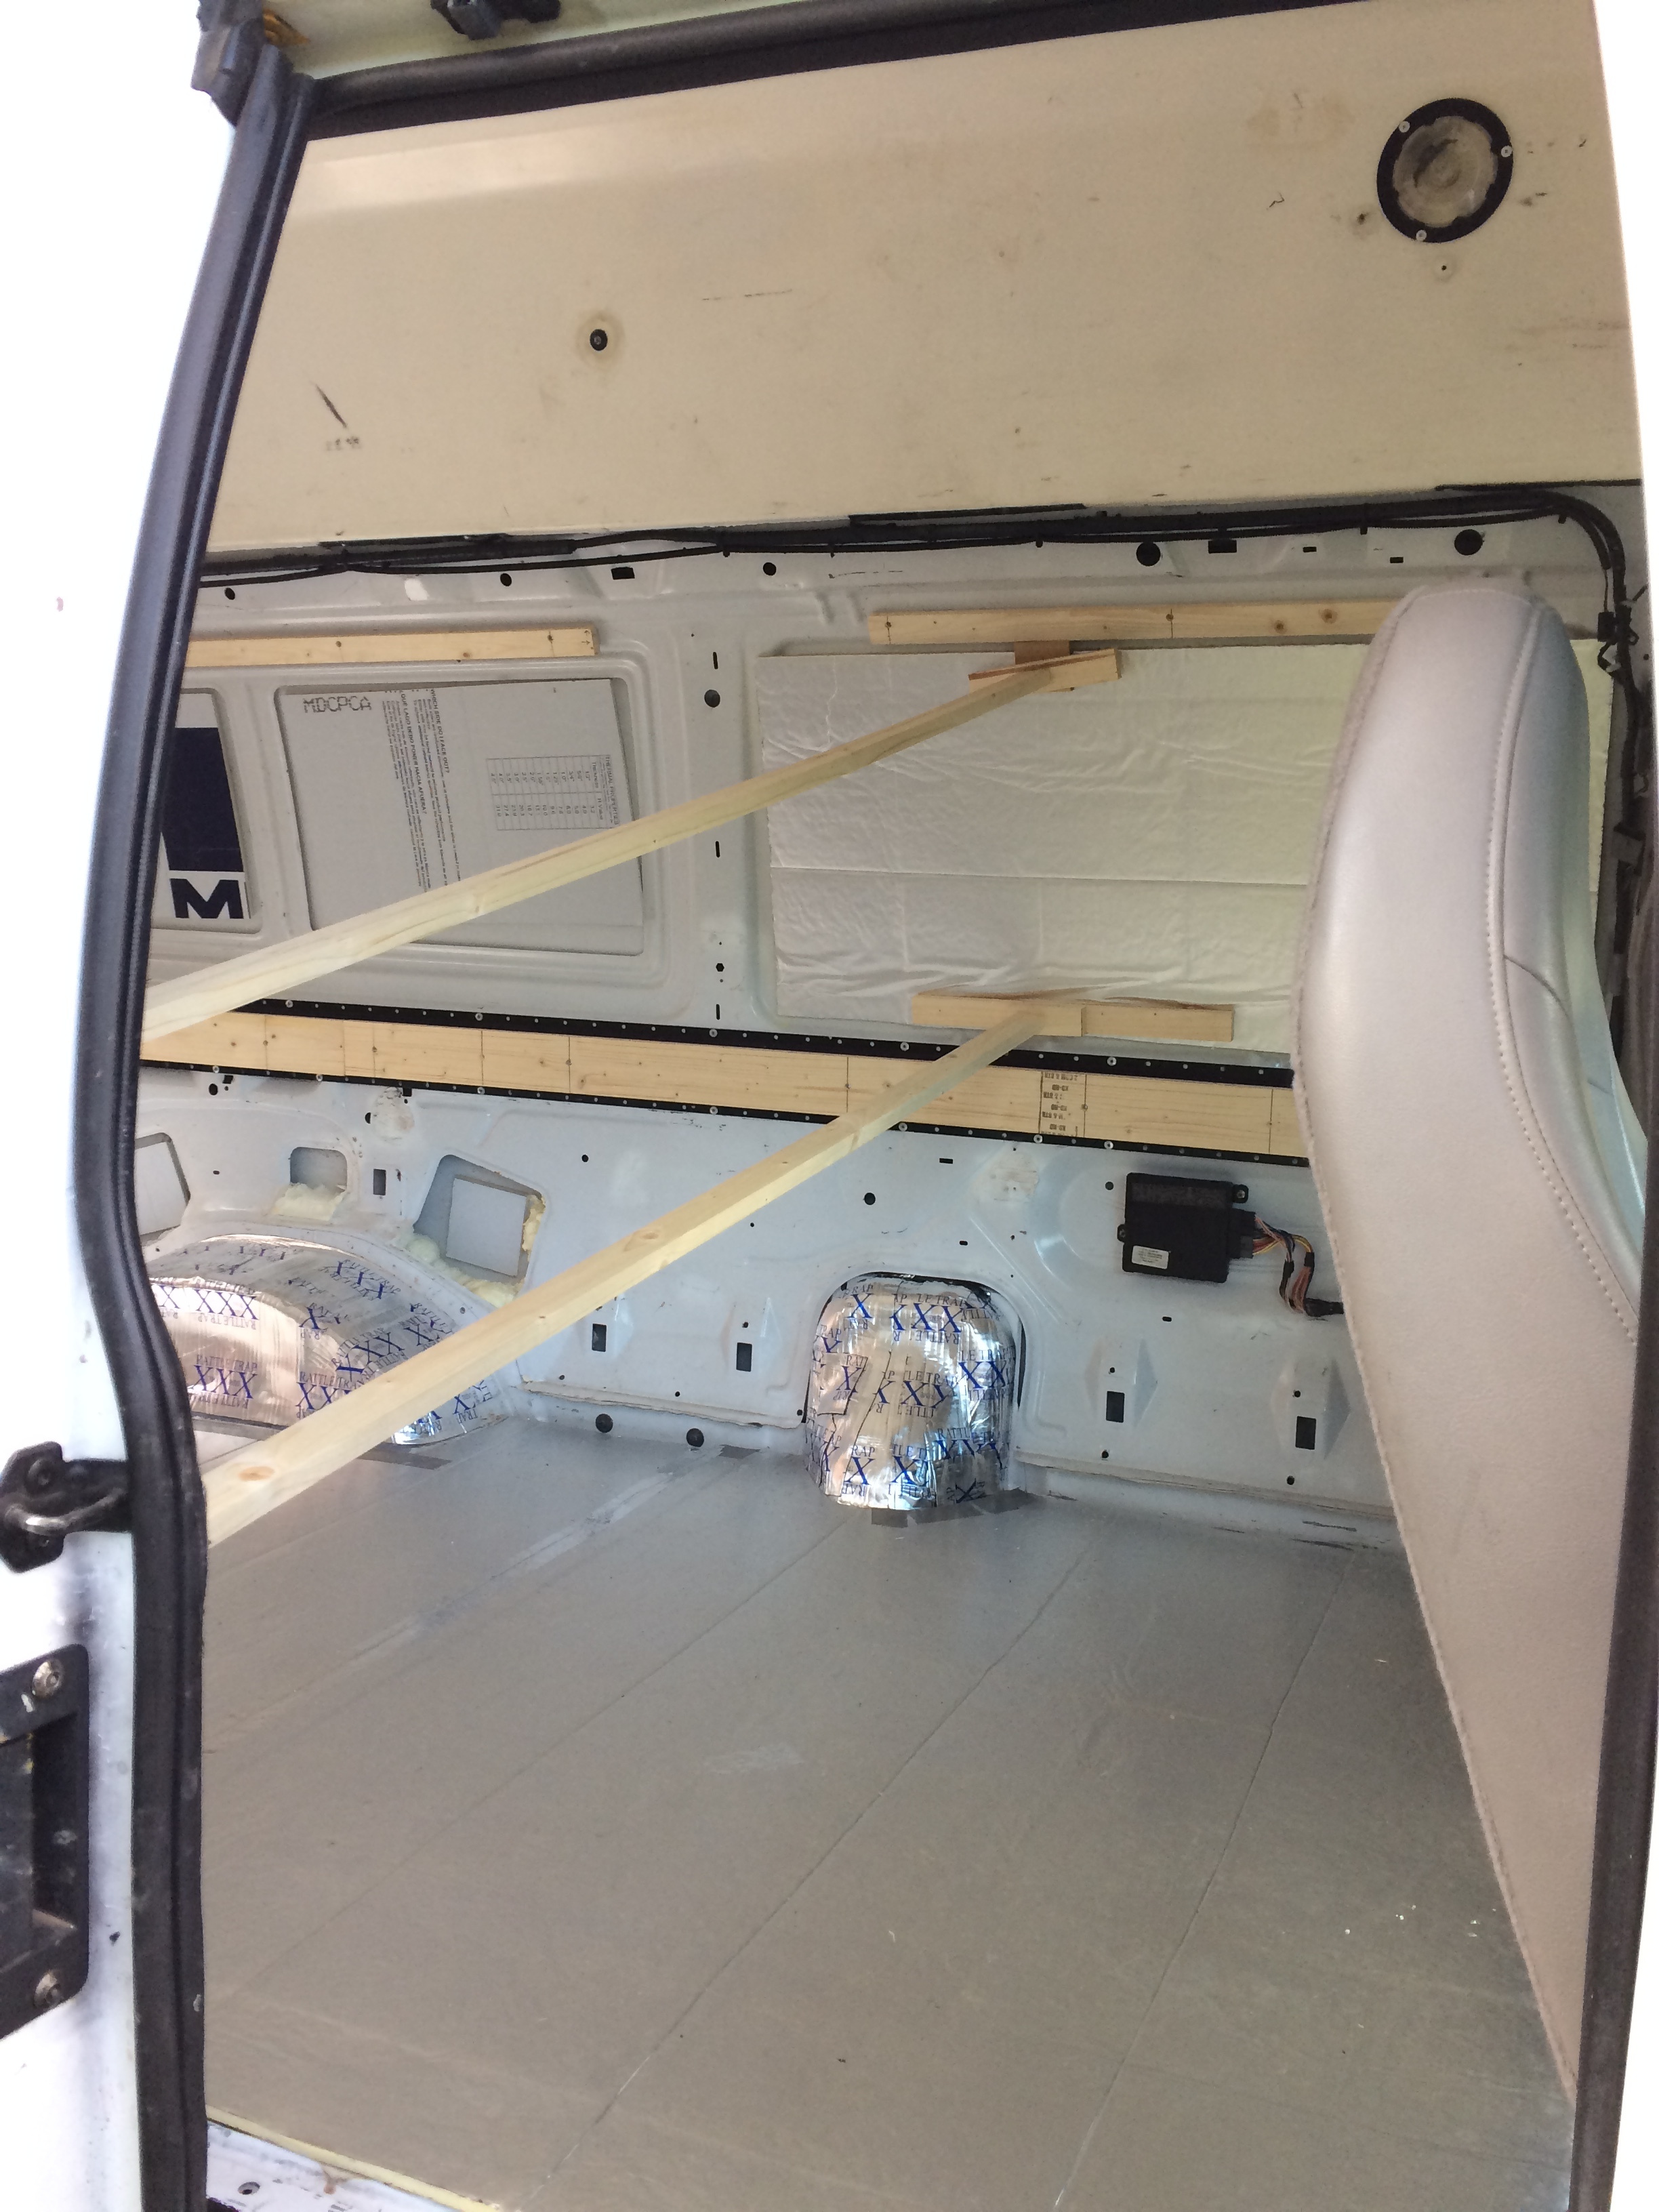
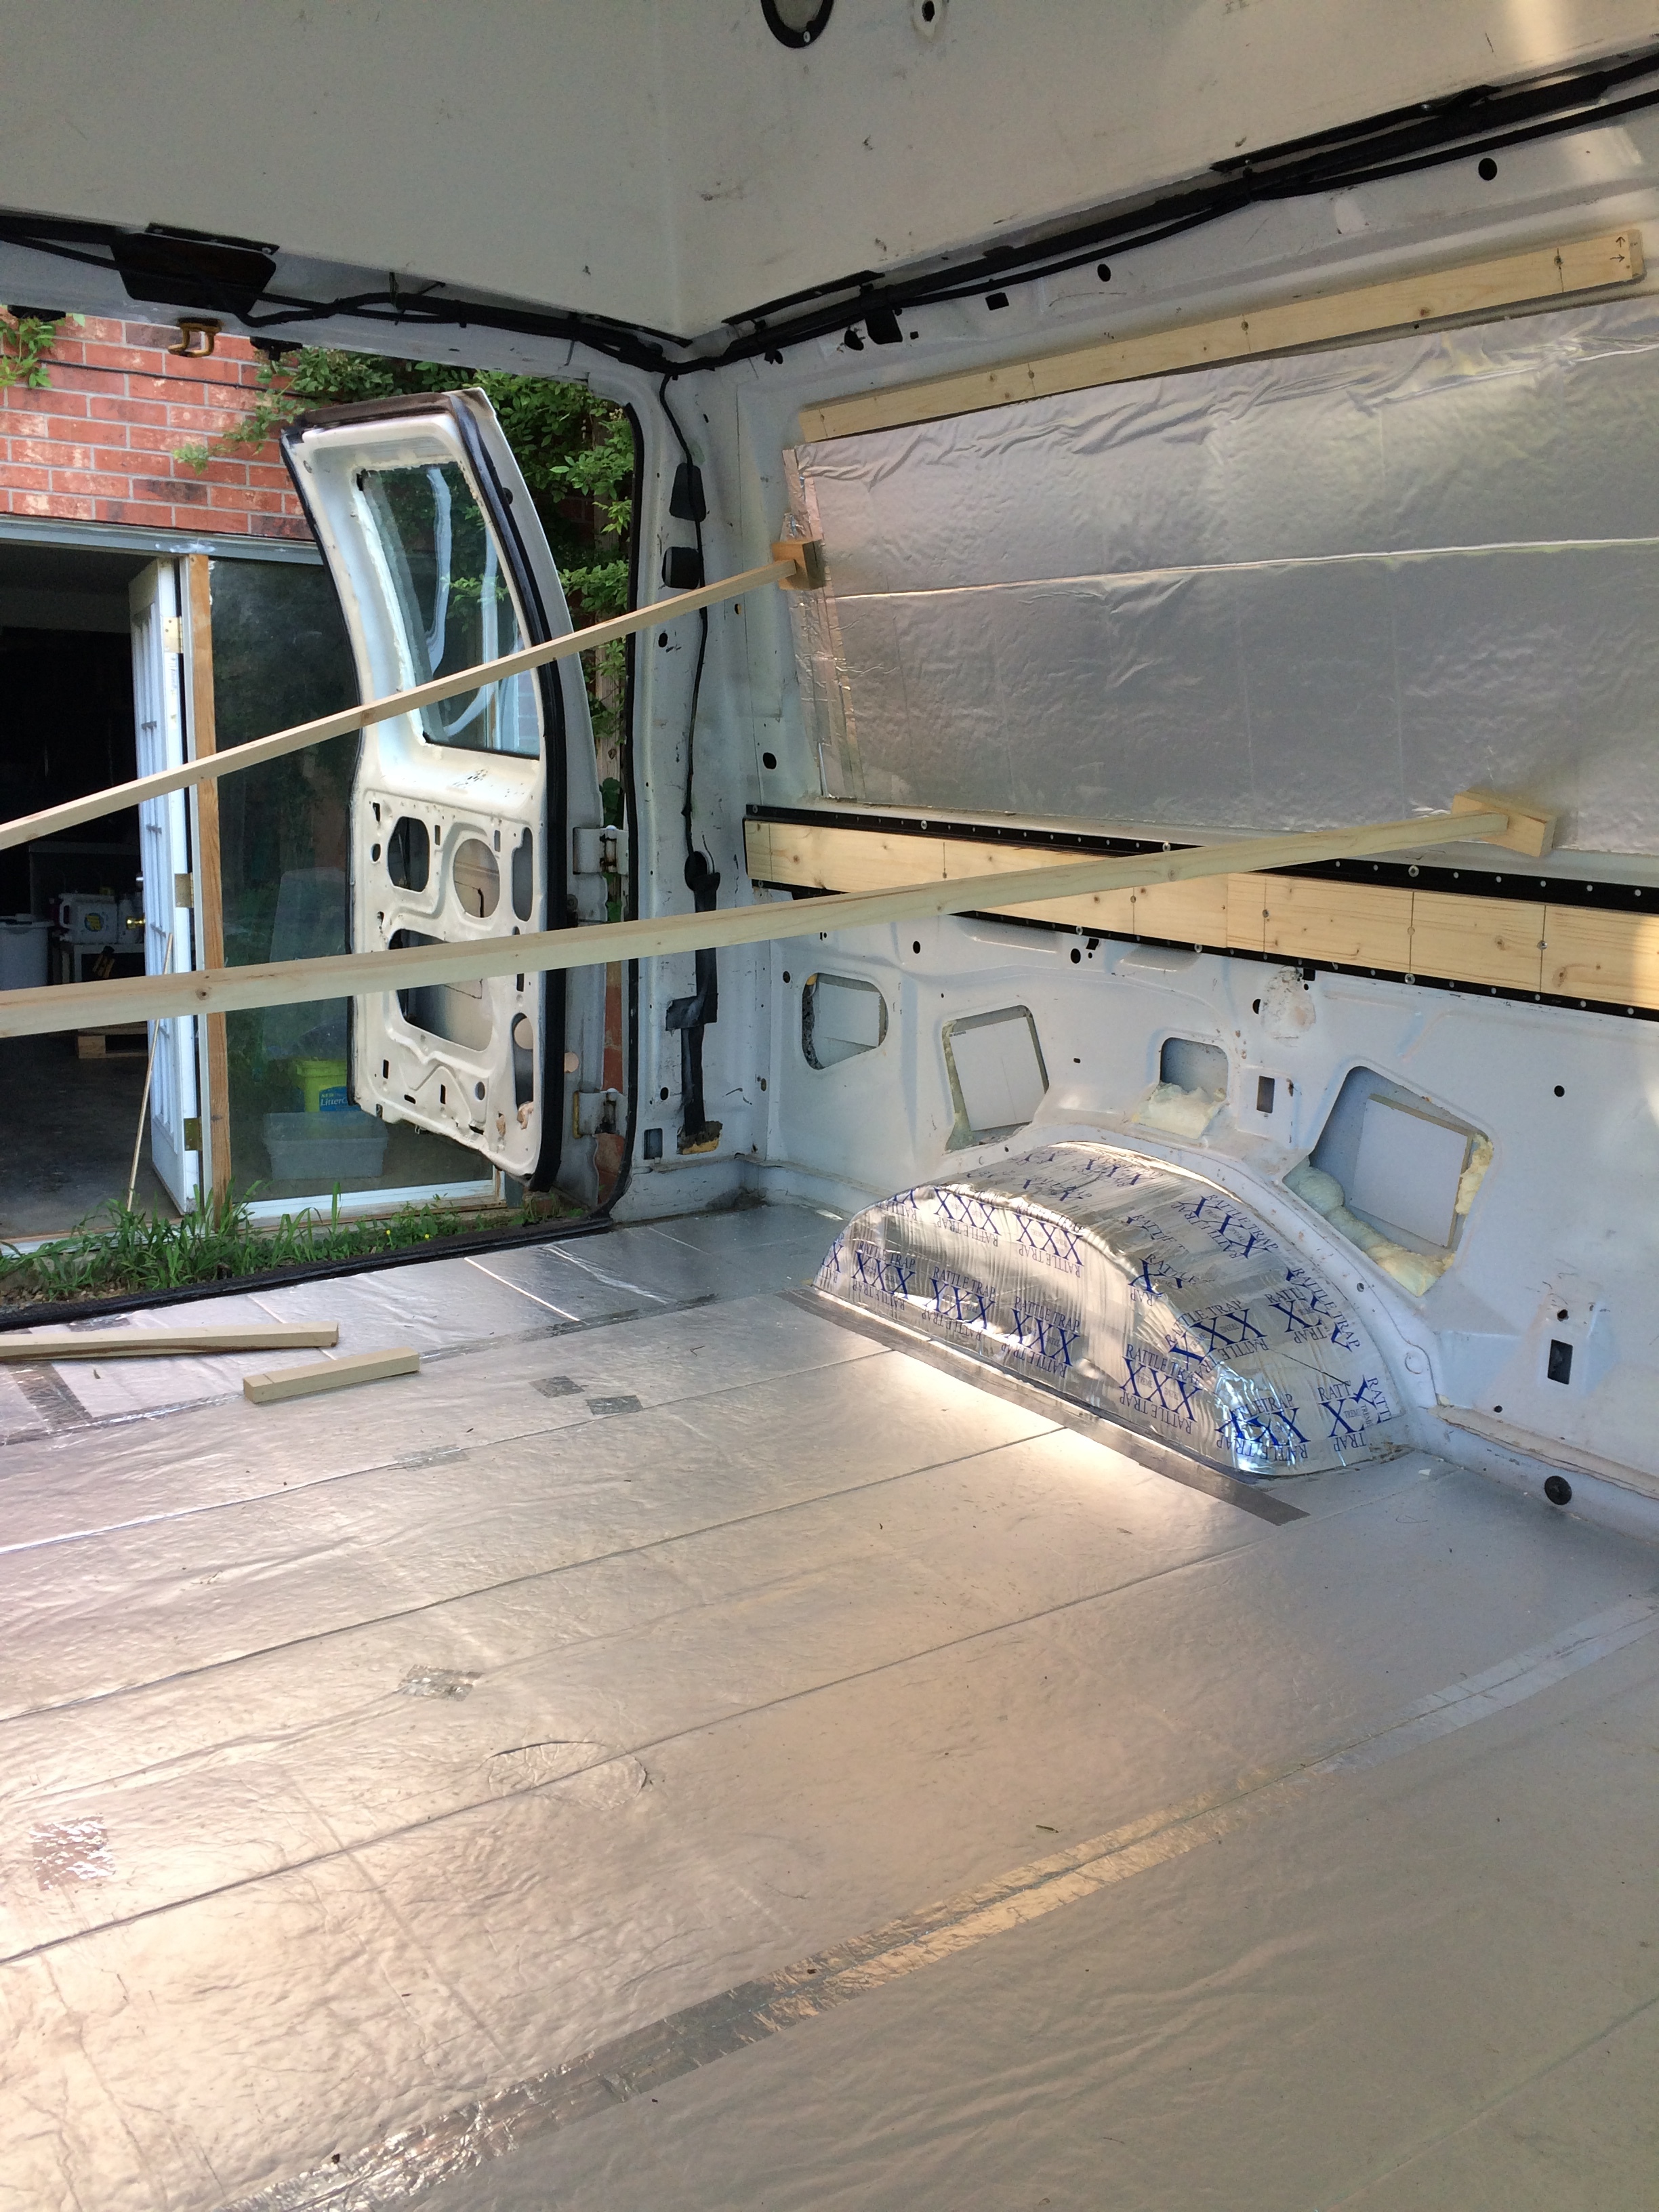
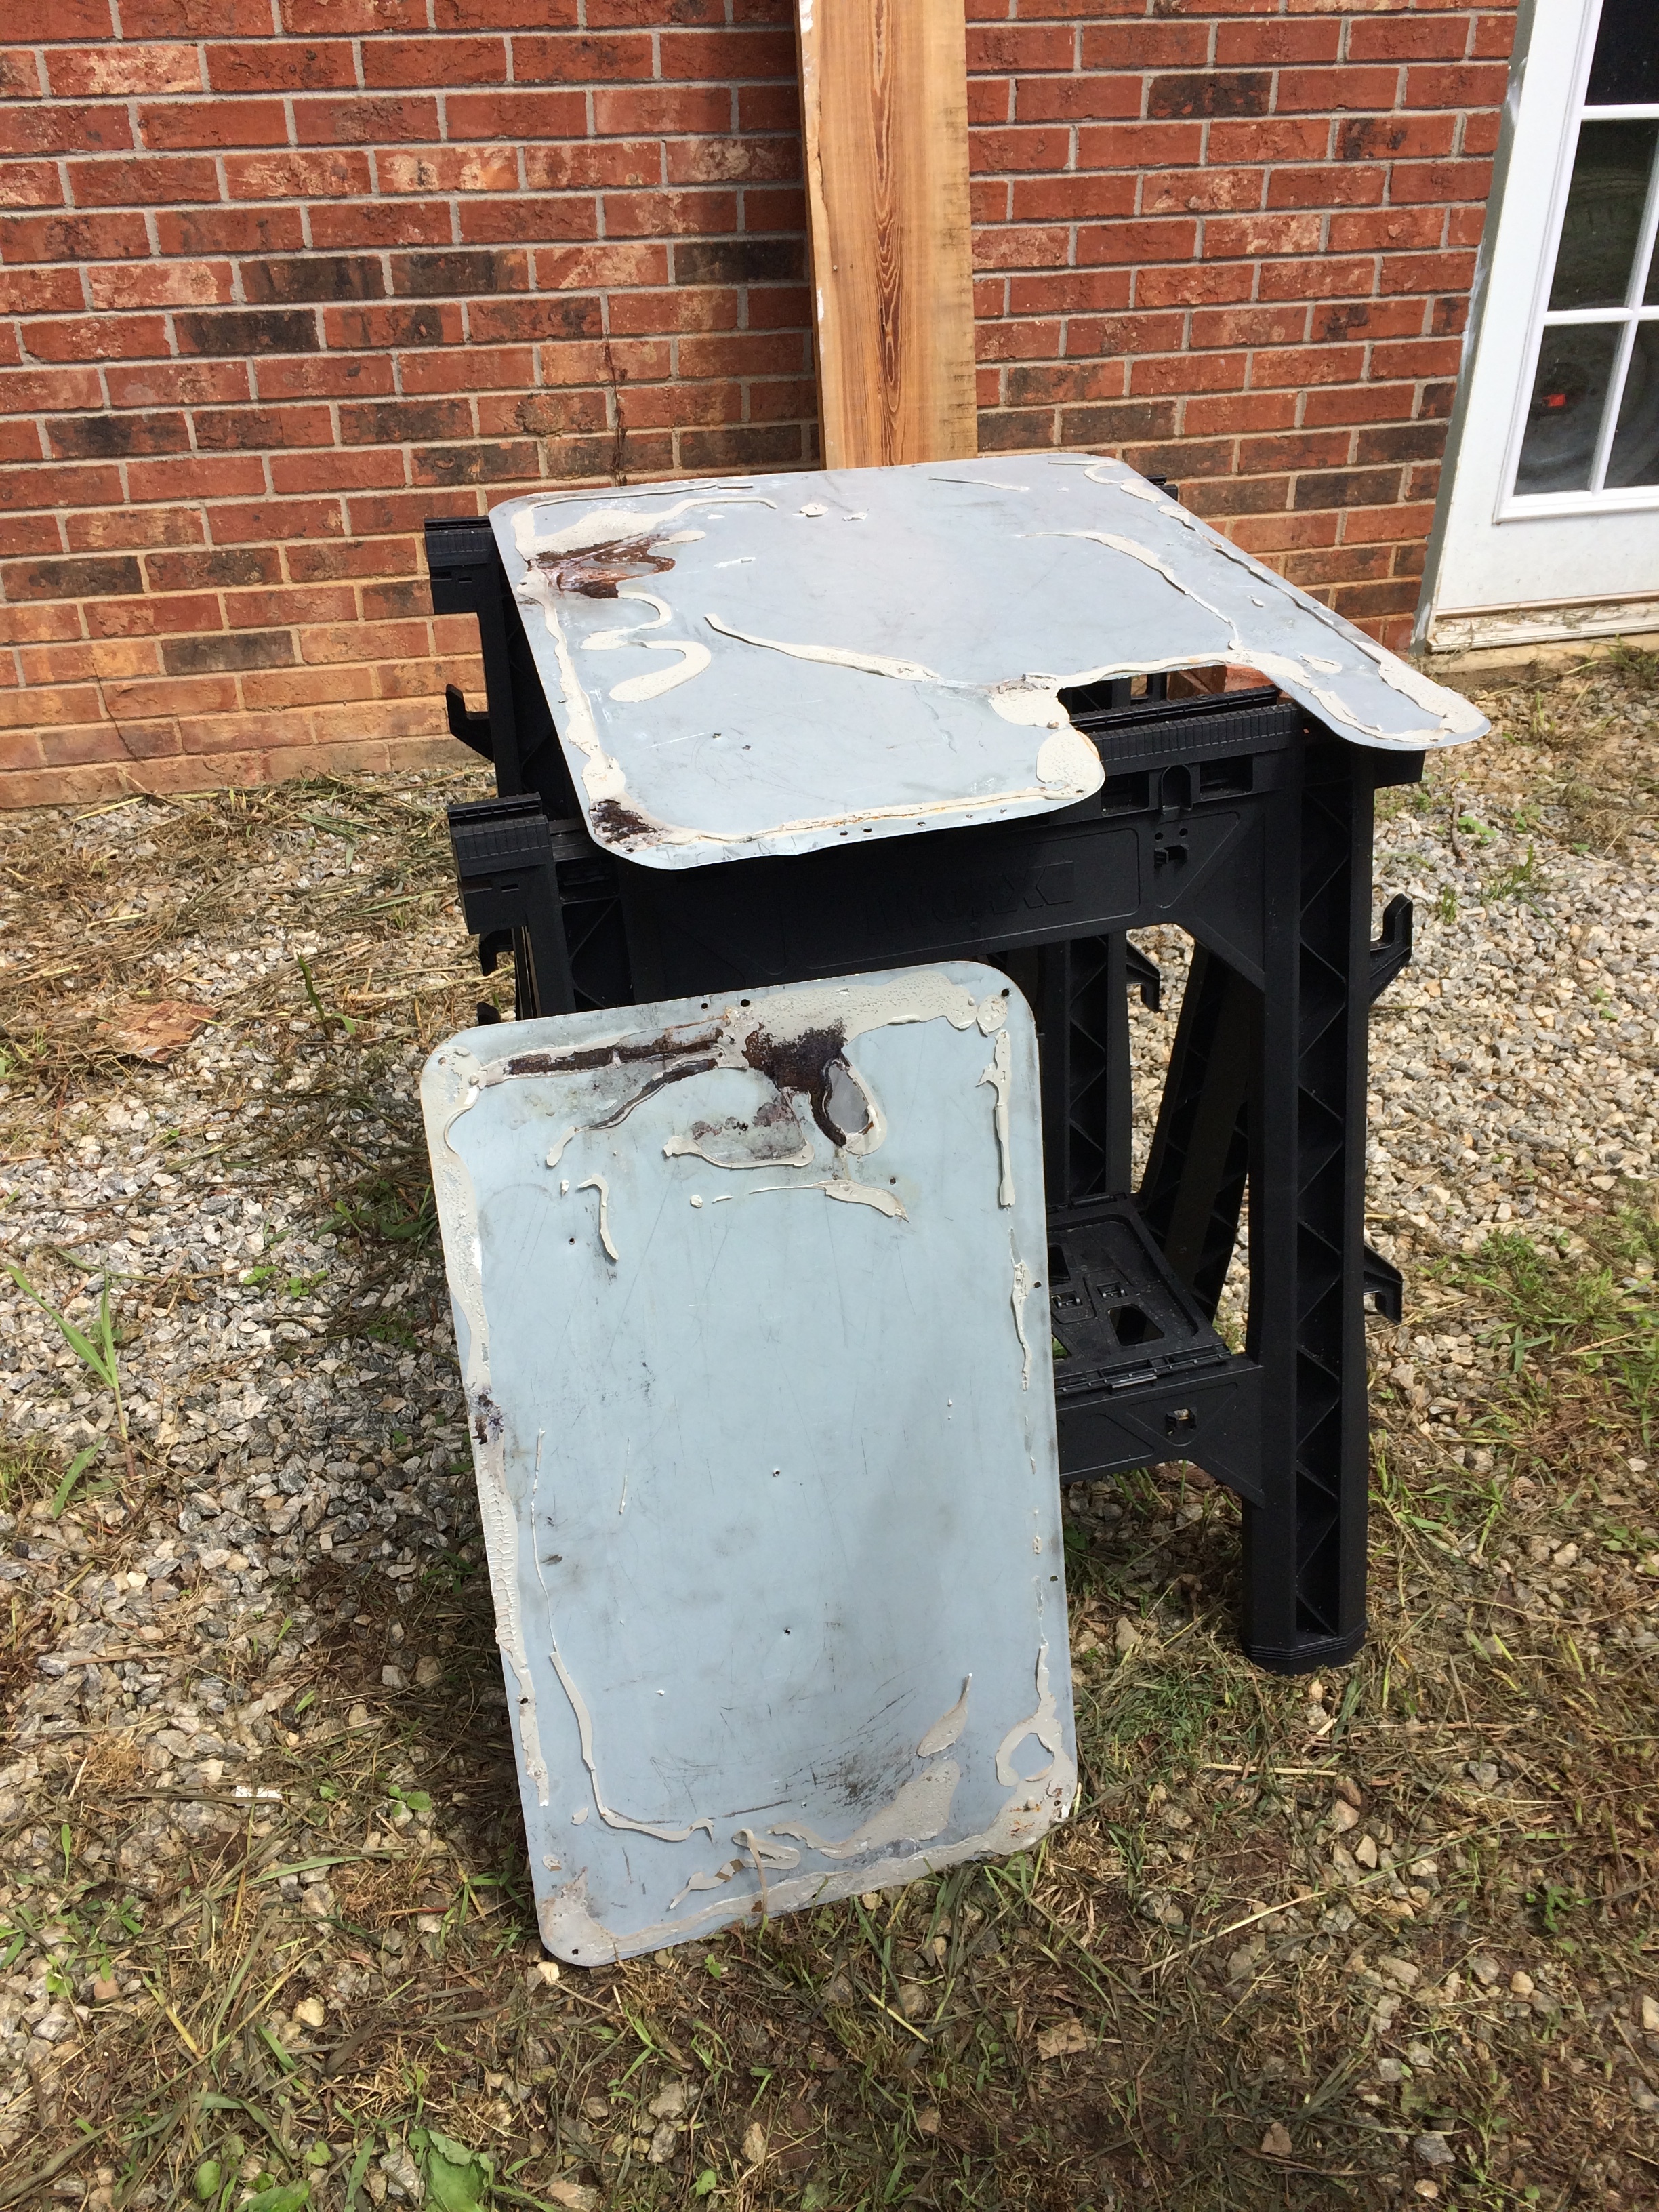
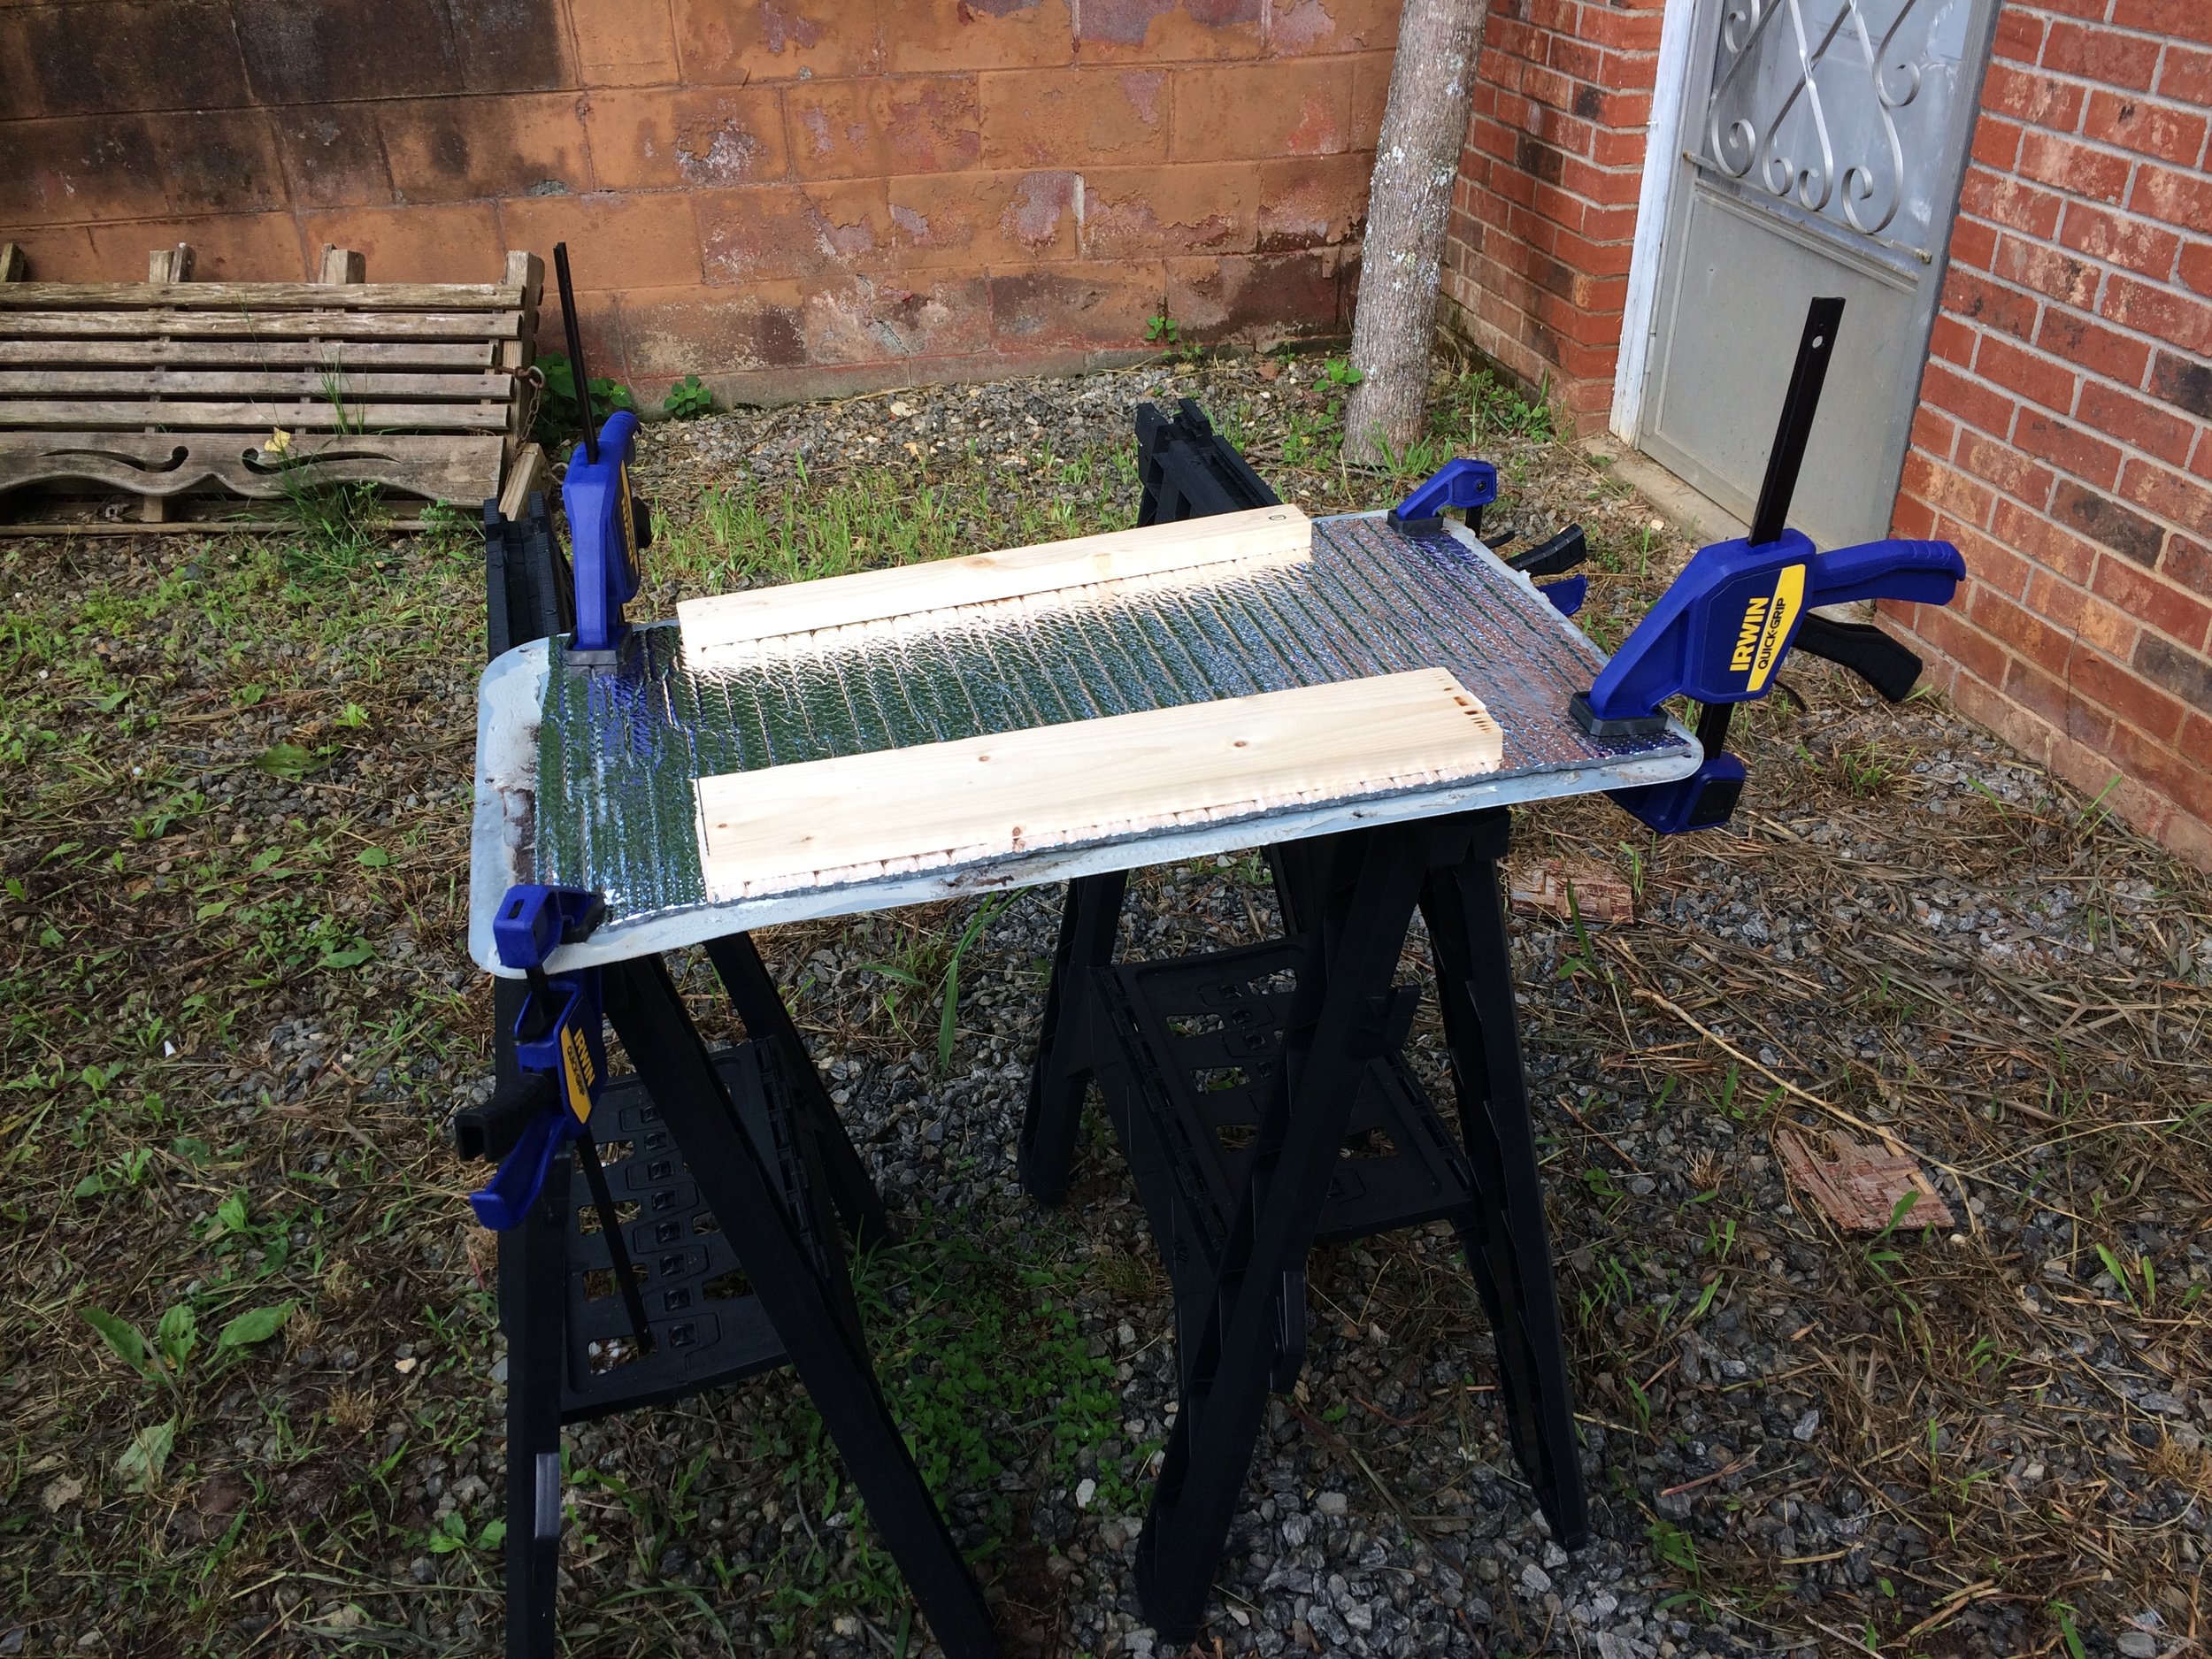
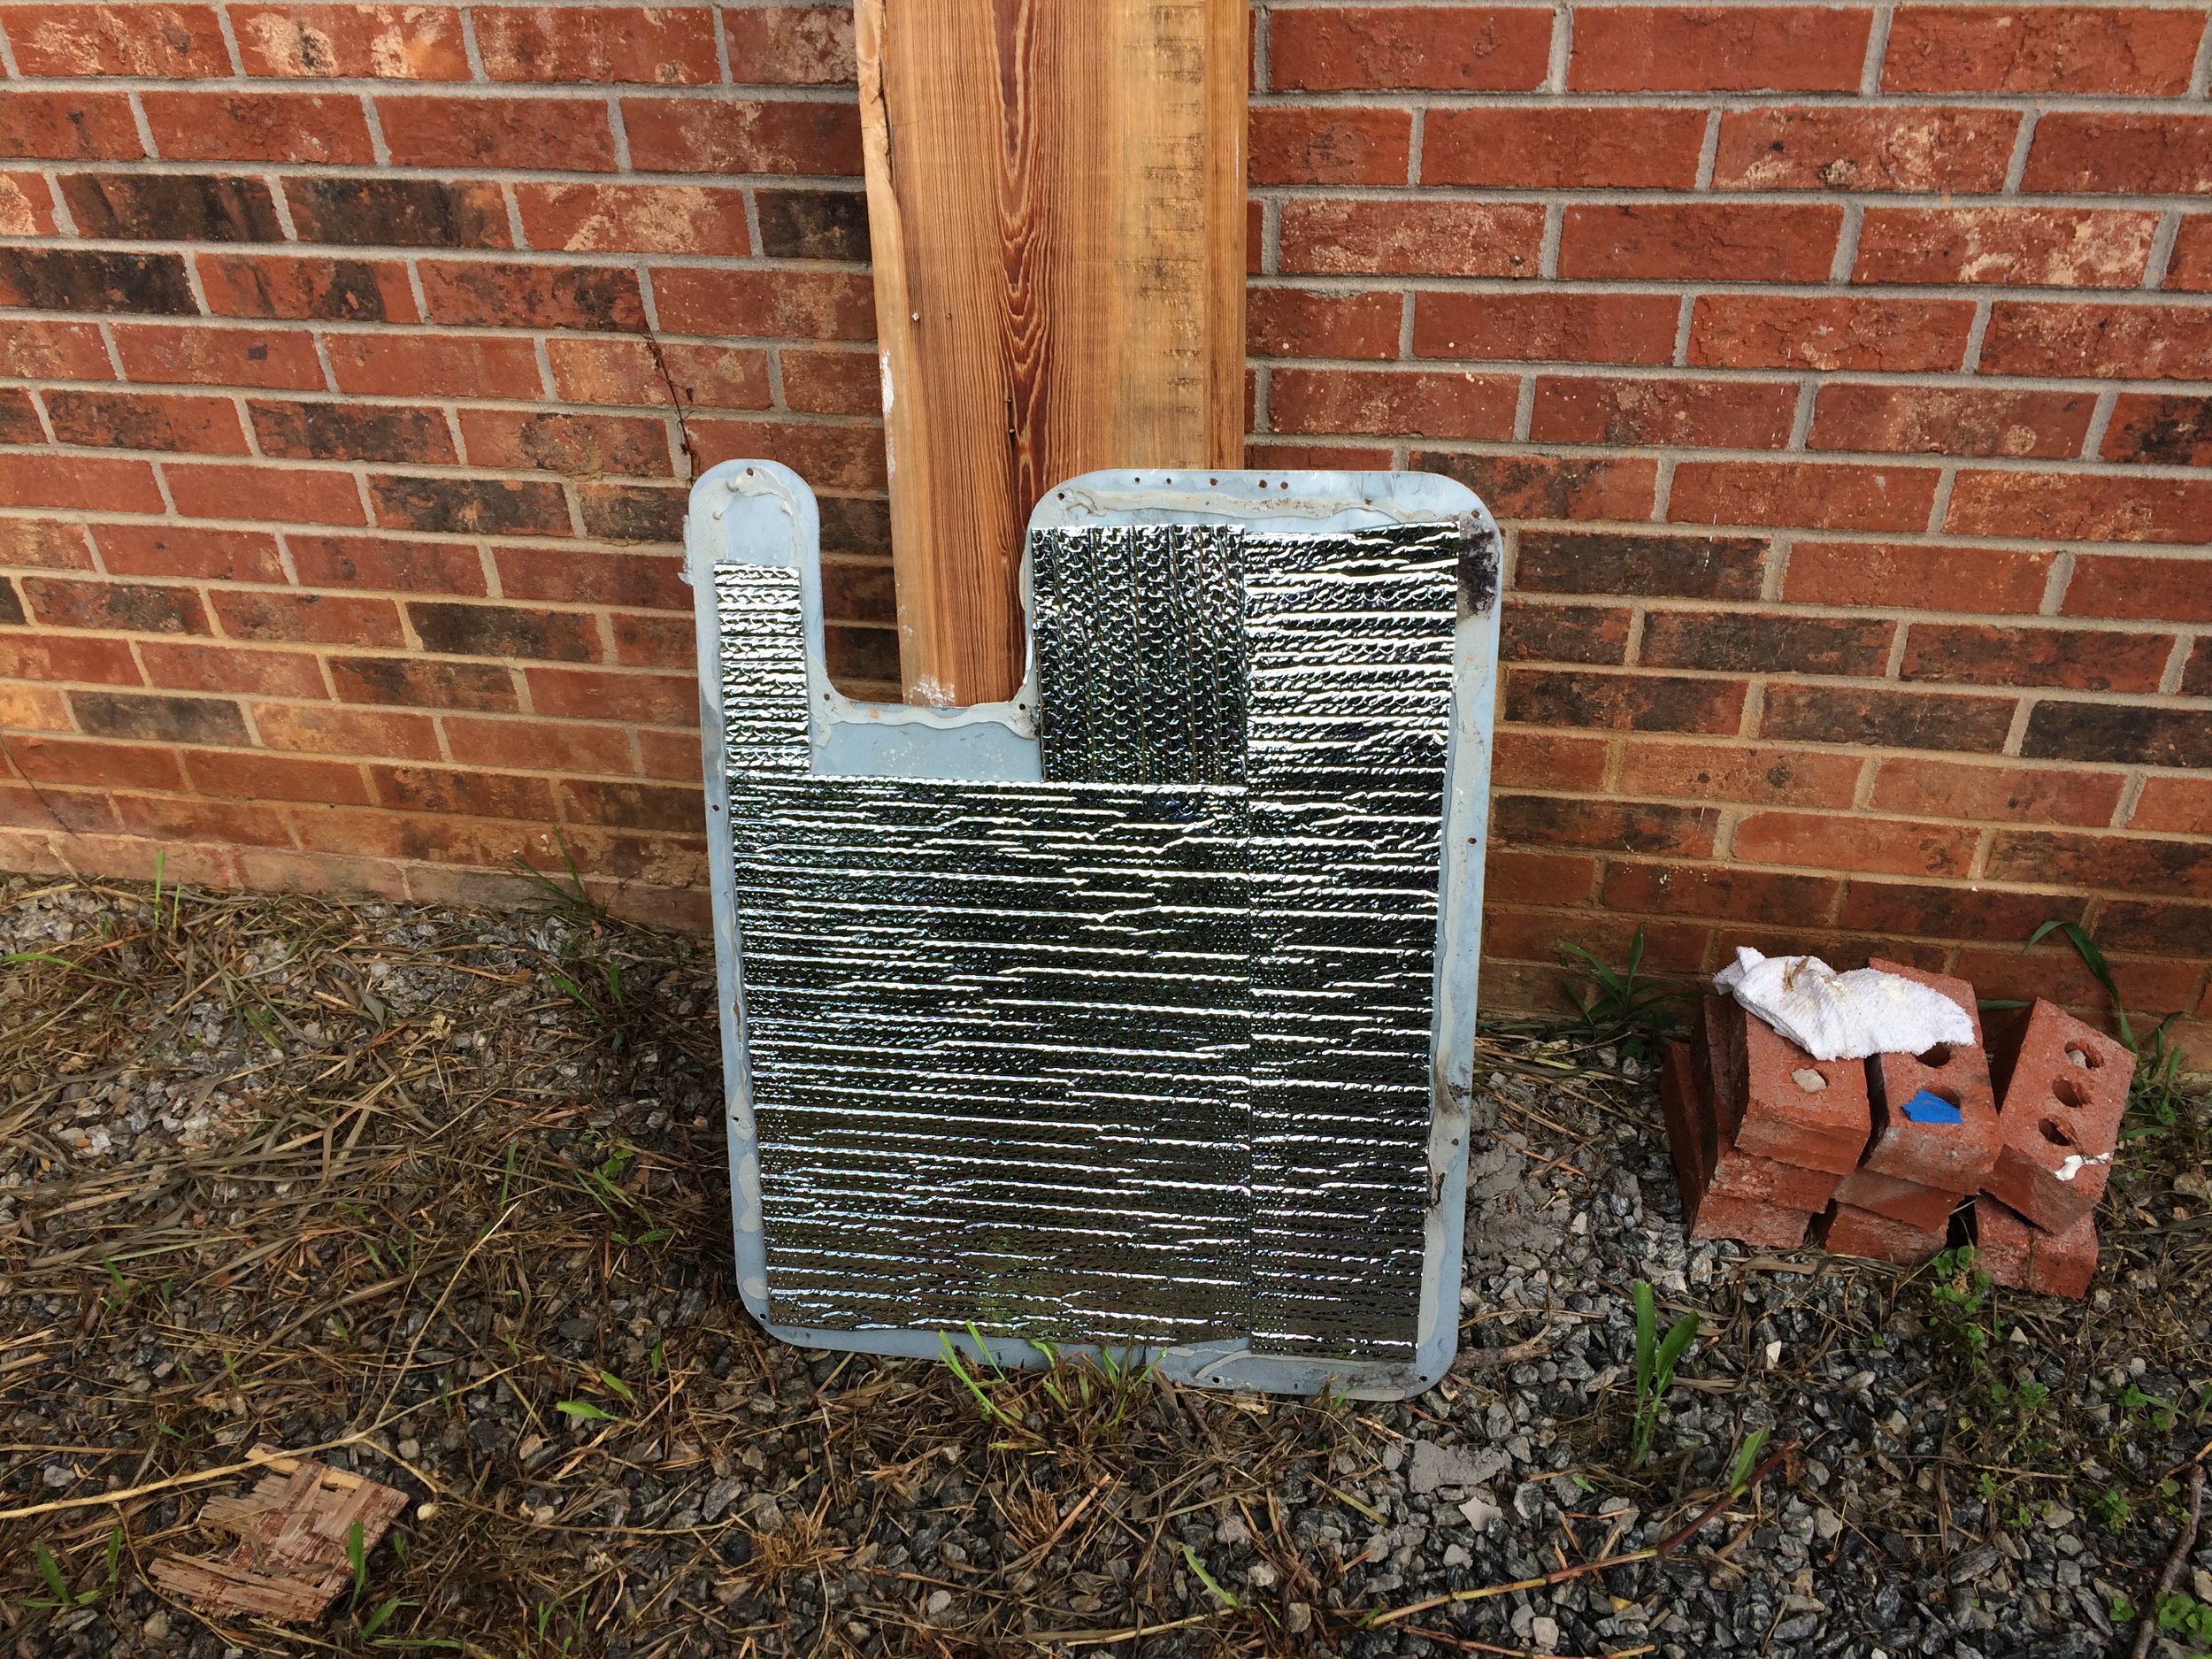
The rear doors had no panels on them. I made plywood panels to cover them since you could see light thru them in the corners. I insulated with Reflectix. This also gave me a place to screw things in the back.
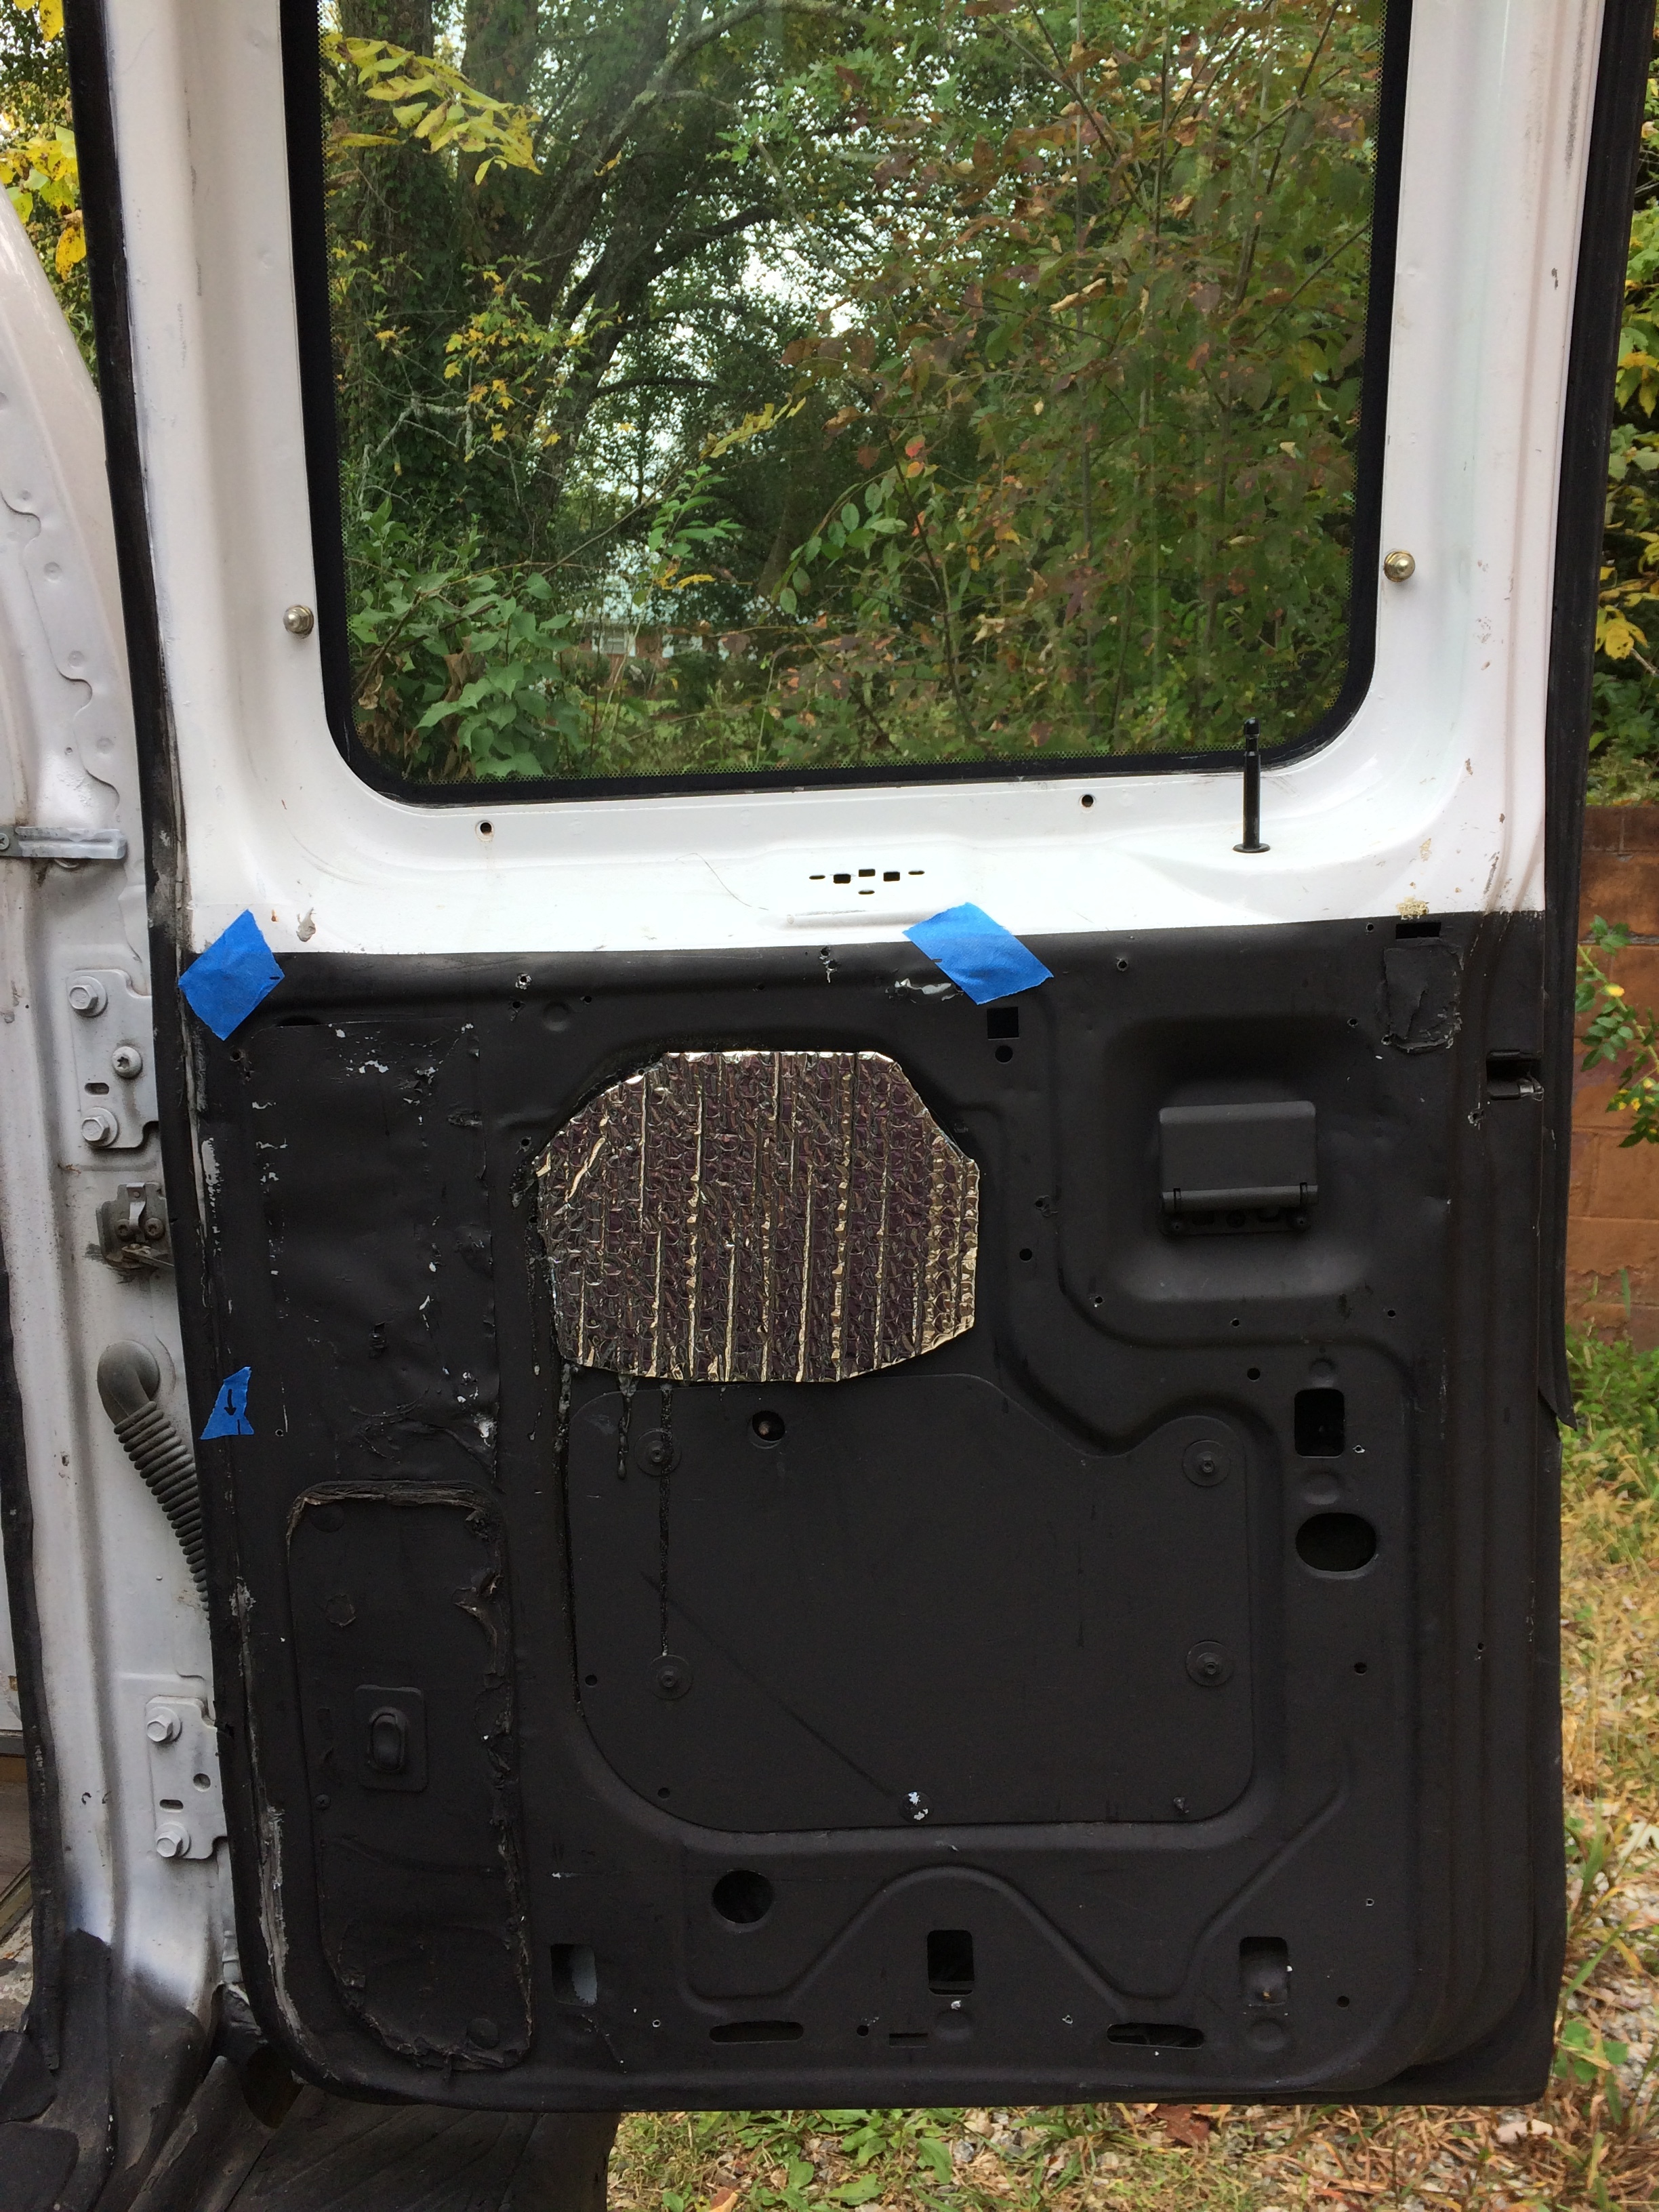
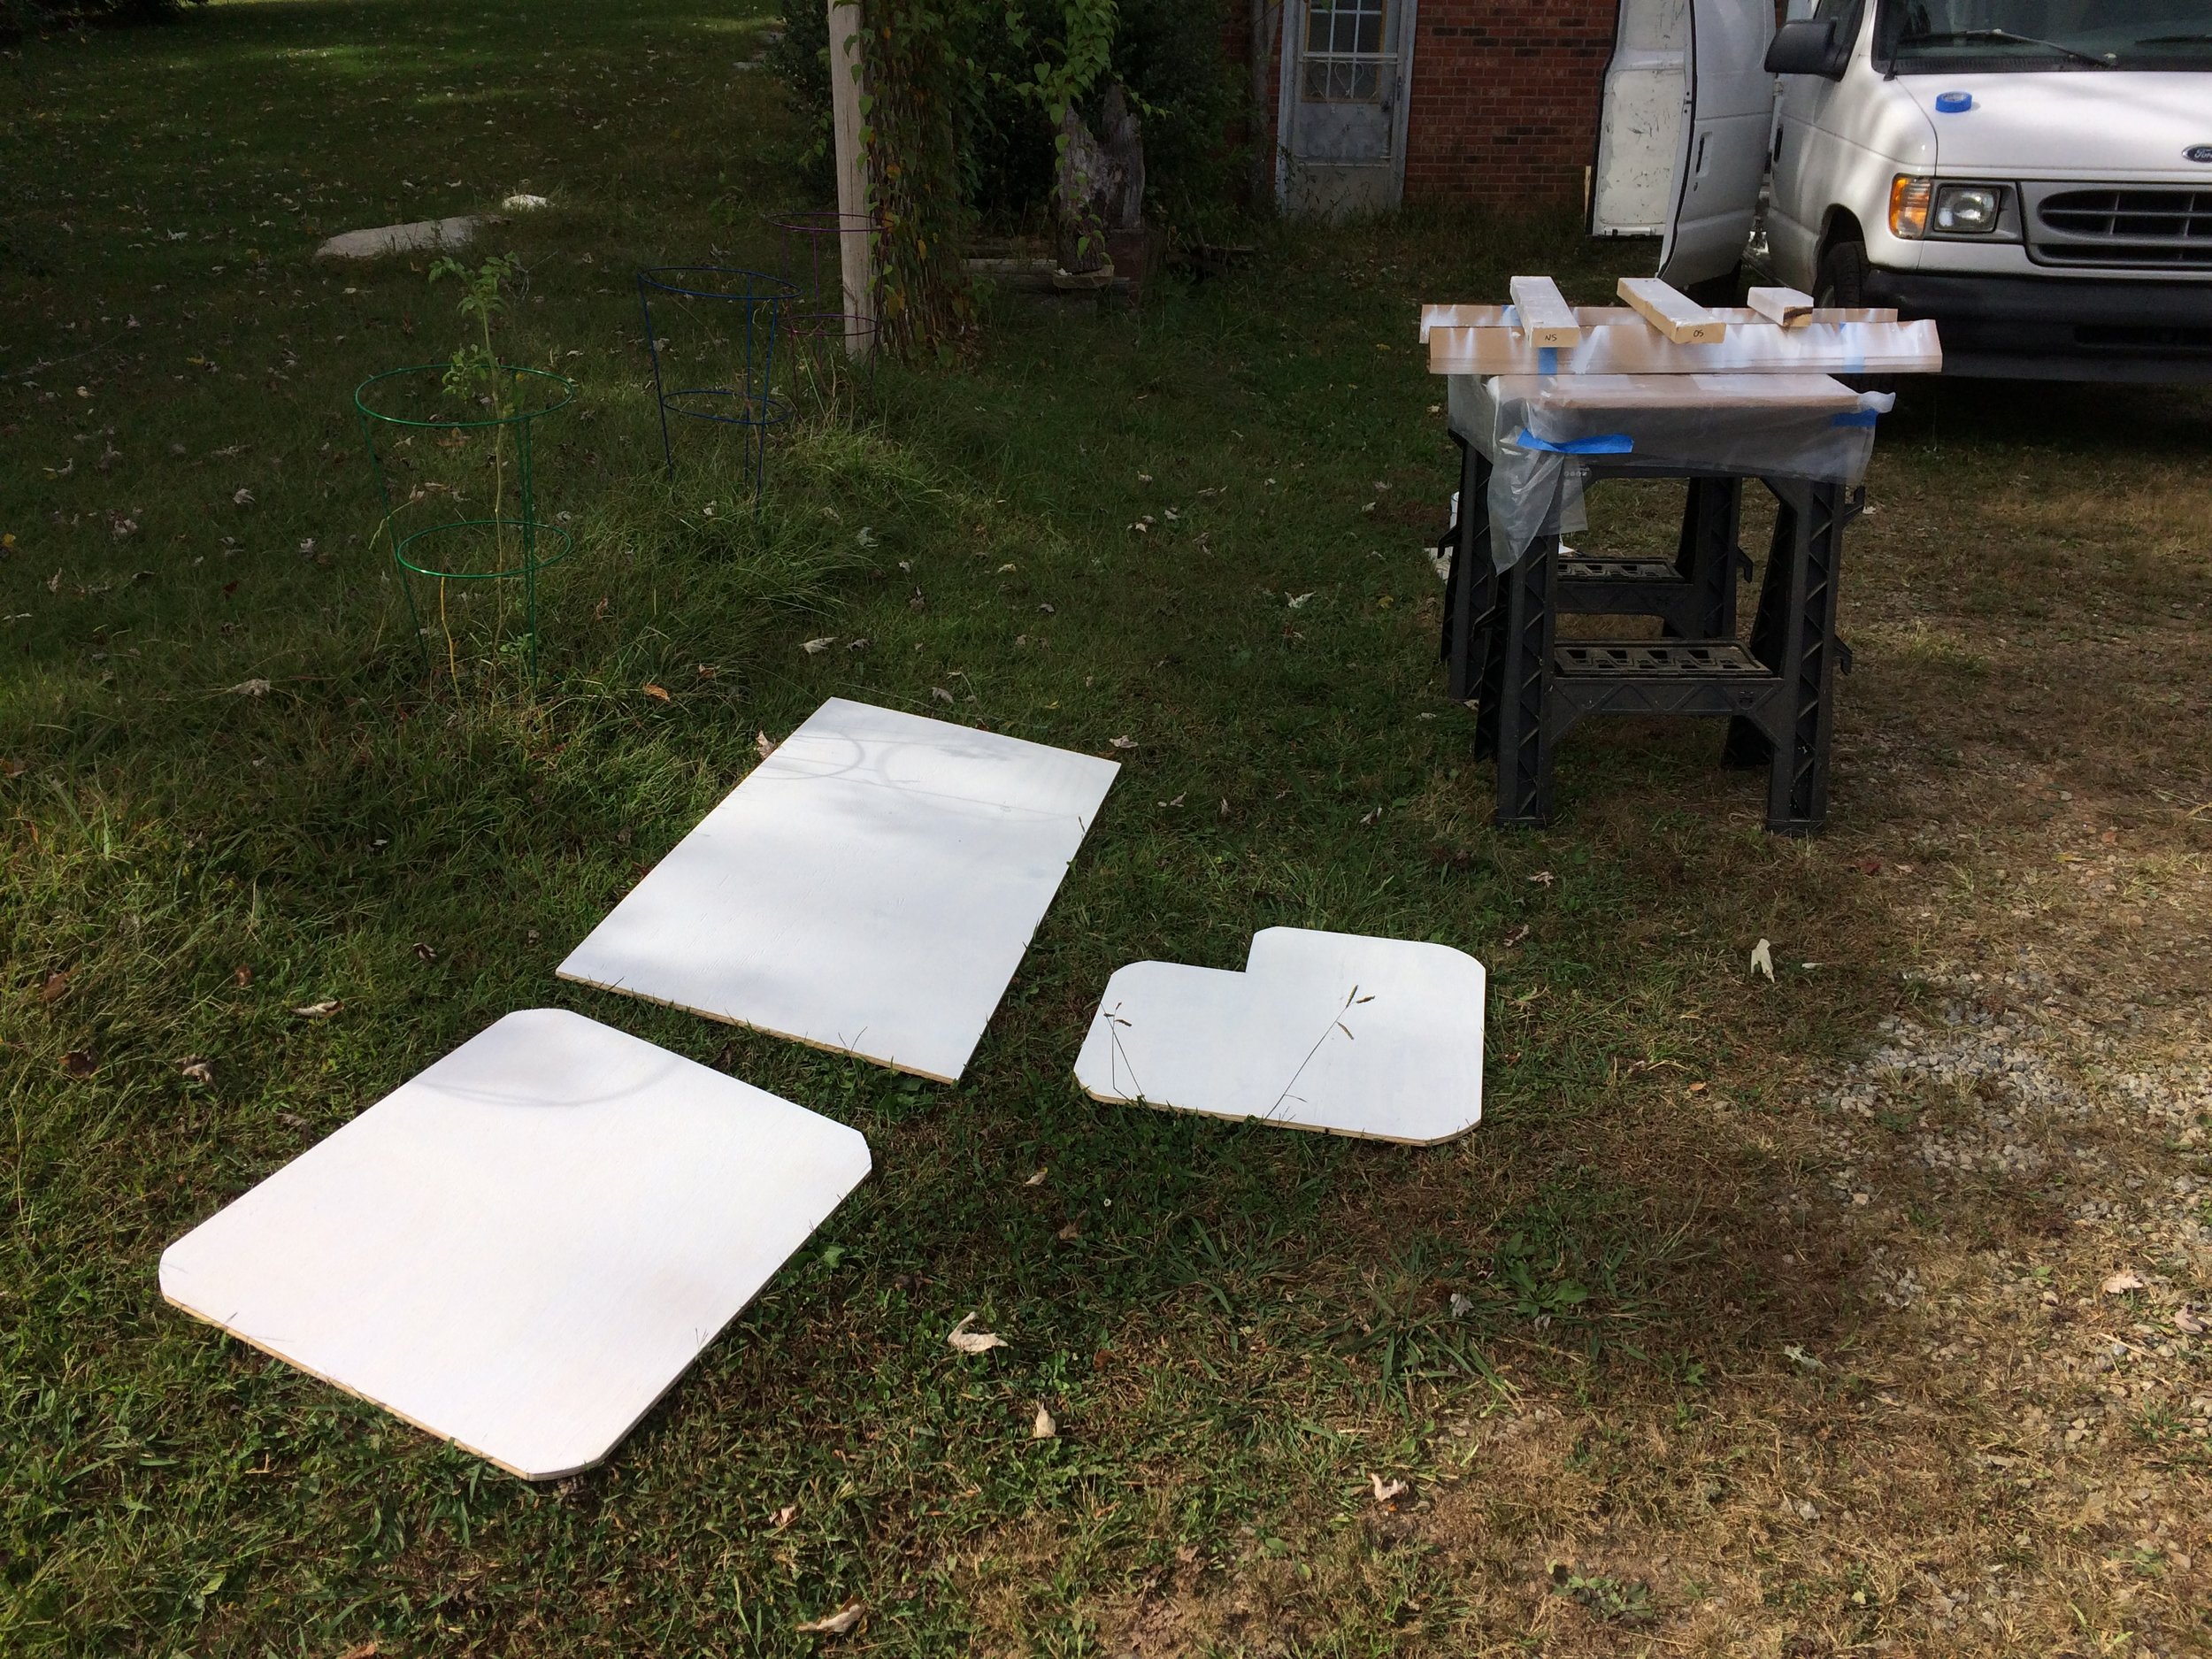
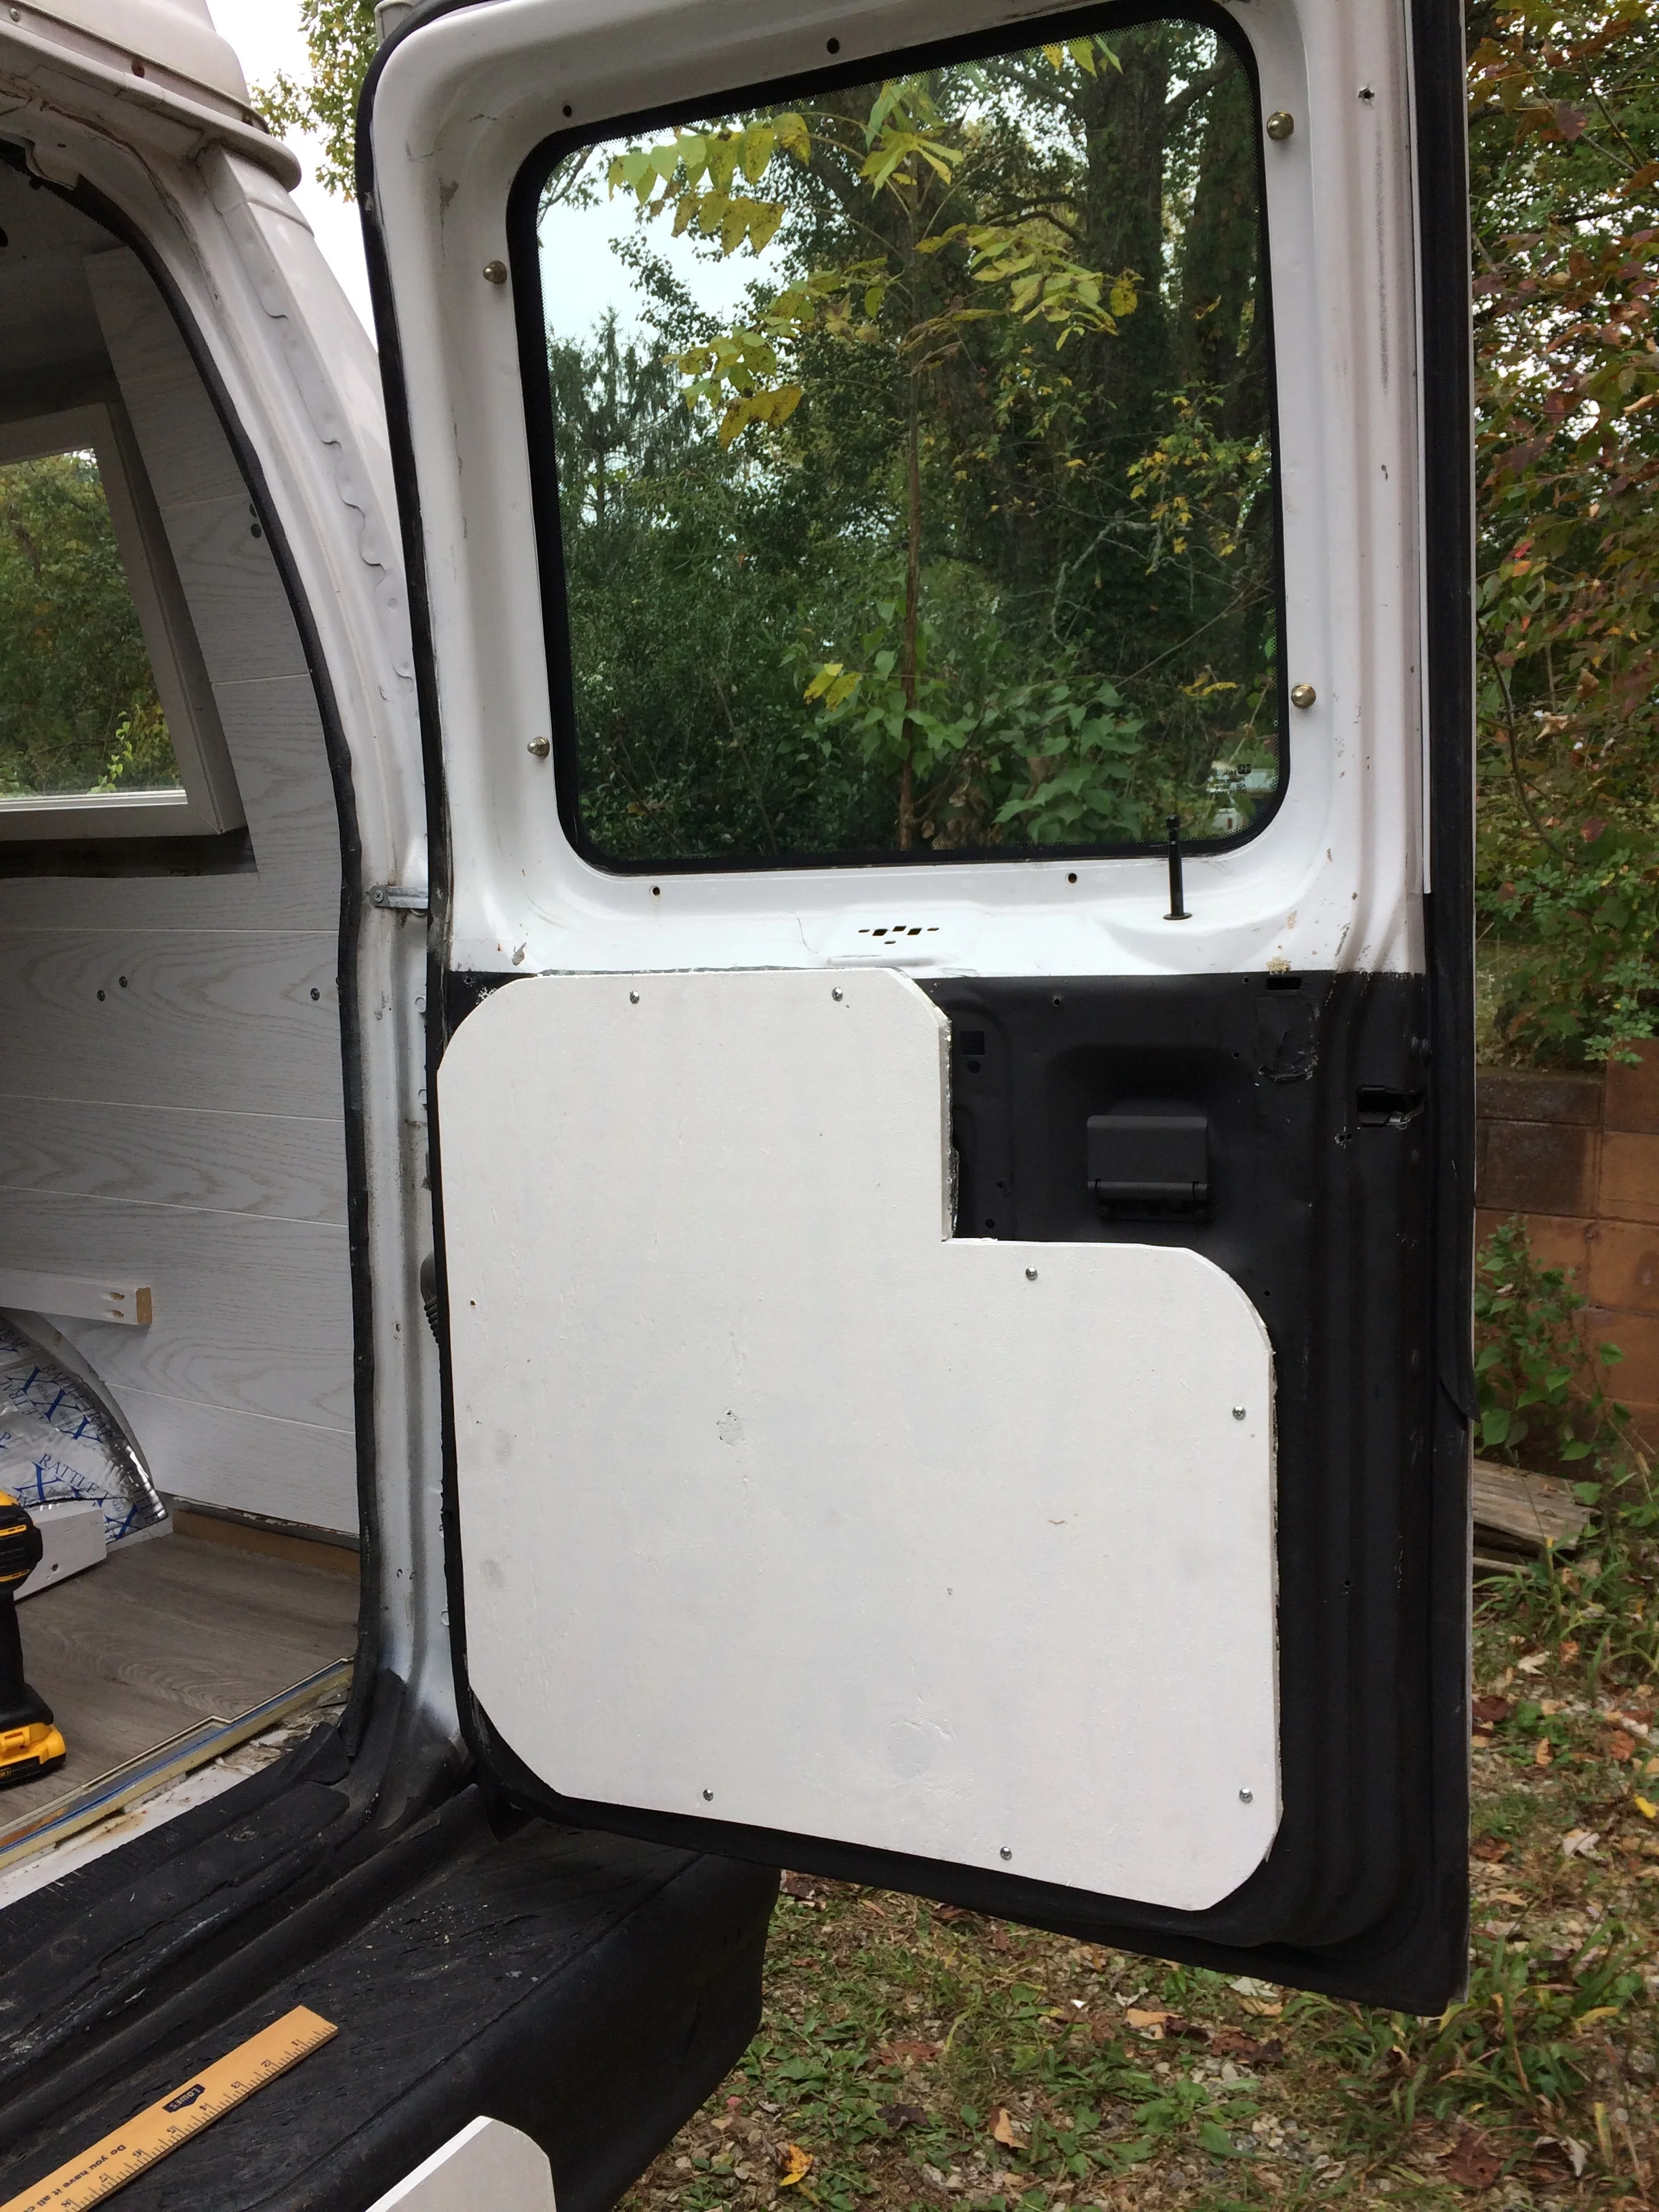
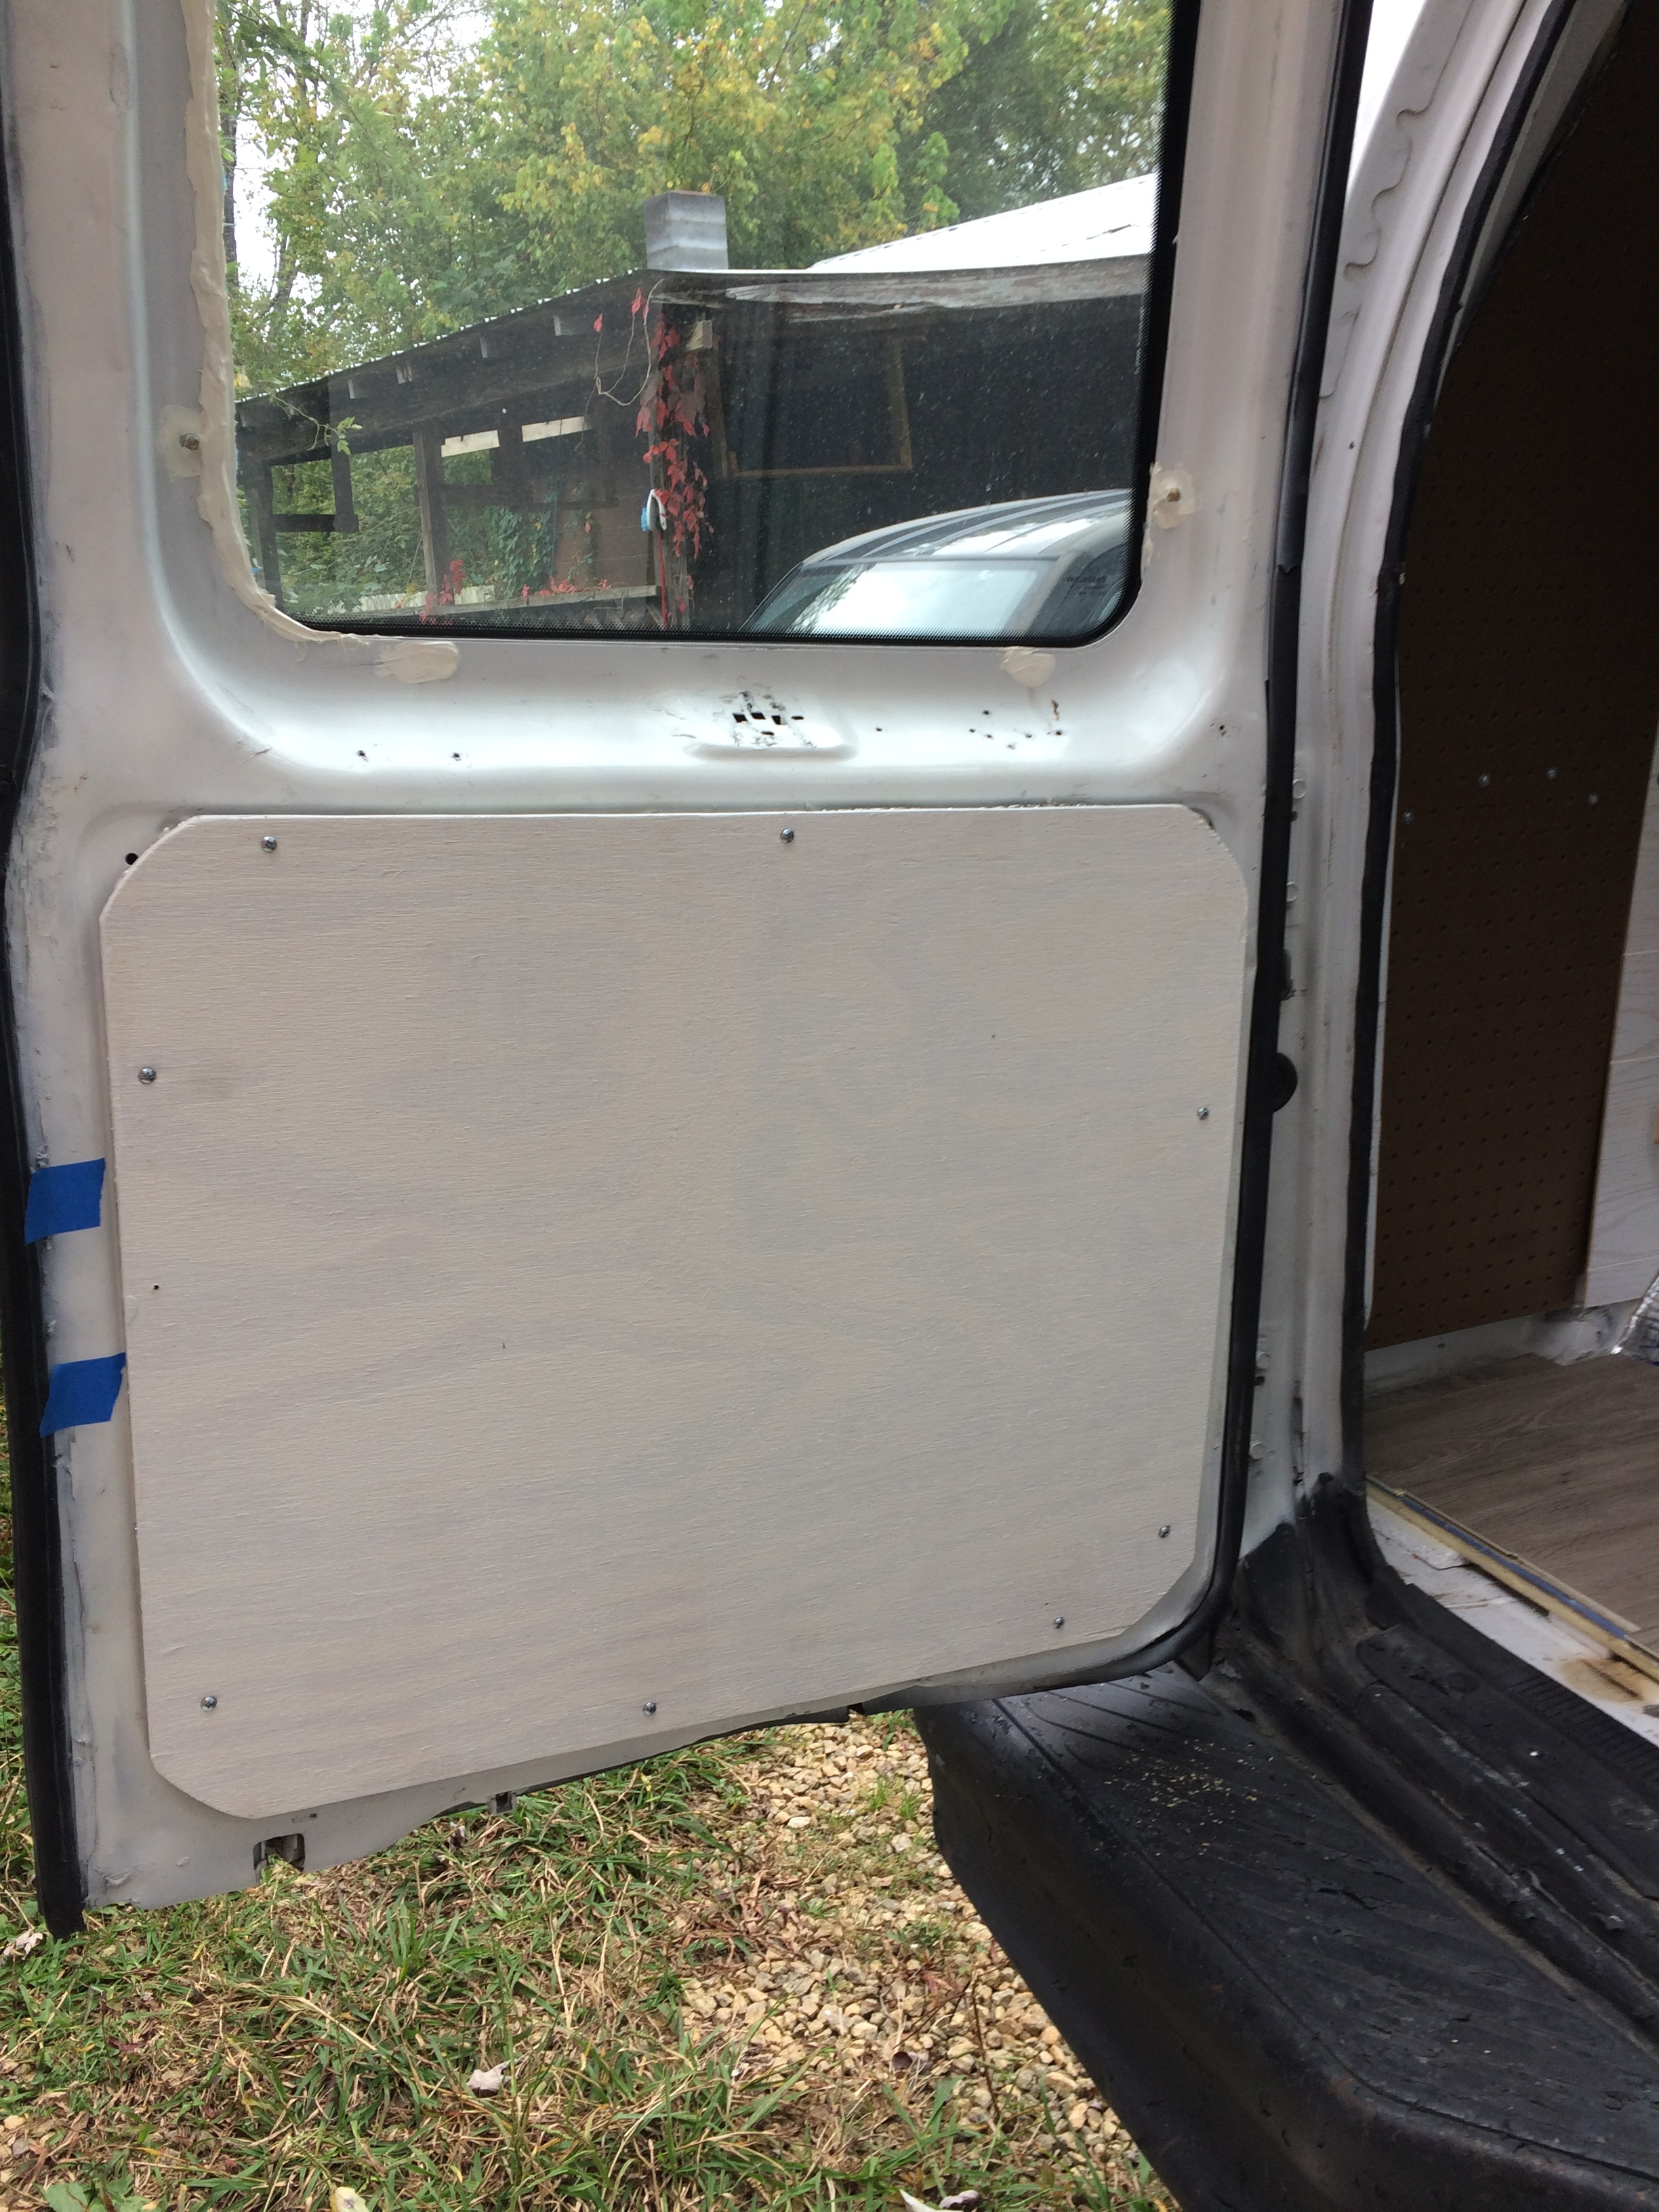
The side barn doors did have metal panels on the bottom halves, I removed these and insulated inside with a combination of Polyiso (more creative bracing) and Reflectix and then remounted the panels, when I was finished you couldn’t tell I’d spent hours on them!


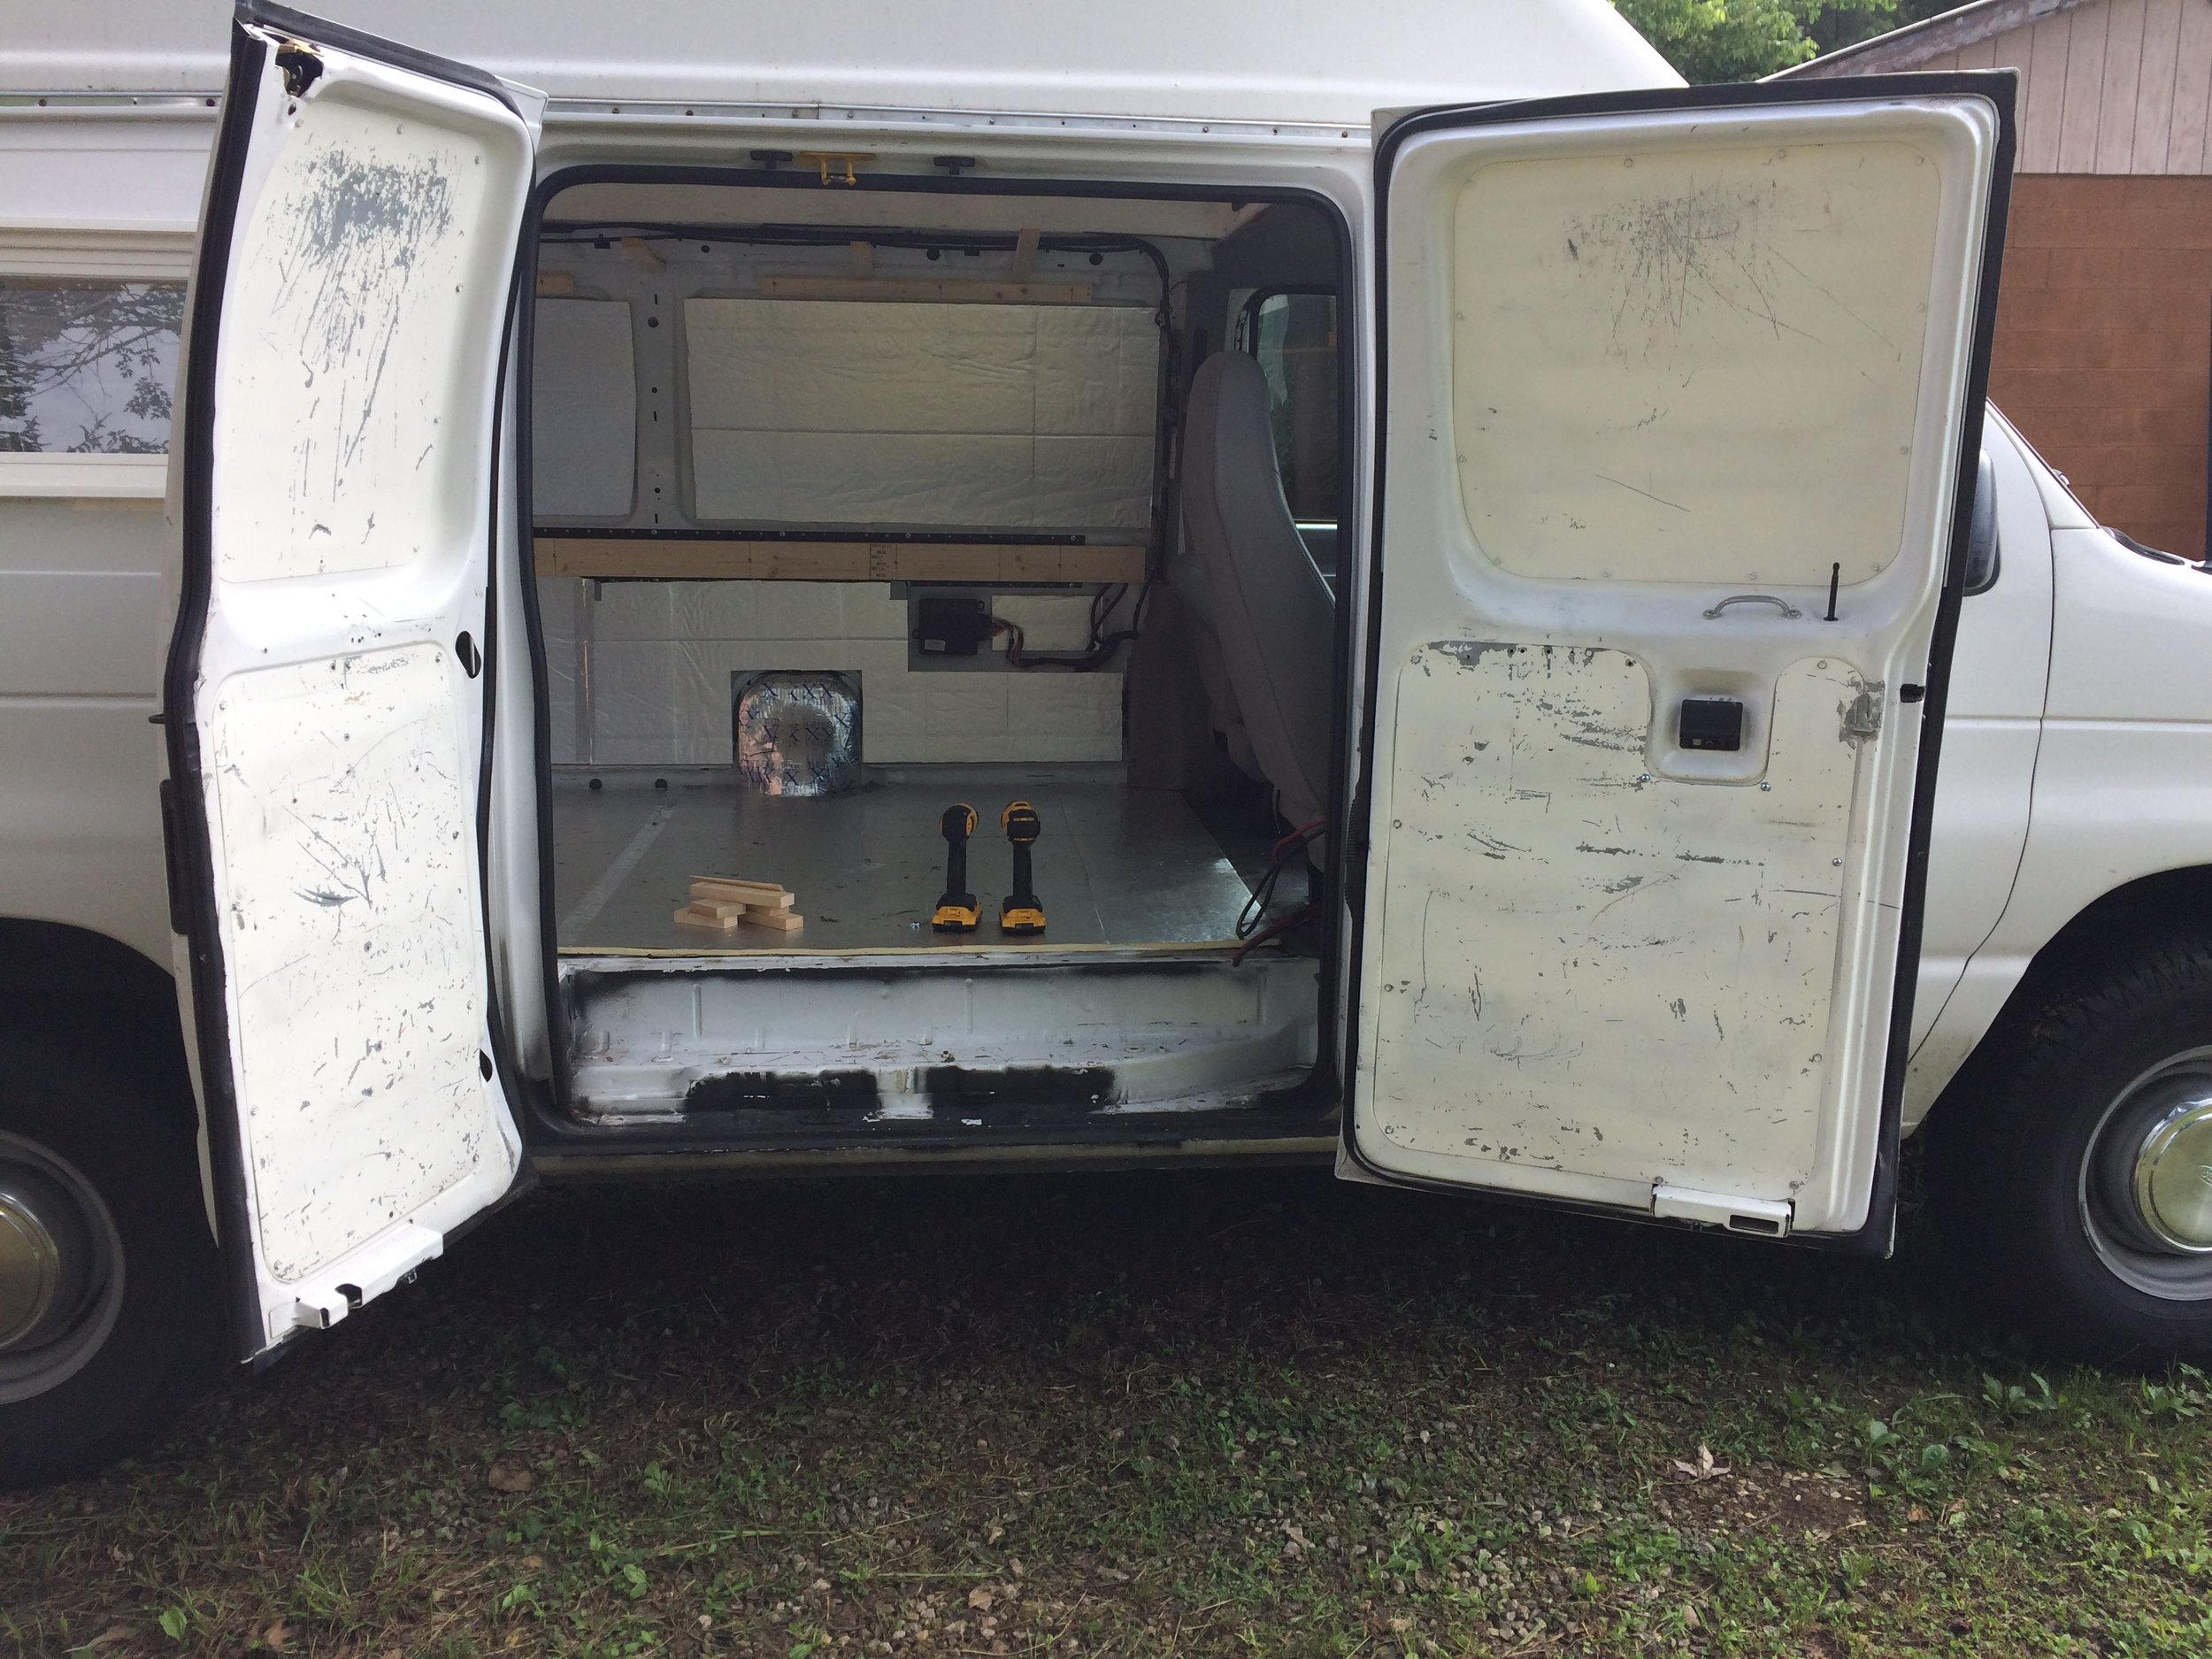
As for the roof, the fiberglass topper has an outer shell and an inner shell, when it was installed, the installers put regular pink house insulation between the pieces so I chose not to do any further insulating of the roof for now.
The insulation has made a big difference inside the van, the dashboard heater/AC is never going to be strong enough to moderate the entire van. But it holds its temperature (hot or cold) for much longer now, and I no longer have drafts (almost breezes) from the doors. Now that I live in it, I will say that when it gets cold enough (below 20 Fahrenheit) I cannot keep the floor warm. The air gets warm, and if I am sitting on the bed or in the front seats it’s plenty warm, but the actual floor stays cold, I wear heavy wool socks and call it good enough!